- Login O365 admin
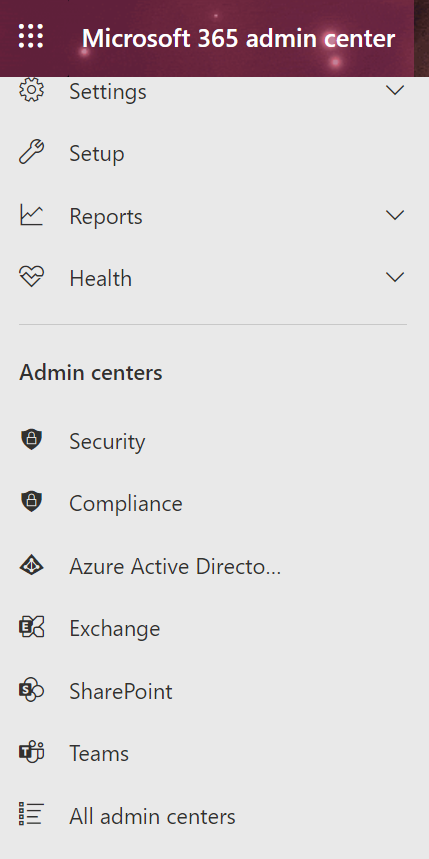
- Go to Security
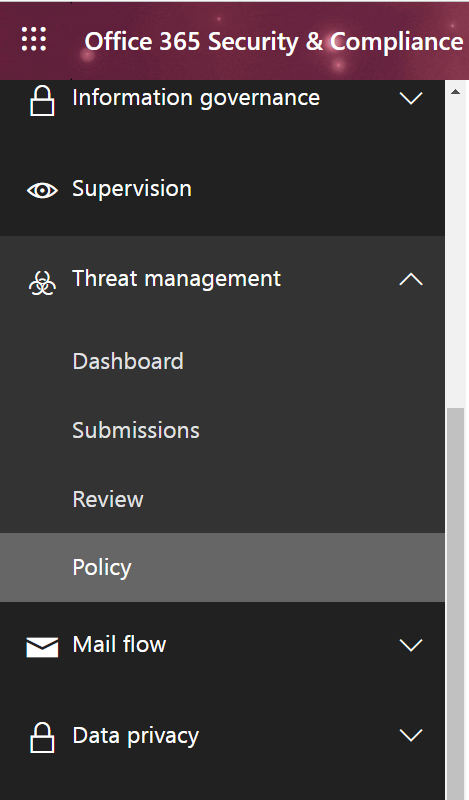
3. Click on Policy
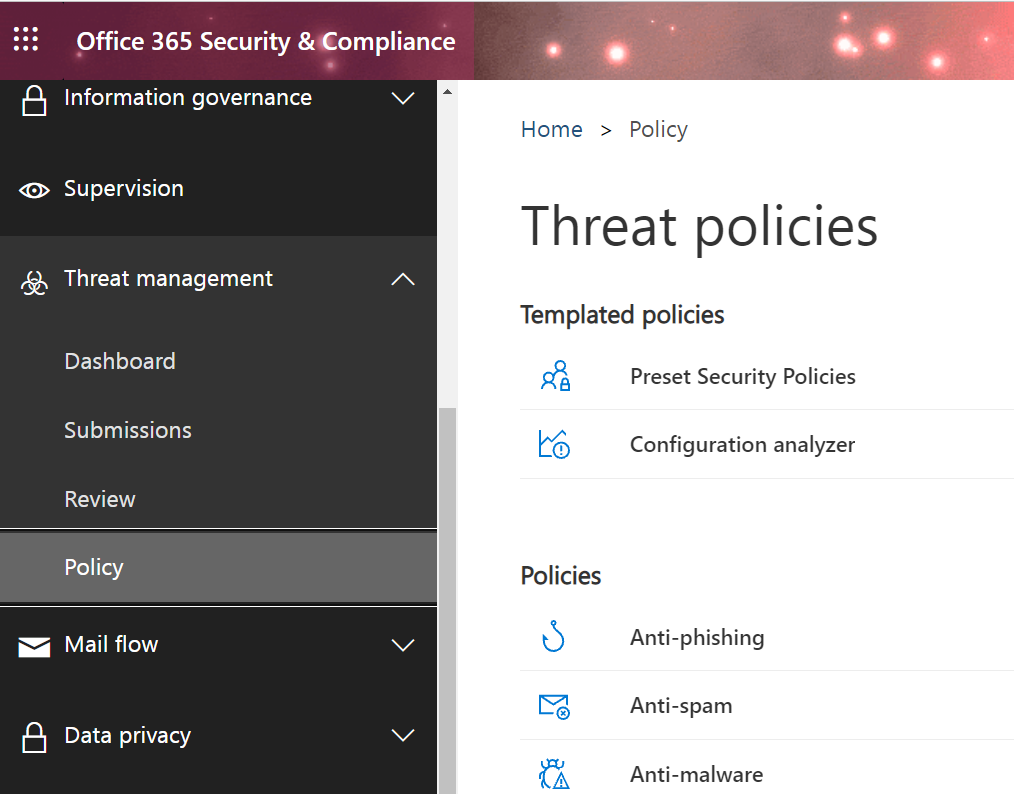
4. Click on Anti-spam.
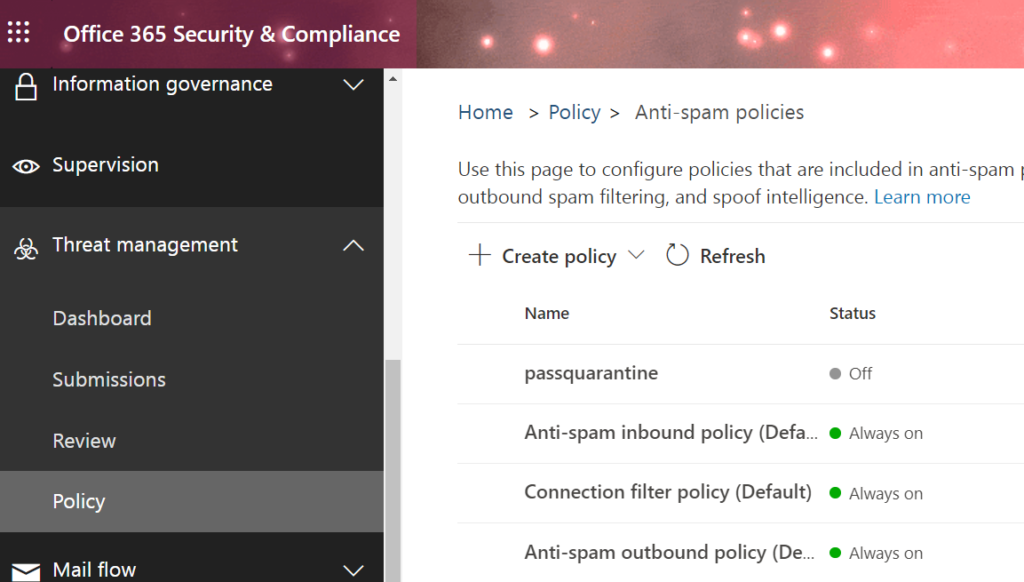
5. Click on Anti-spam Inbound policy.
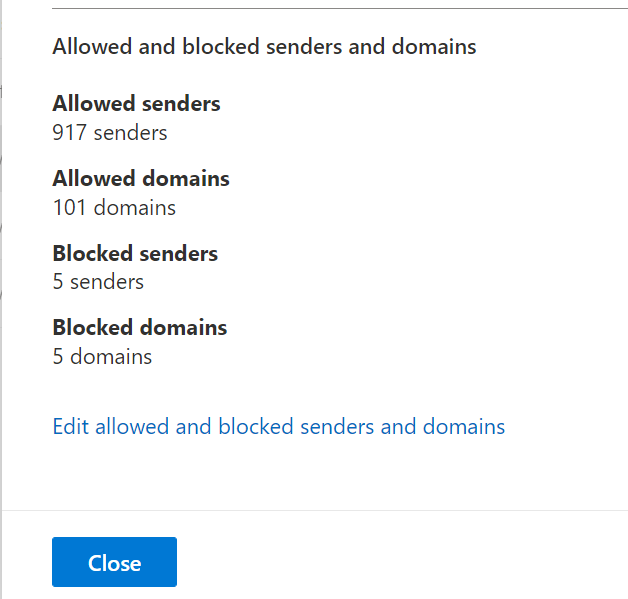
6. Click on Edit allowed and blocked senders and domains under Allowed and blocked senders and domains.
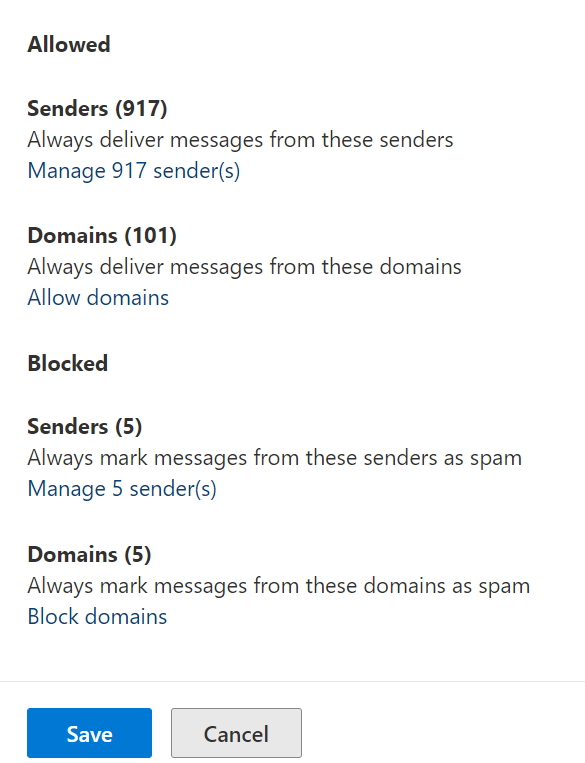
7. Click on Manage sender(s).
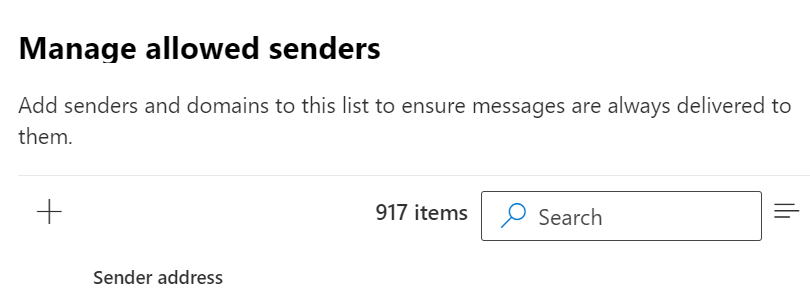
8. Click on +
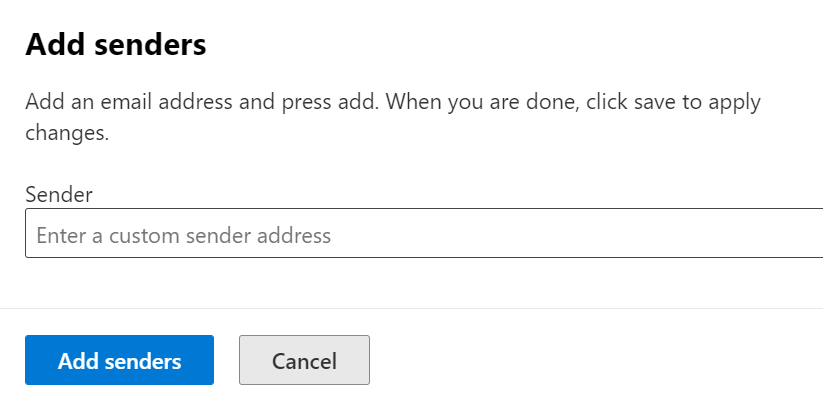
9. Enter the email address and then Add senders.
10. Click Done to complete the settings.