- In Outlook Web App, click Settings icon

2. Click on View all Outlook settings.
3. Highlight Email and then Rules.
4. Under Rule, click on + Add new rule.

5. In Rules, enter the rule name; under Add a condition, select All messages.
6. Under Add an action, select Forward to
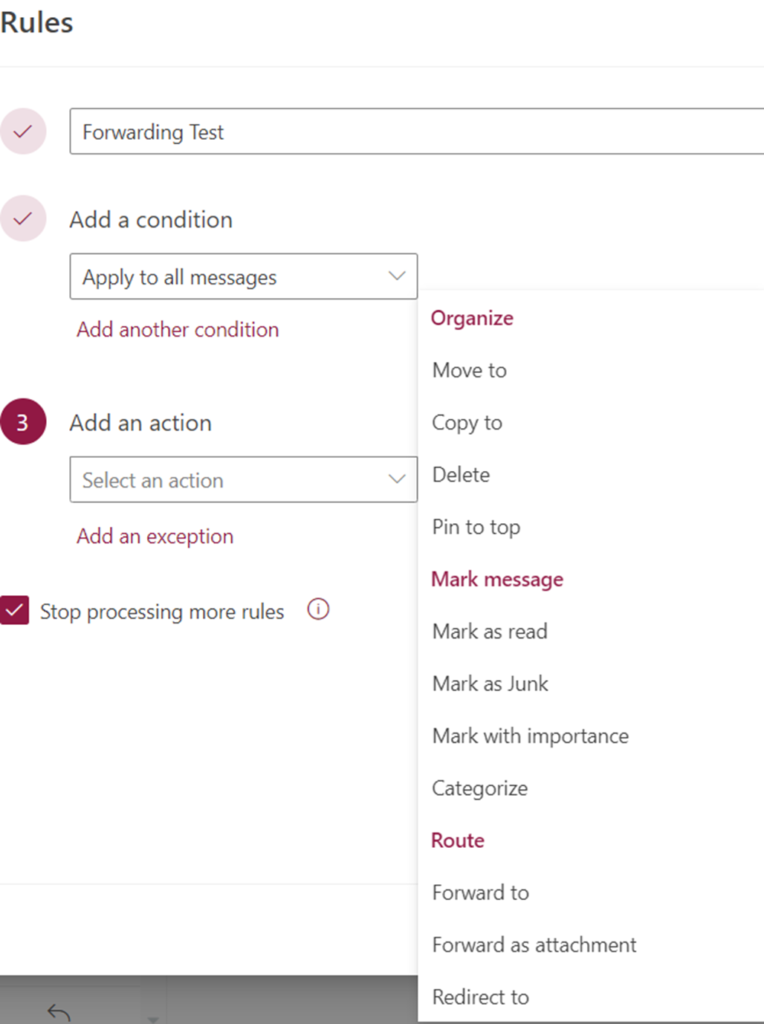
7. Enter external email address.
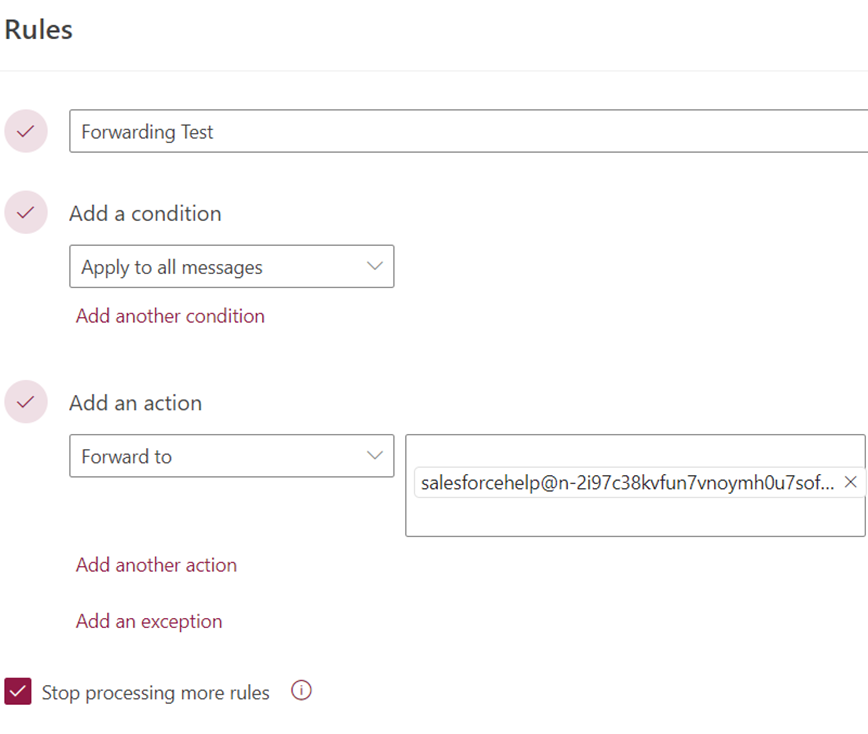
8. Click OK to save your selections and return to the new rule window.
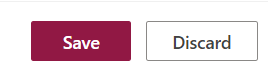
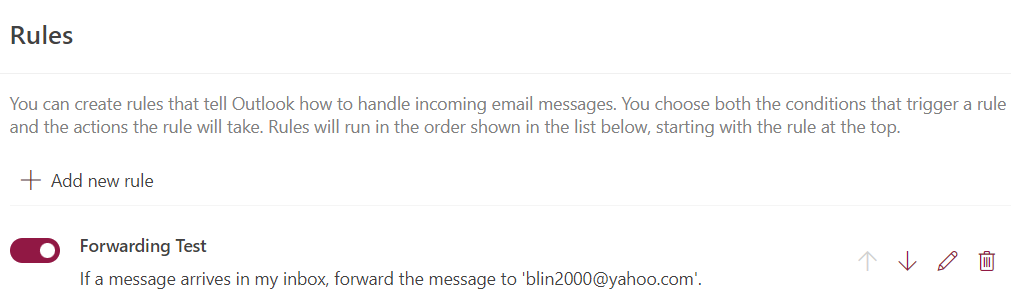
9. Click Save to save your rule and return to the Inbox rules tab.