Q: We just got a Palo Firewall. Would like to know how to configure Authentication Profile.
Chicagotech.net: Here are the steps by steps with screenshots.
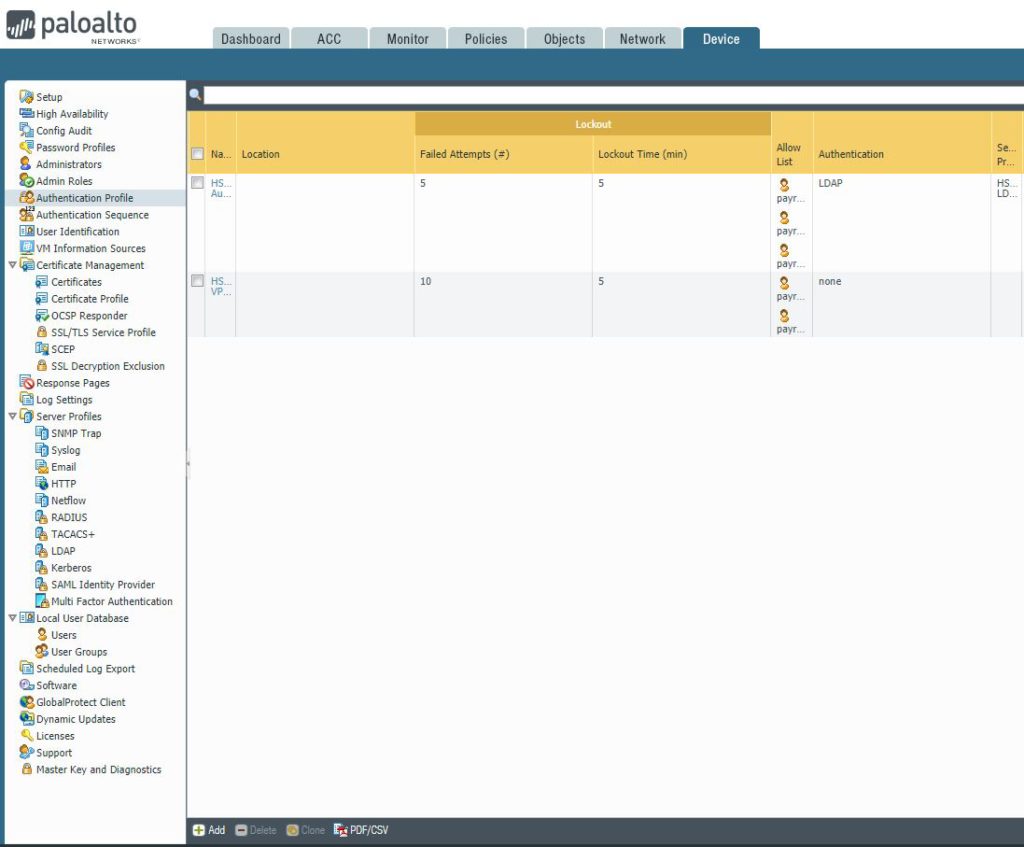
- After login paloalto, navigate to Device>Authentication Profile.
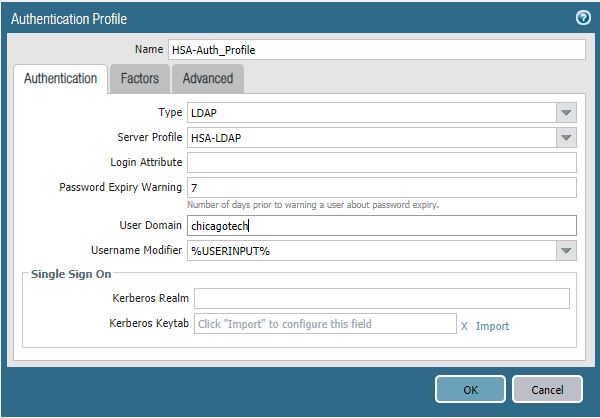
2. In Authentication page, enter Type, Server Profile, User Domain, Username Modifier.
3. Click Advanced. Add Allow List, for example Chicagotech\admin.

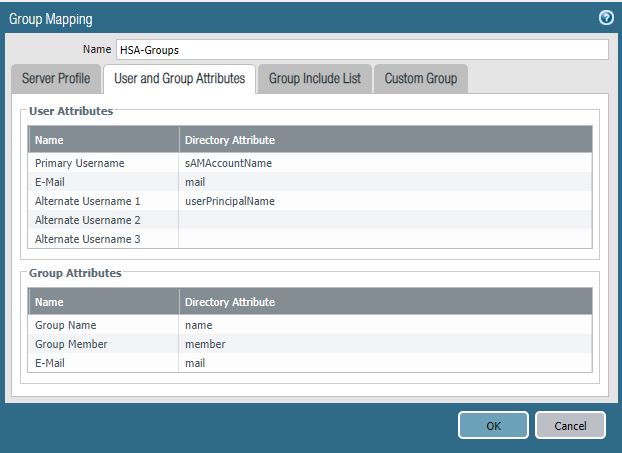
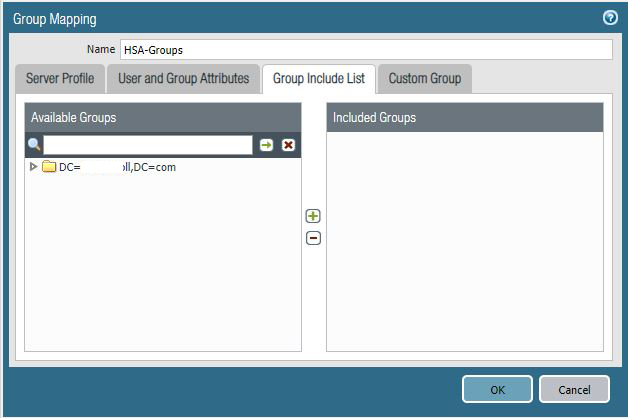
4. Go to Device>User Identification. Add group as shown below screenshots.

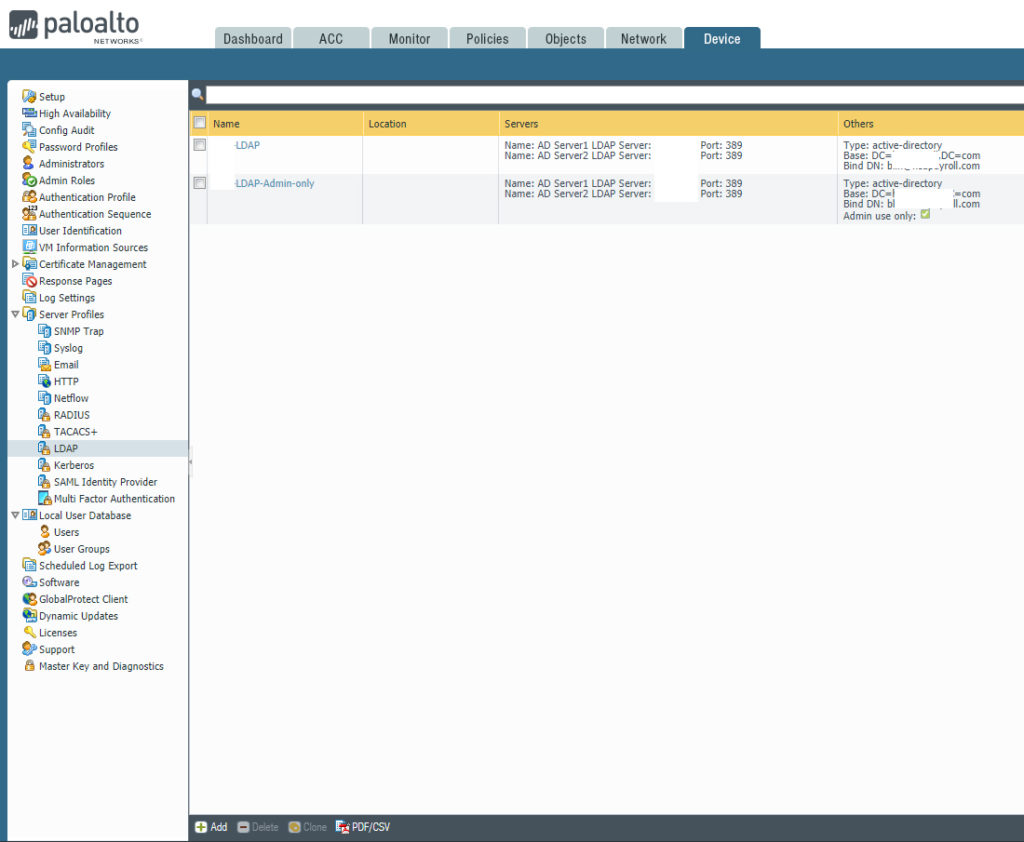
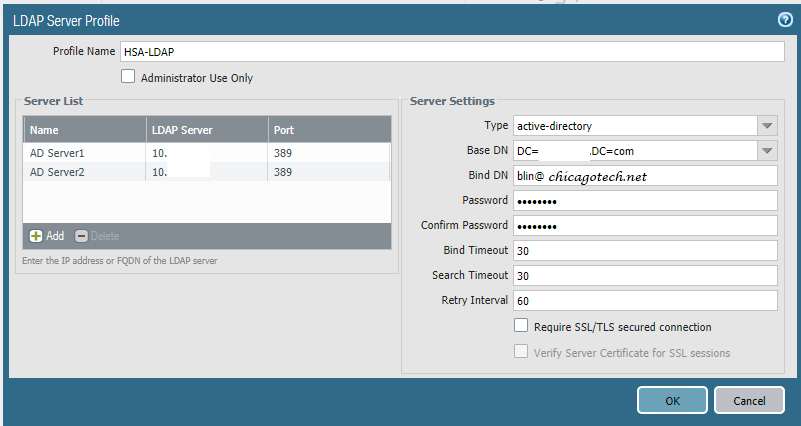
5. Go to Device>Server Profile>LDAP. Configure it as shown below screenshots.