- Download and install on one of Windows server (it could be source or destination server) .
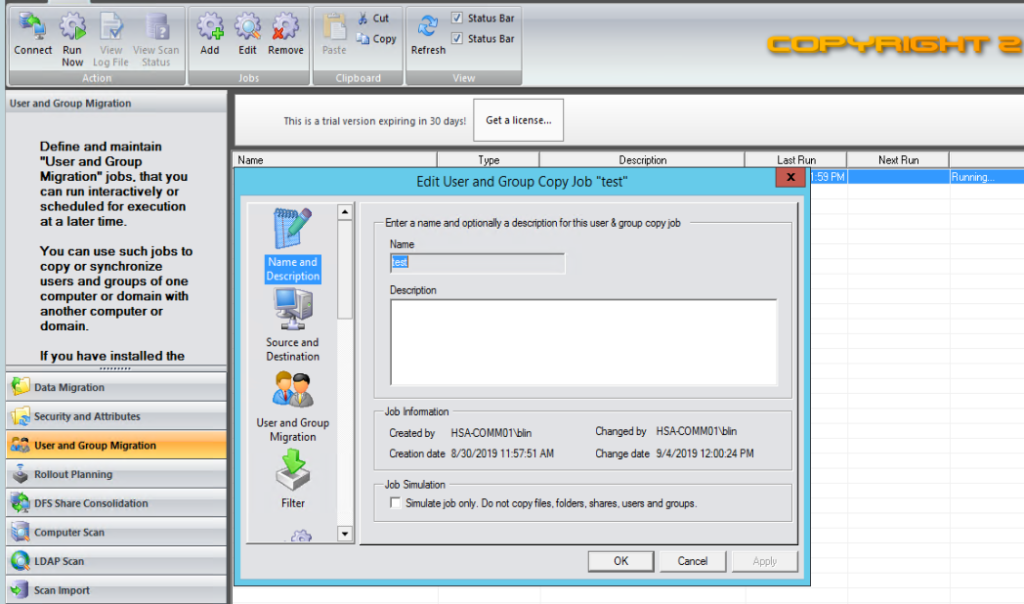
- Click User and group Migration on the left pane.
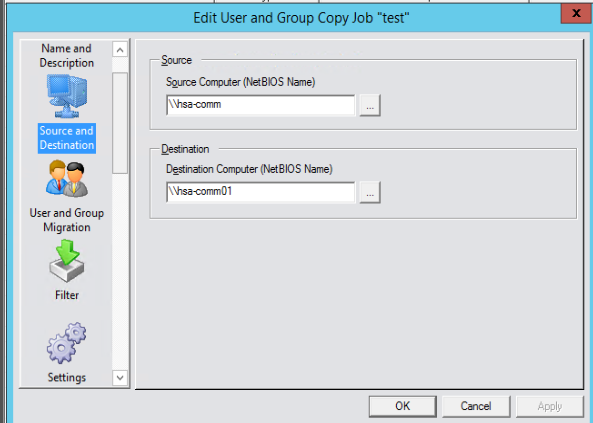
3. Select Source server and destination server.
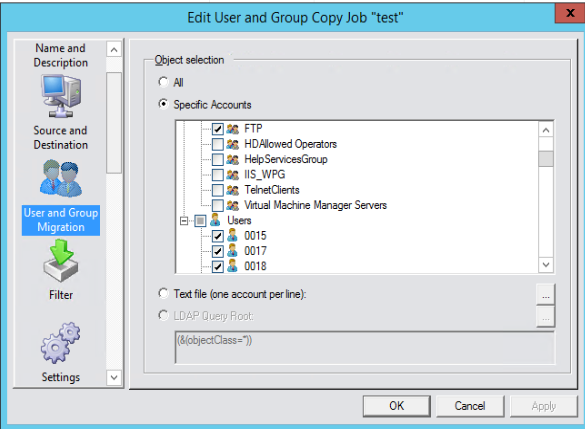
4. Select users and groups to be migrated.
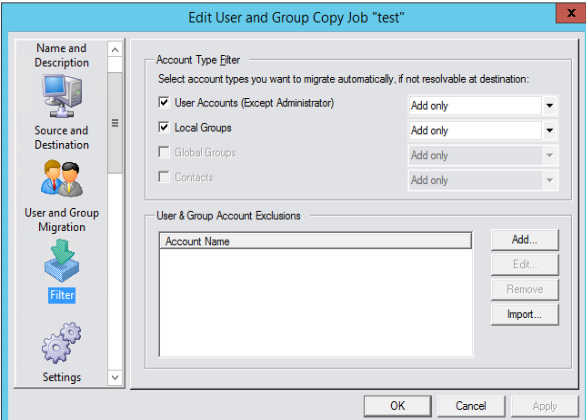
5. Follow the wizard to configure Filter.
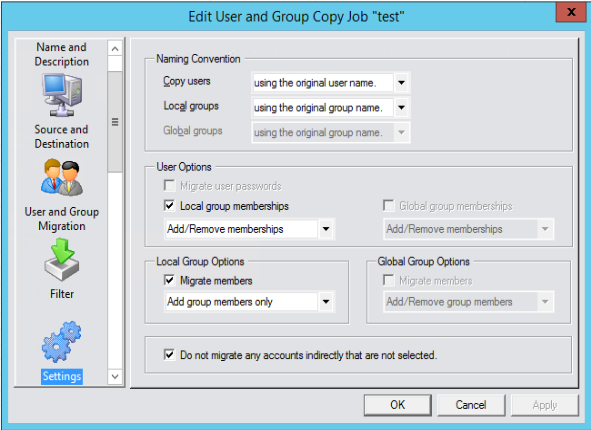
6. Name conversion, group memberships, password in Settigns.
7. User home and Profile Path in User Environment.

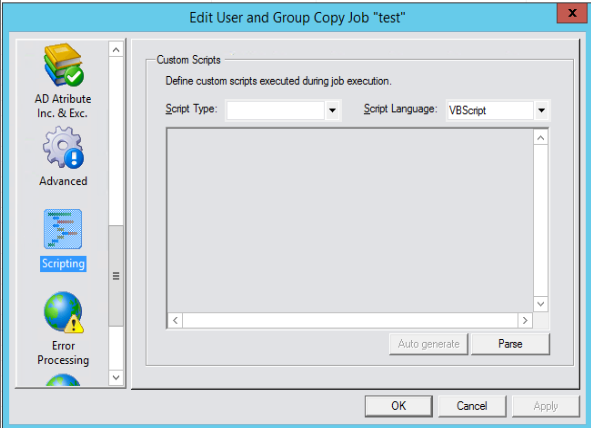
8. Skip AD Options, Attribute Inc. & Exc, Advanced, Scripting.
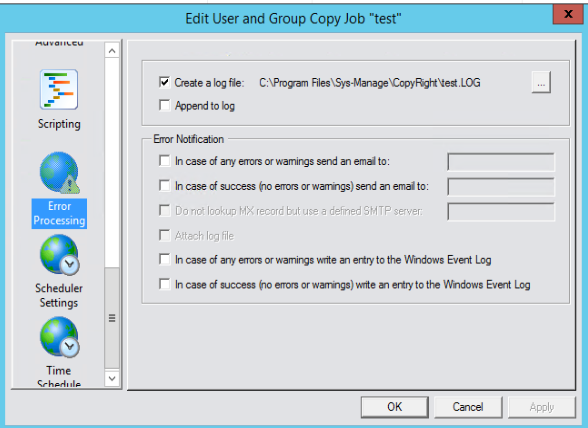
9. You can create error log file.
10. Setup Scheduler Settings and Time.
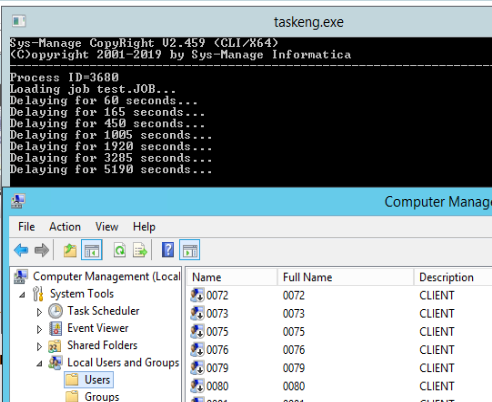
11. When it starts the process, you can see the migrated user accounts.