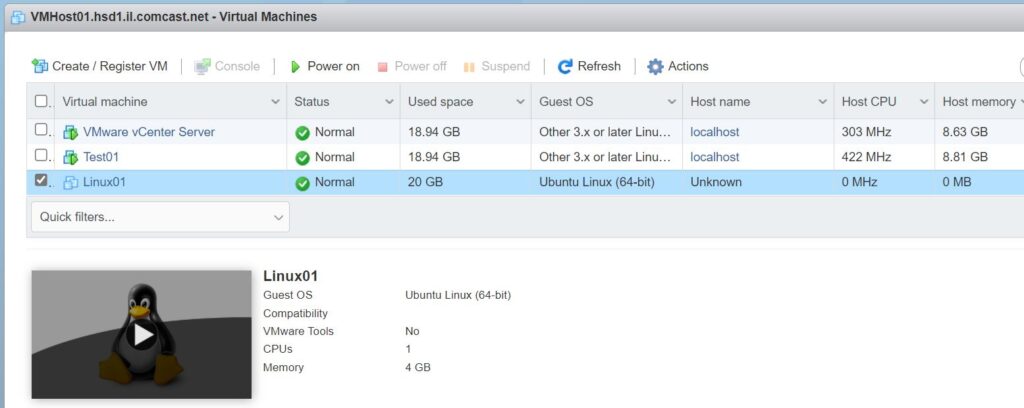
In this article, we will show you how to install ubuntu V20 on VMware ESXi V7. We have created a new VM for Linux and uploaded ubuntu ISO on the VMware Host.
- In vSphere Client, start the VM.
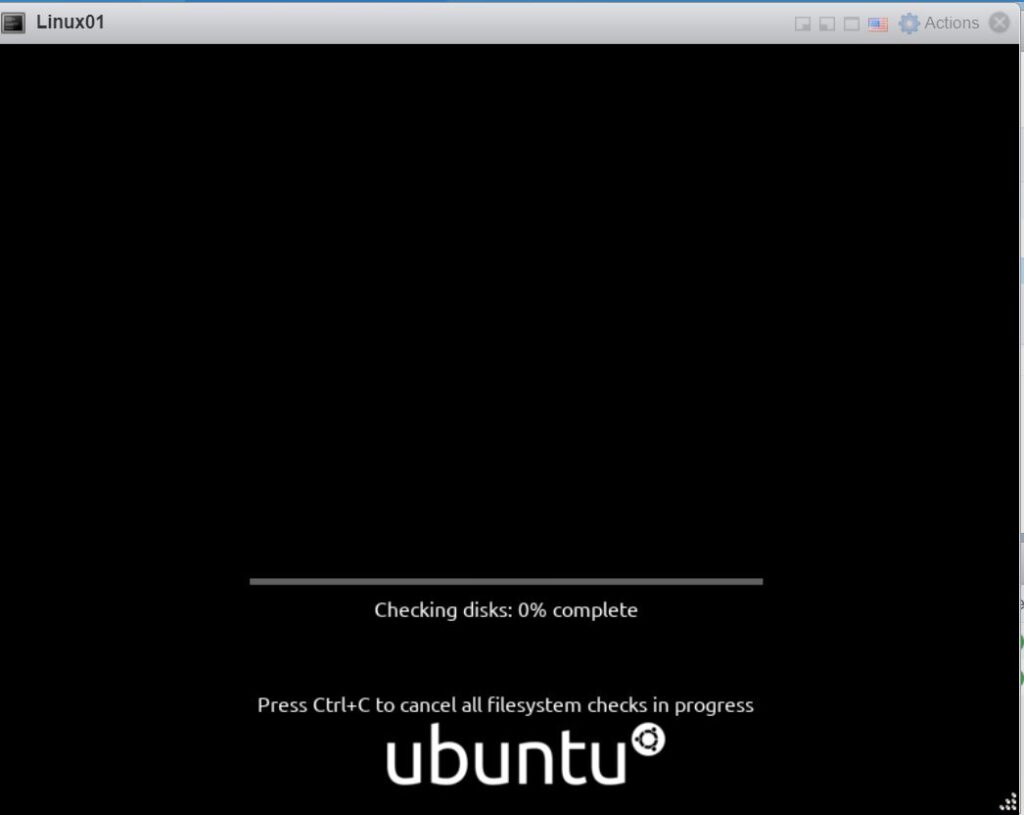
2. VM is loading the ubuntu ISO and process the insulation.
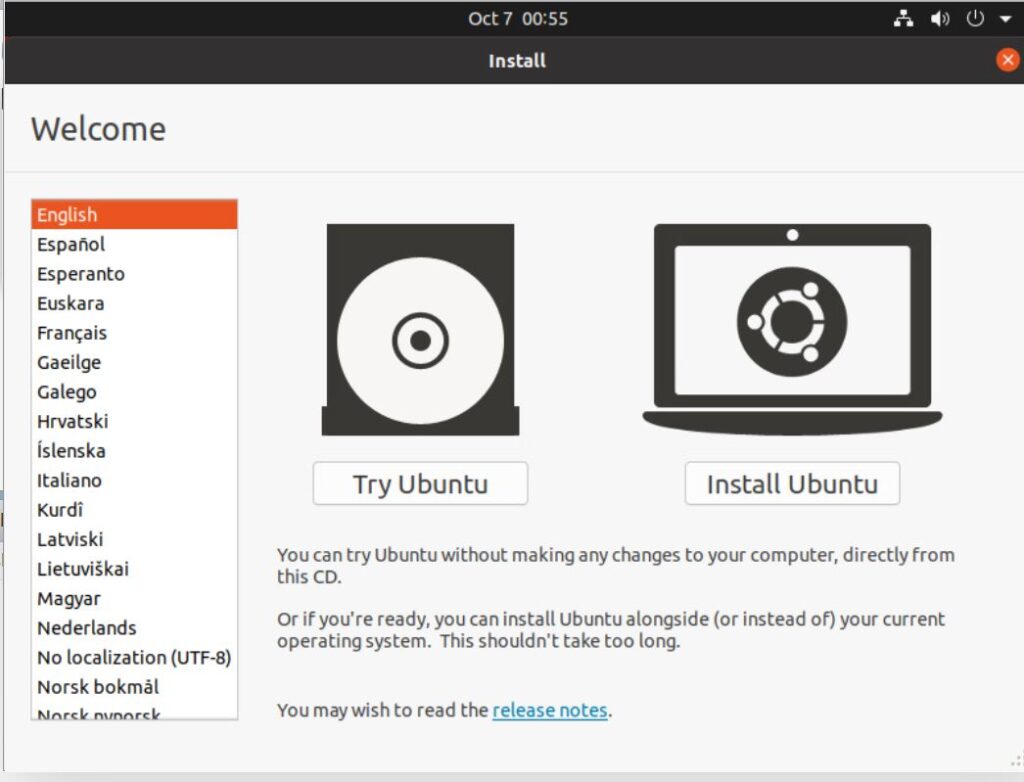
3. Highlight the Language and click on Install Ubuntu.
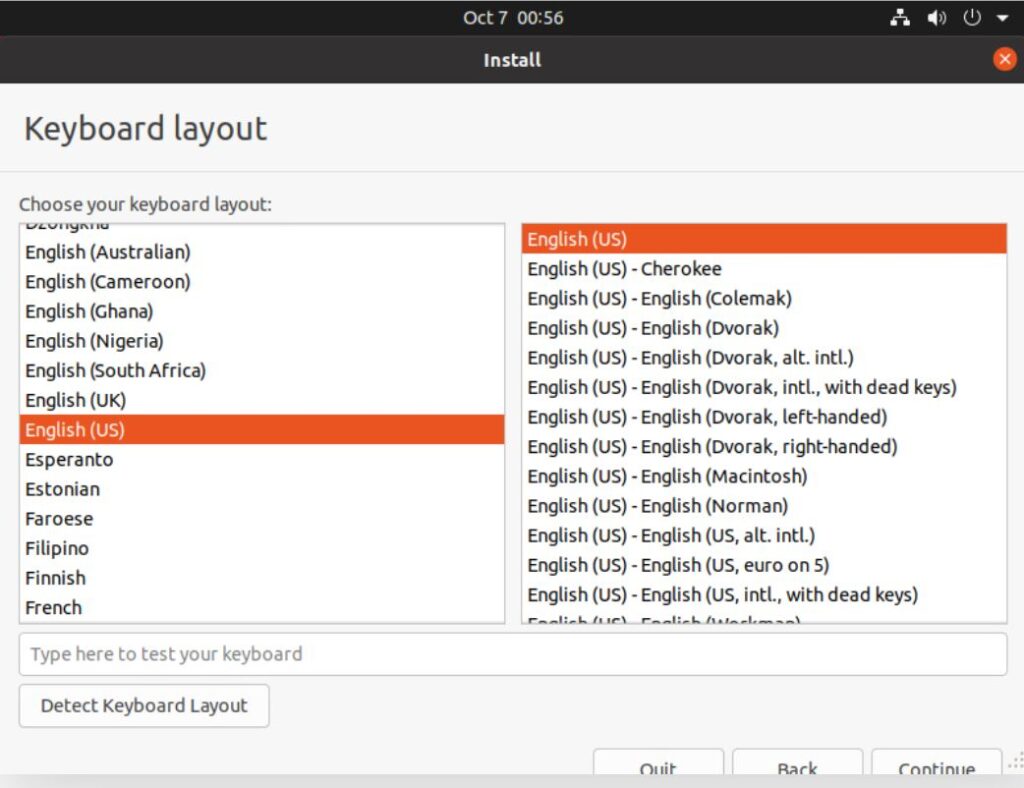
4. Select Keyboard layout.
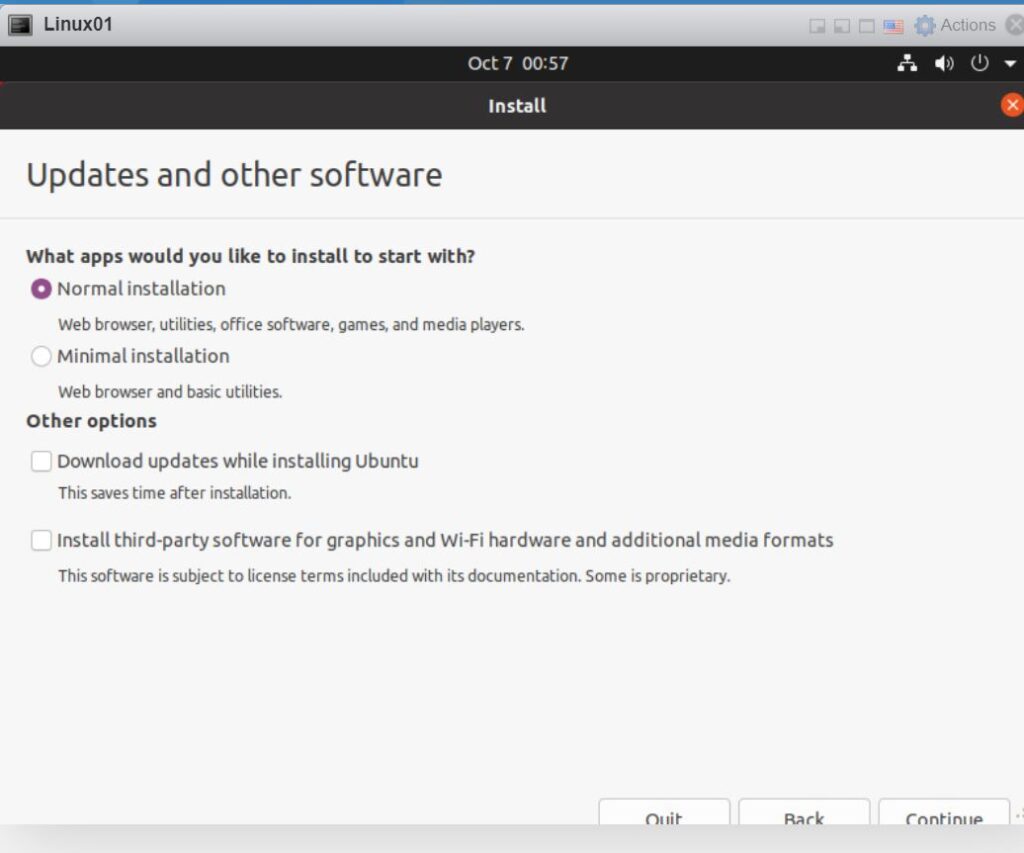
5. Select installation type, normal, minimal, download updates.
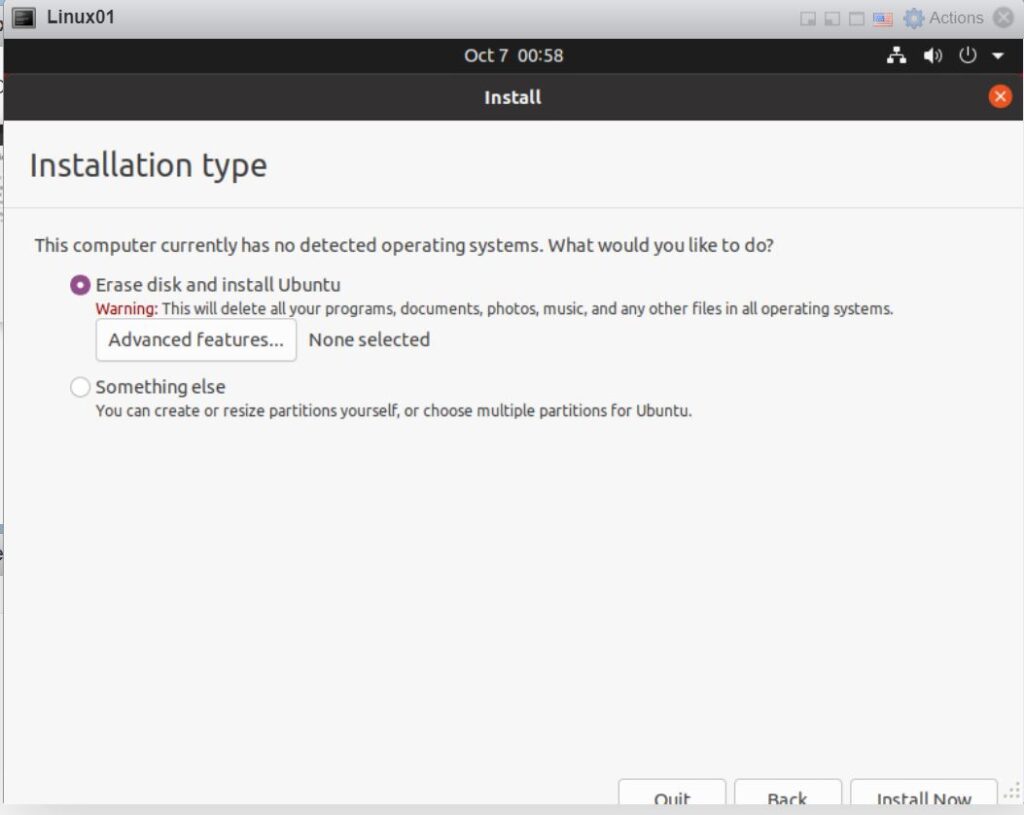
6. You have options to erase disk, Advanced features or Something else.
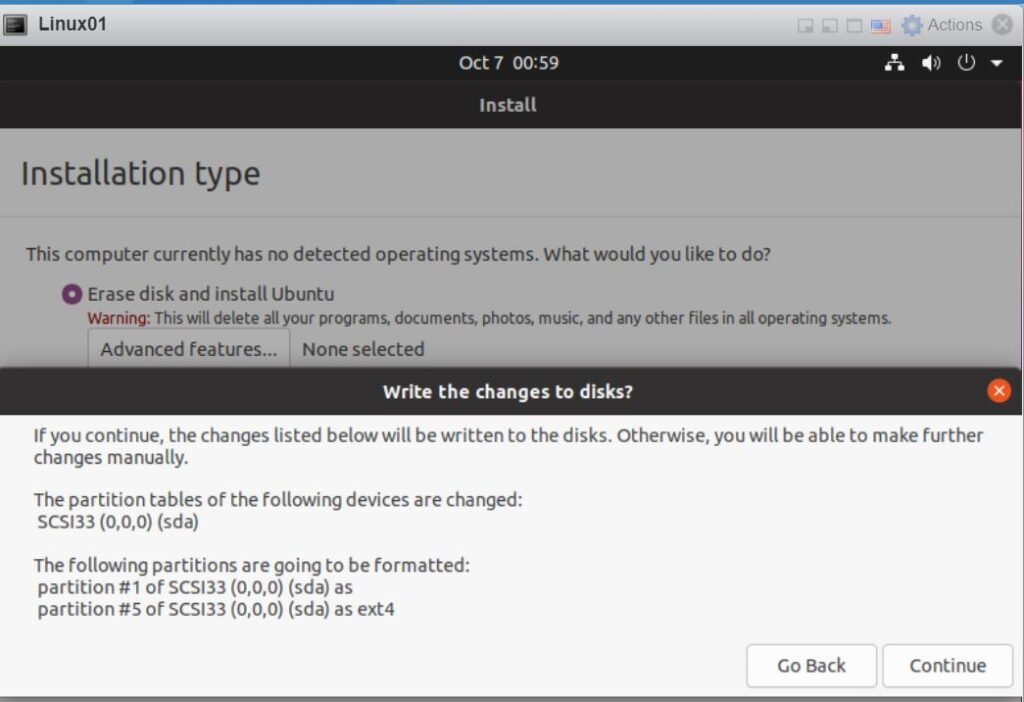
7. Click Continue when Write the changes to disks popup.
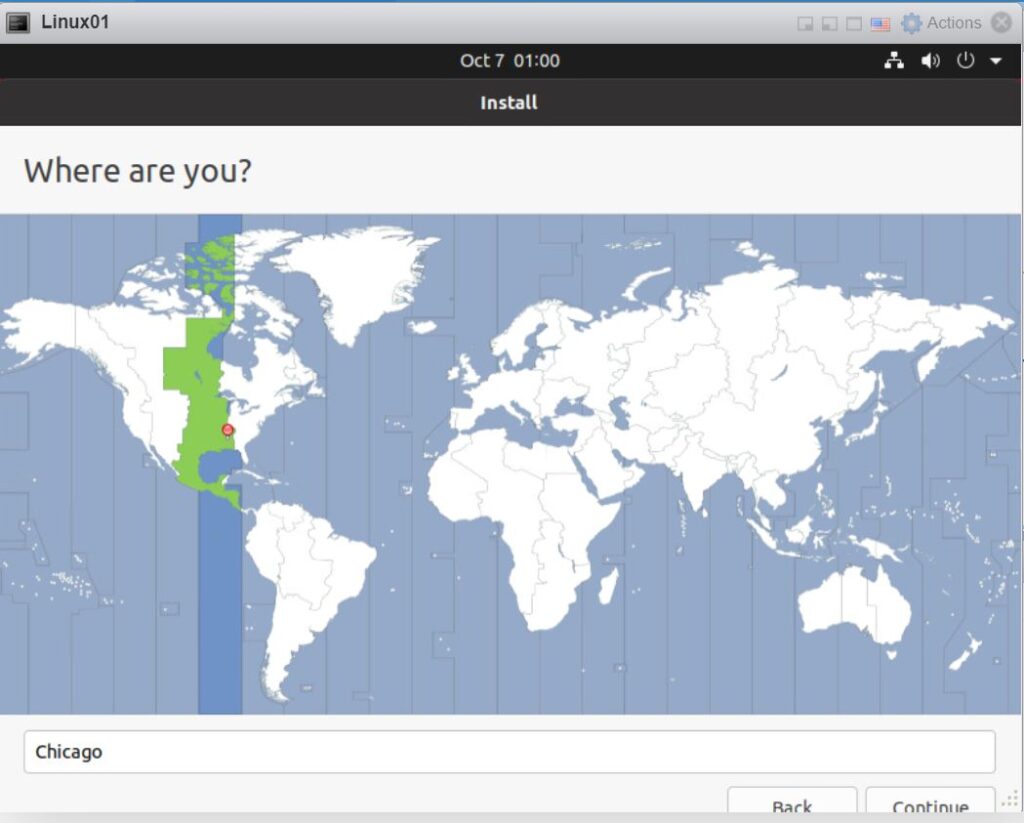
8. Select Time zone.
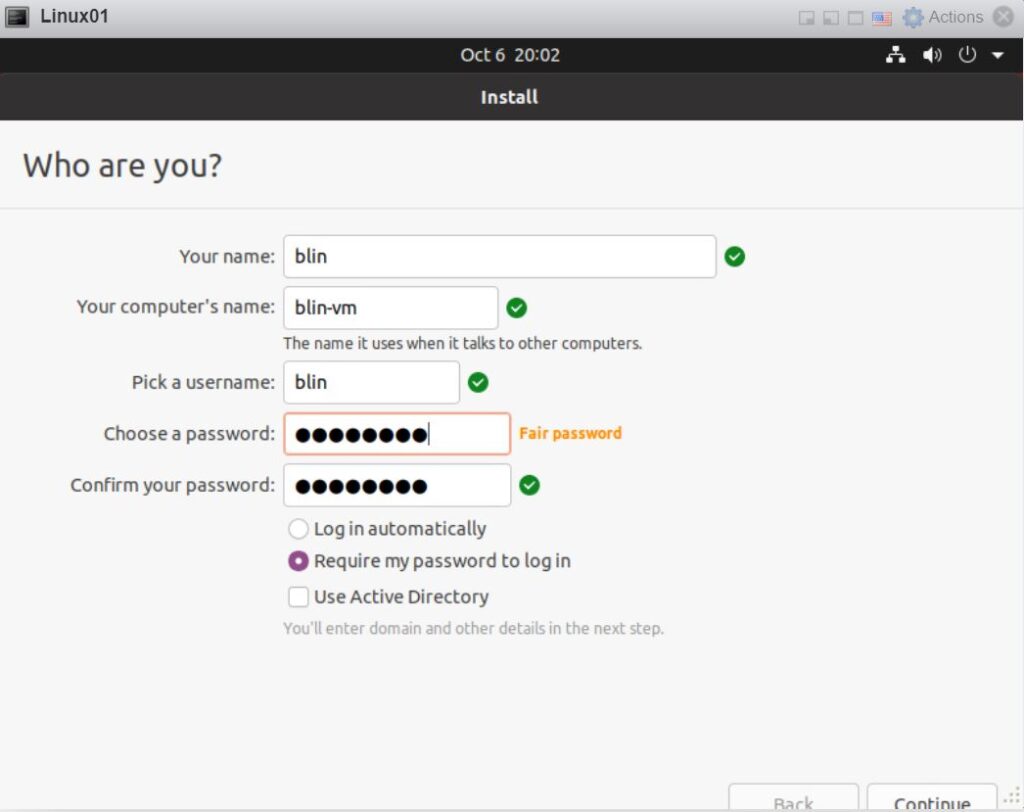
9. Create login credentials and VM name.
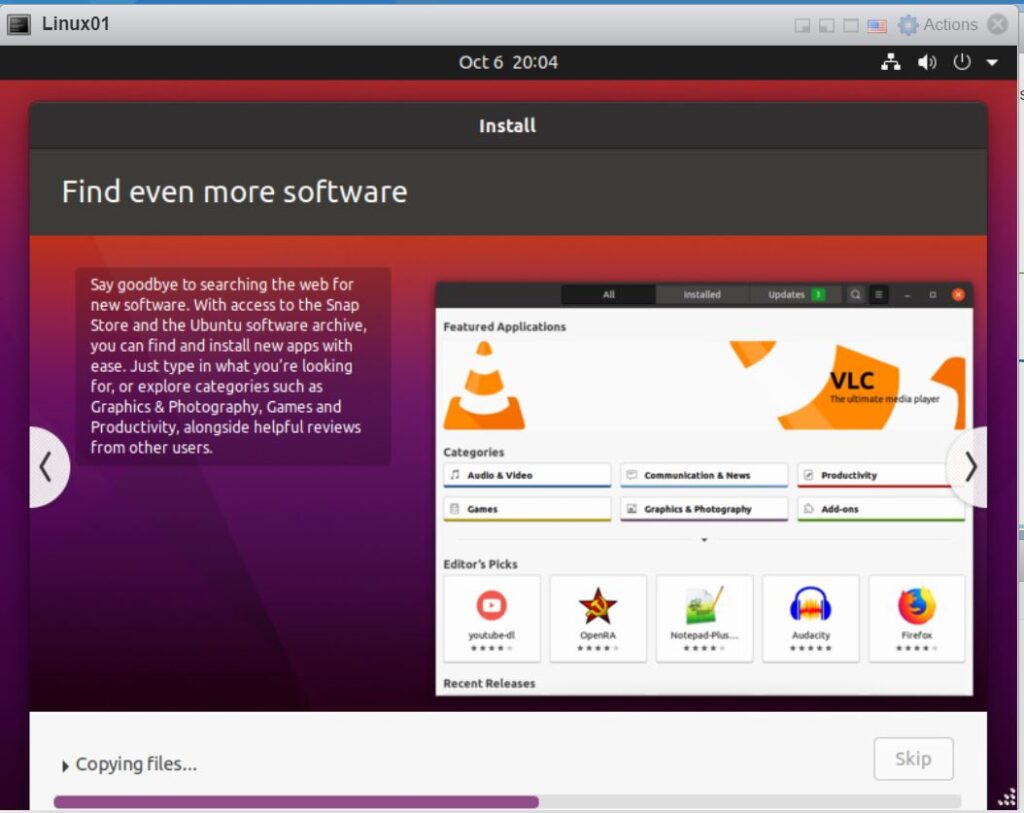
10. Installation is processing.
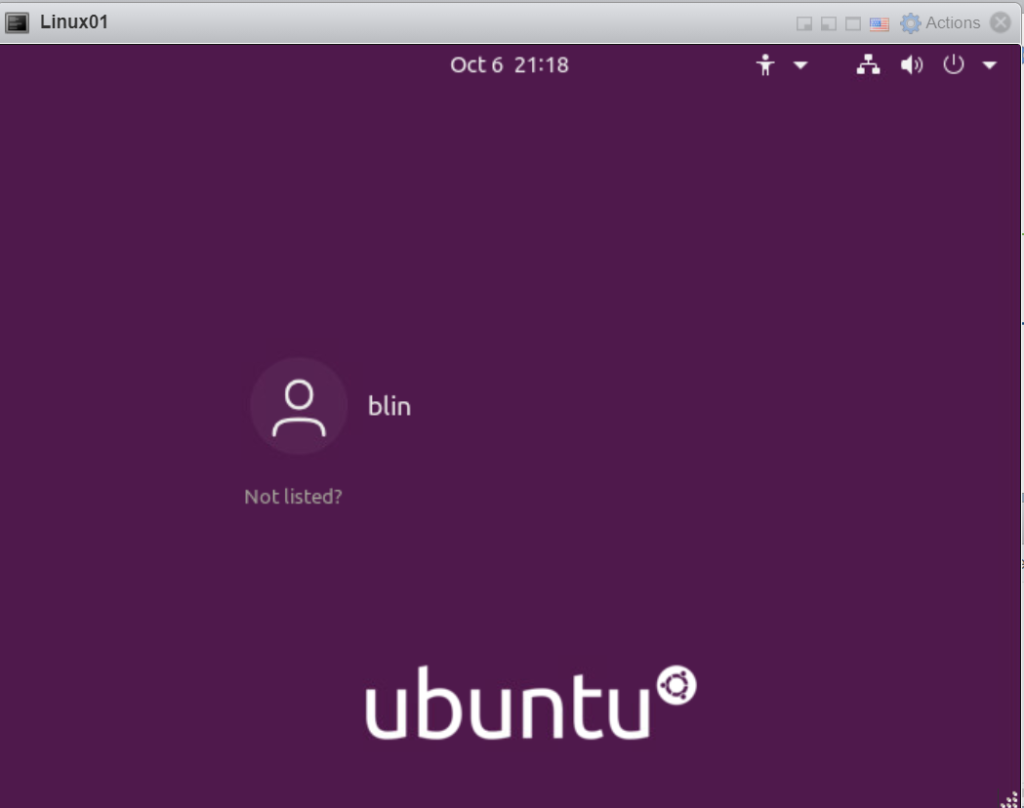
11. When finishing, click Restart Now. Now, you have the Linux ubuntu ready
Please view this step by step video: