in Office 365 new version, manage white list and block list on Office 365 or Outlook is different from the old version.
- Login Office 365 and administrator account.
- Go to Admin Center.
- Click Security
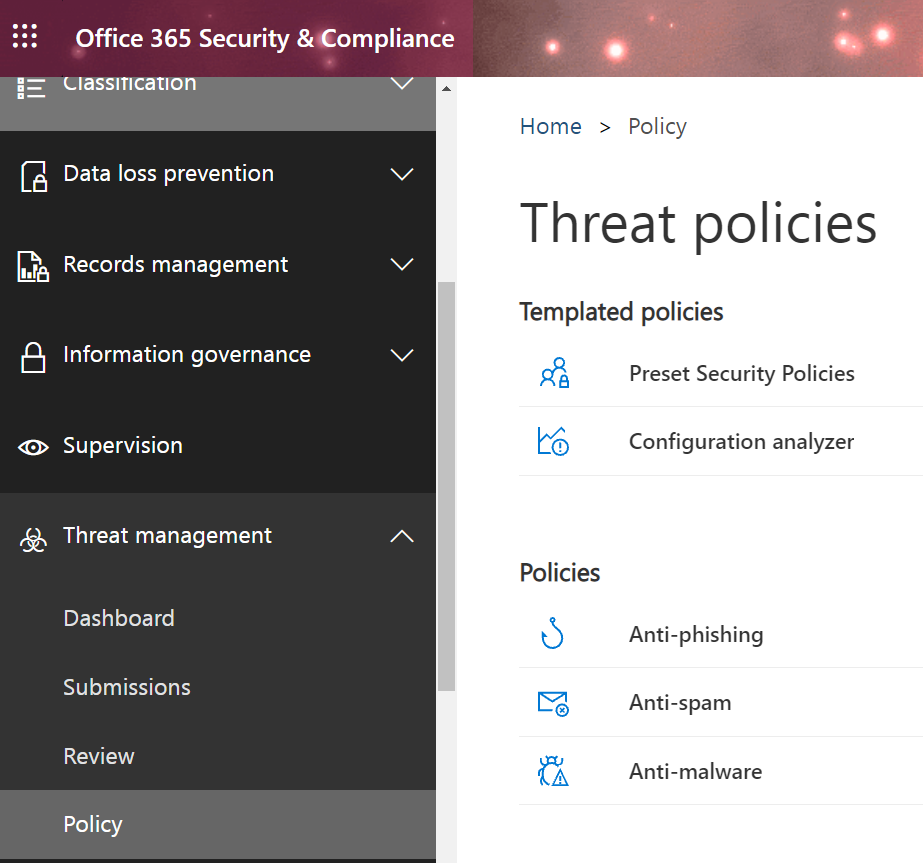
- click on Threat management and then Policy.
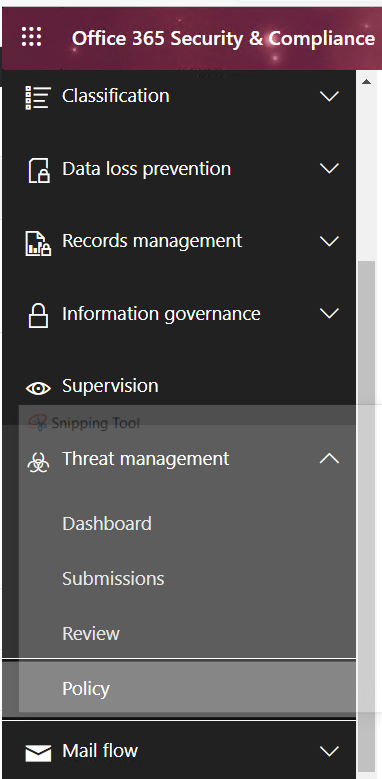
5. Click on Anti-Spam under policies.
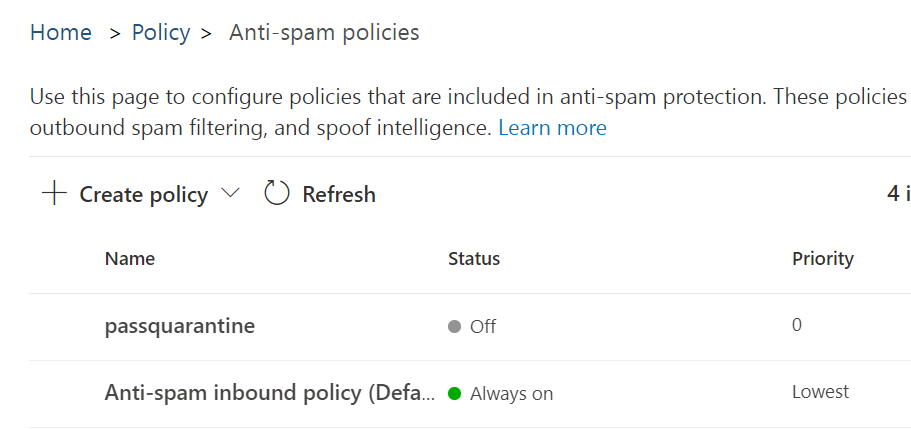
6. In Anti-spam policies, click on the policy you want to manage, Anti-spam inbound policy.
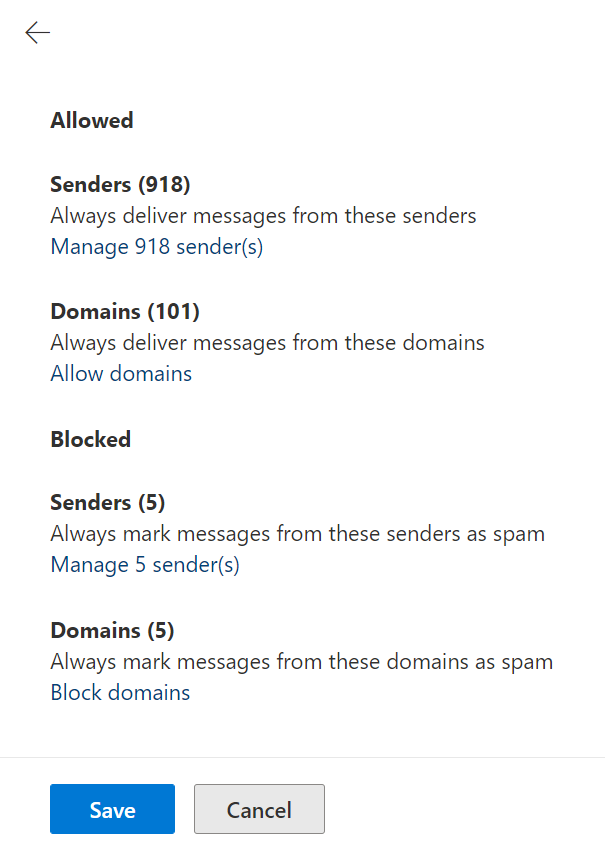
7. Click on Edit allowed and blocked senders and domains.
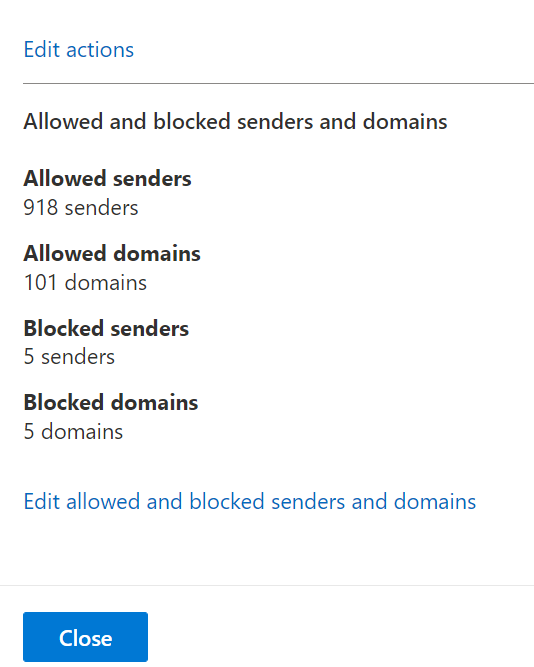
8. Select what you want to edit, Block Domains.
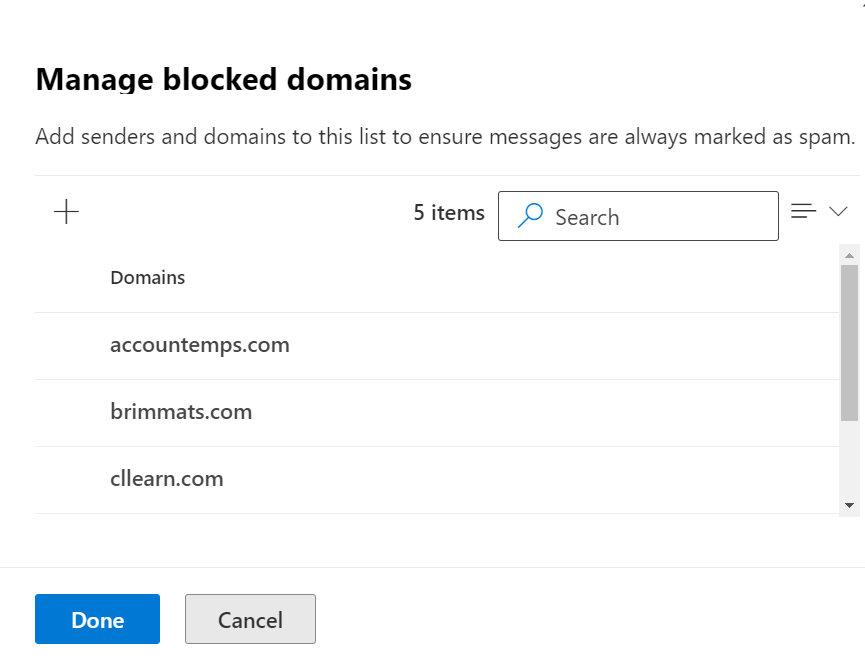
9. Click +.
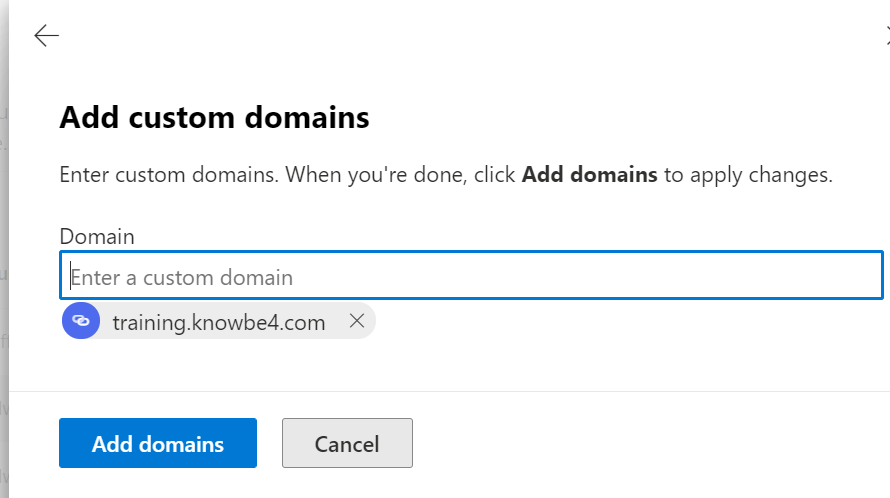
10. Add the domain name and then click Add domains.
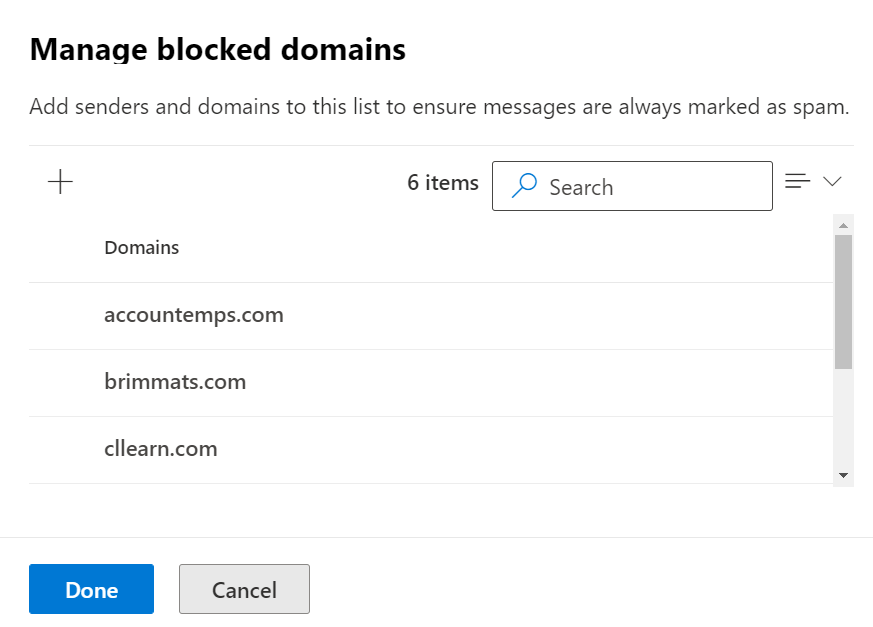
11. When finishing, click Done!
12. Click Save and then Close.
