Situation: the client would like to use outside Reception agent and forward the reception phone call to the agent. Here is how to do so.
Step 1: Configure
Step 2: Call Routing on reception Mitel Connect
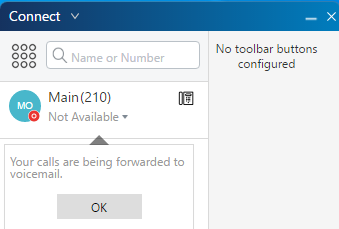
- Login Operator on Mitel Connect.
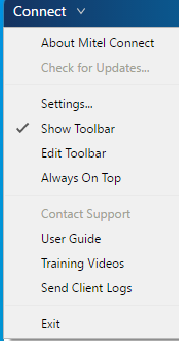
- Click Connect.
3. Click on Settings.
4. Click on Call Routing, and then Power Routing.

5. Click on Create New Power Rule.

6. Enter the Rule Name and select +time is.
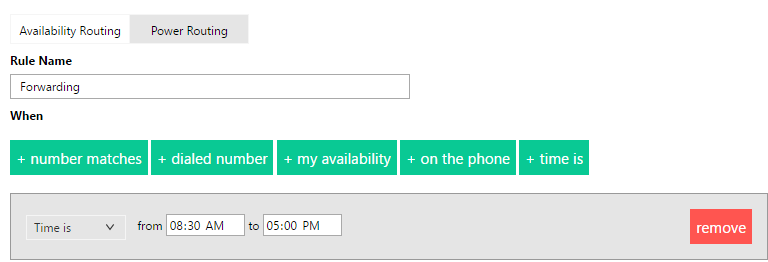
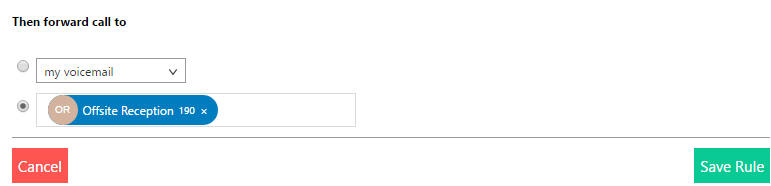
7. Enter the Reception forwarding extension #.
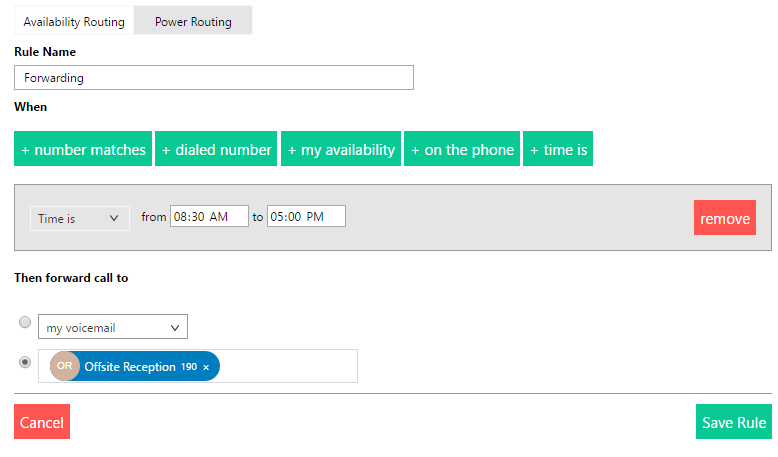
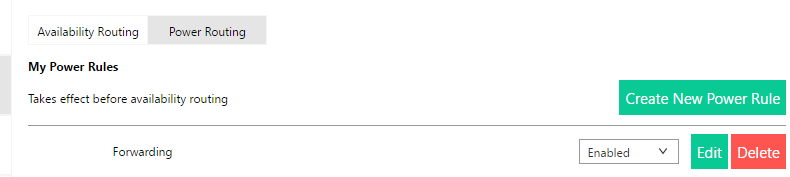
8. Save the rule.
9. You should have the Forwarding ready.