- Open Omada Software and run Omada Setup Wizard.
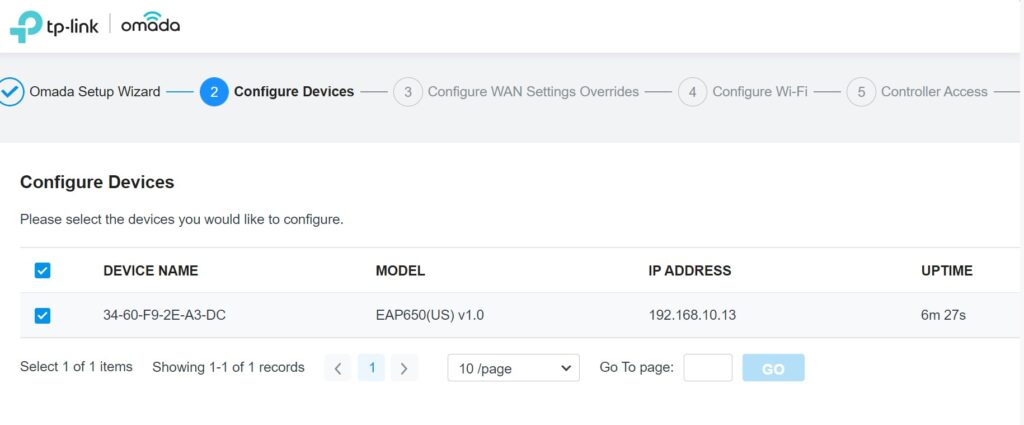
- In Configure Devices. If the TP-Link Wireless AP is in the same network, the software should detect it.
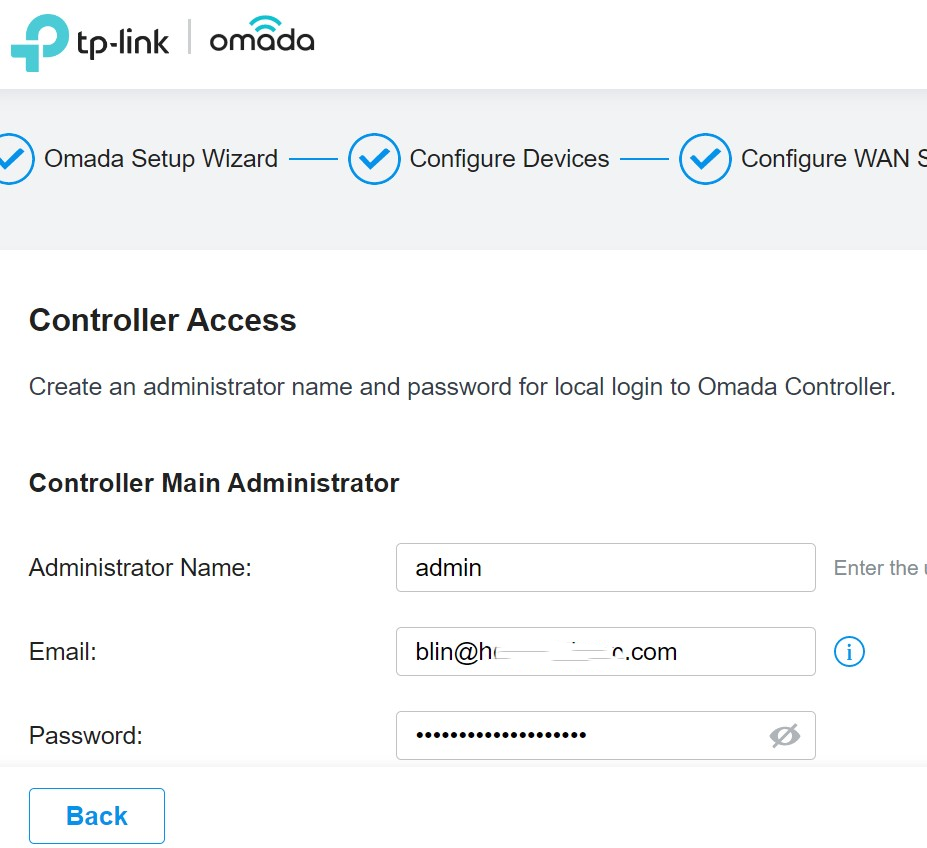
3. Enter the Controller Access Administrator Name, email address, Password.
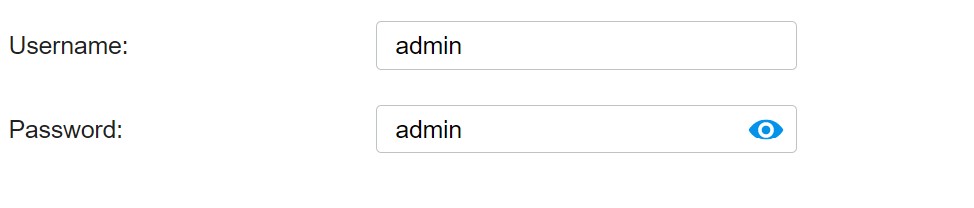
4. Enter the Device Account Username and Password. By the default the username and password are admin.
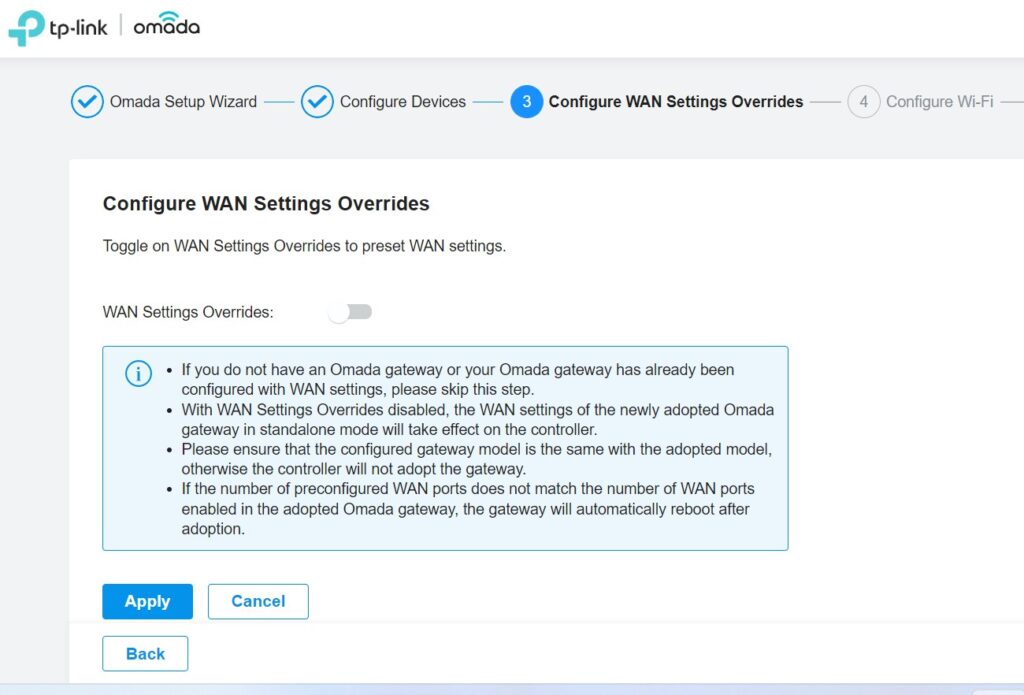
5. Configure WAN Settings Overrides.
6. Configure WAN Settings
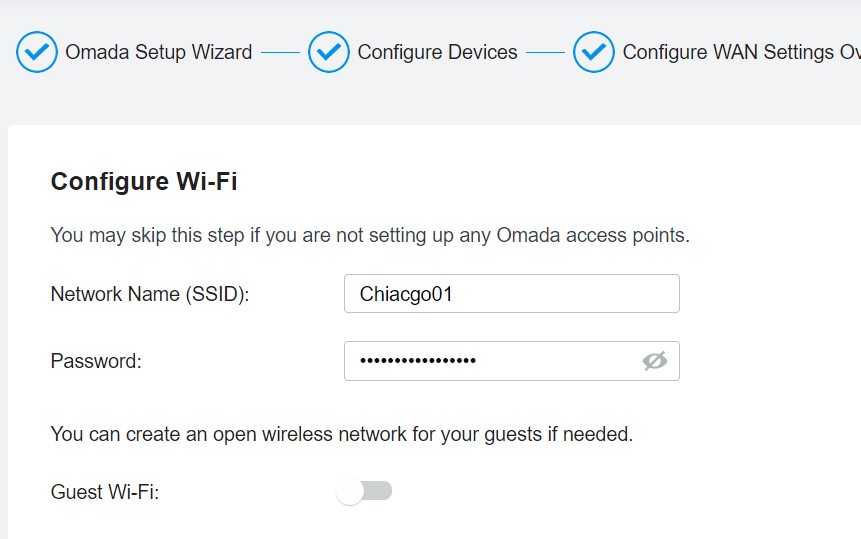
7. Configure Wi-Fi Controller Access.
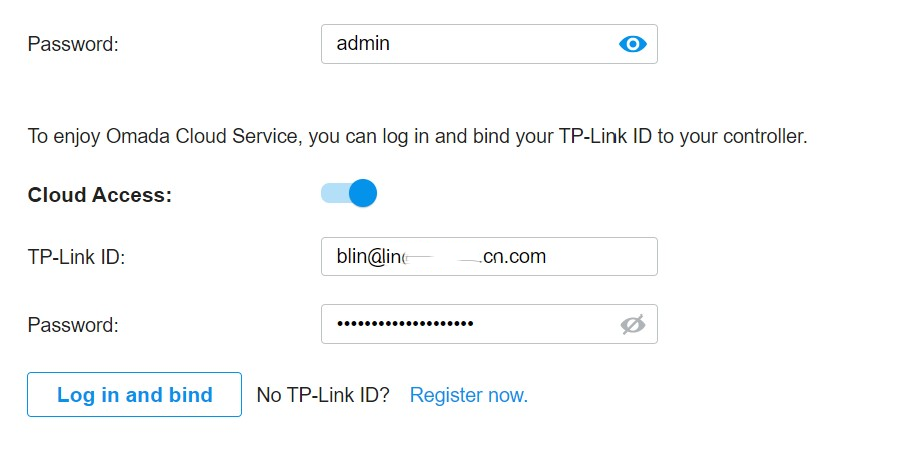
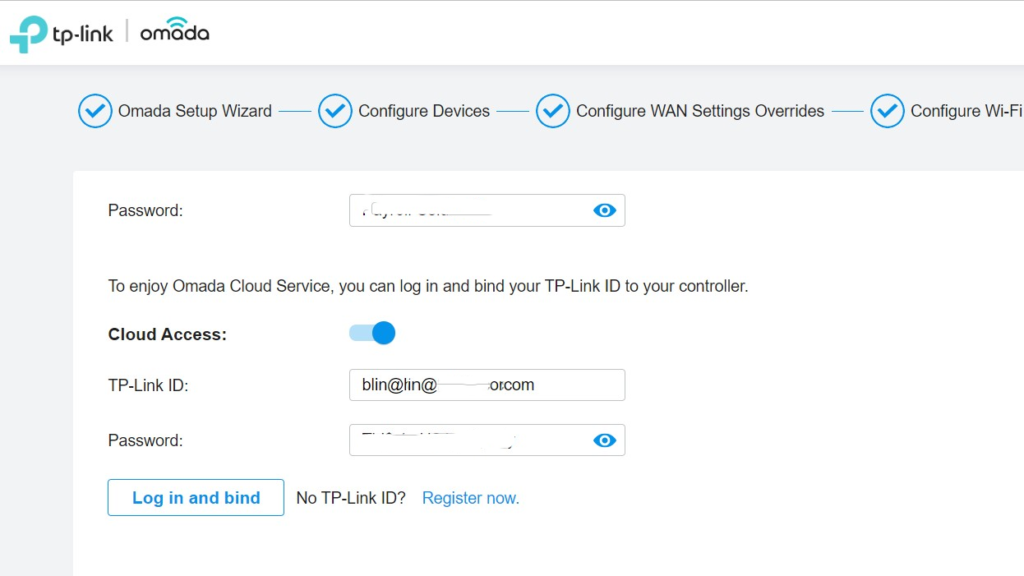
8. Enable Omada Cloud Service.

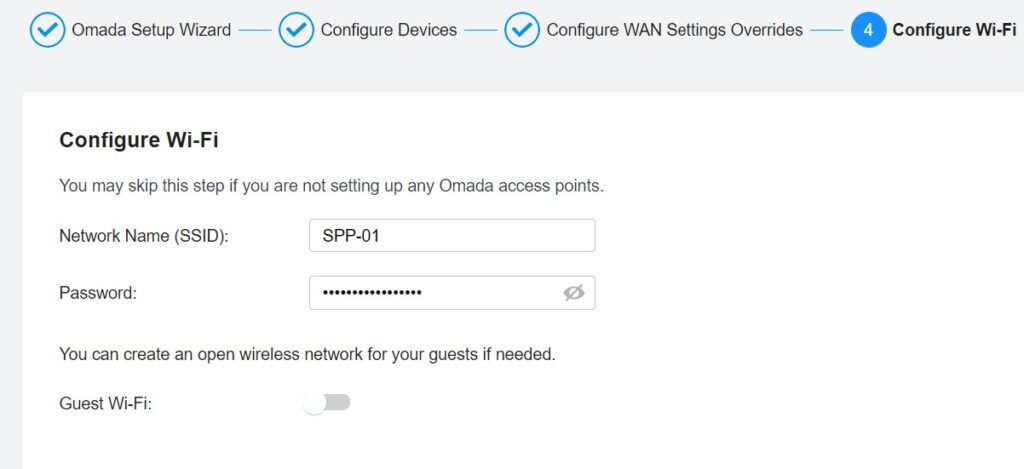
9. Configure Wi-Fi Controller network name (SSID)
10. Enter Device Account Username and Password.
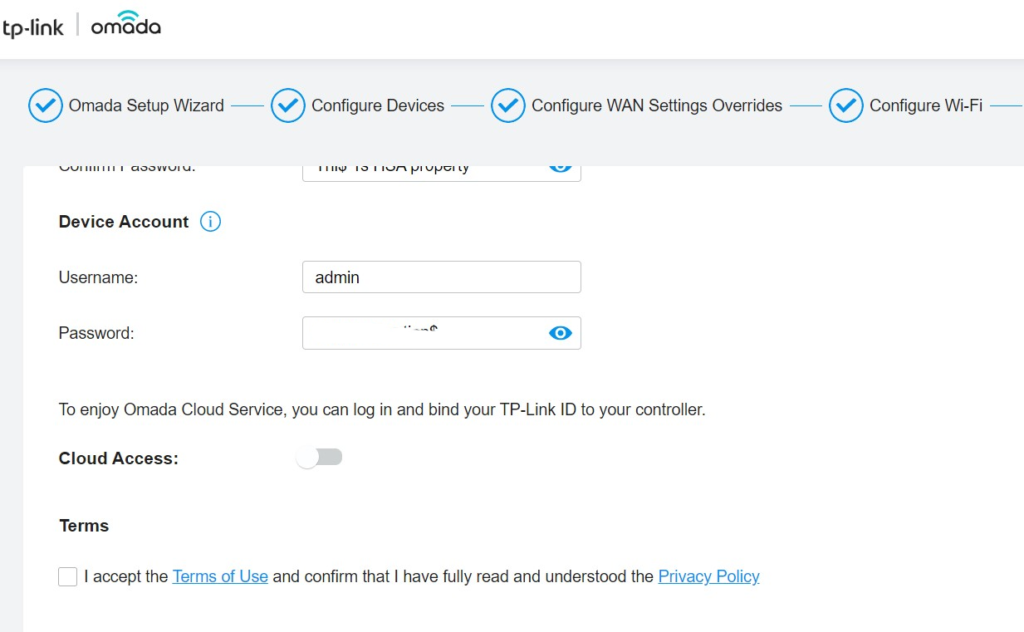
11. Configure Cloud Access
12. complete the settings.
Please view this step by step video: