- Login Omada Controller from your local computer. Note: You may do it from Cloud Controller. However, you must enable it and make sure your firewall doesn’t block accessing it.

2. Click Settings in the bottom.

3. Click on Wireless Networks.
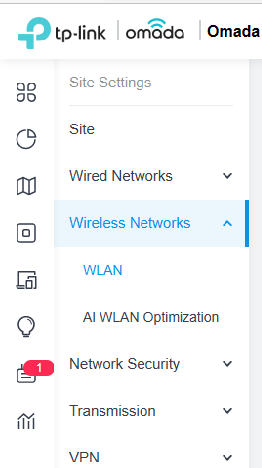
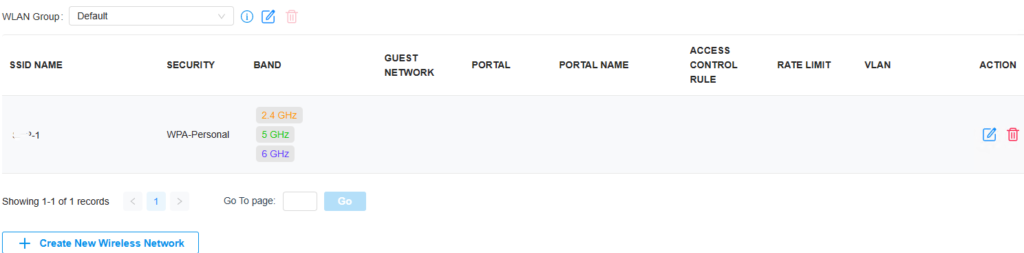
4. In the Central Panel, click Edit icon under ACTION.
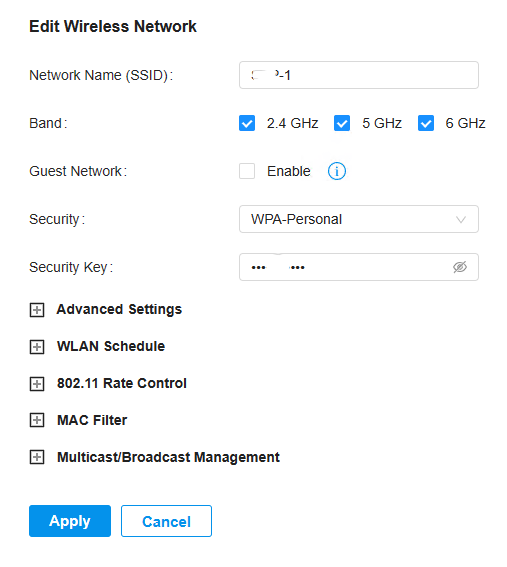
5. Here, you change the SSID, password, Enable Guset Network and more such as Advanced Settings, WLAN Schedule. Click Apply to save the settings.