To configure certificate in Palo Alto Firewall, we may have two options: Generate a Certificate or Import a certificate if you already have a certificate on a device.
A. Generate a Certificate
- Logon PA firewall and go to Device>Certificate Management>Certificates
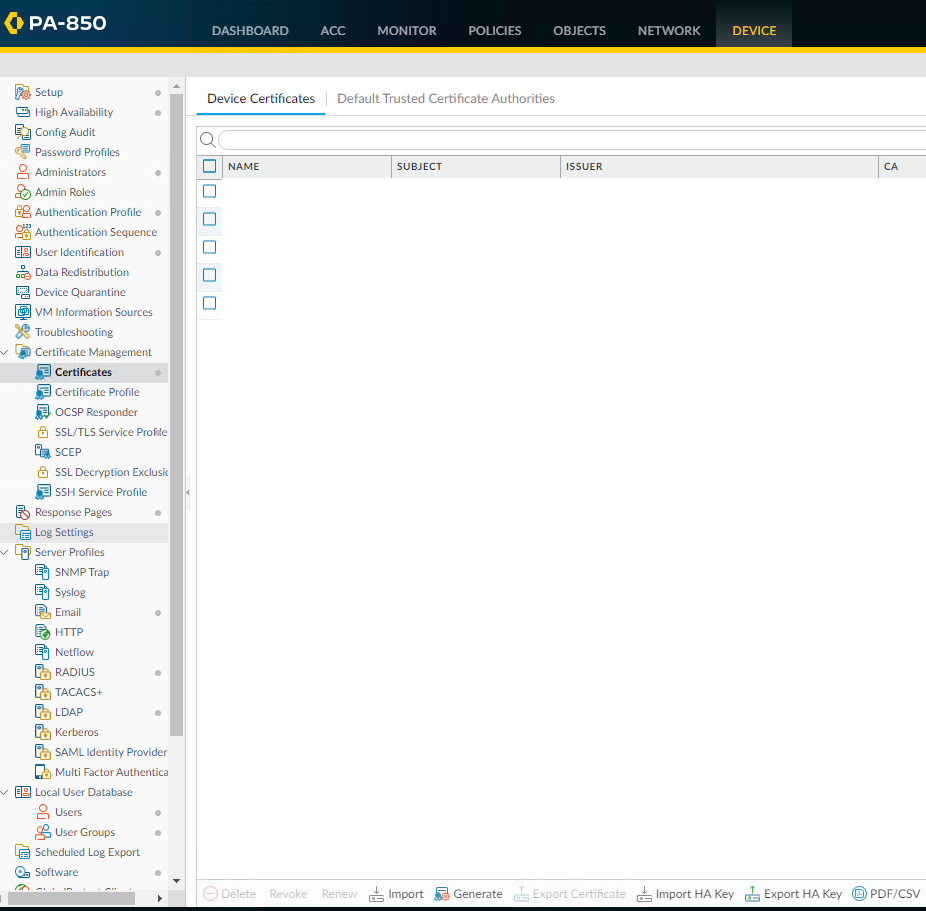
2. Click on Generate

3. Select Local (default) as the Certificate Type. Enter the information such as Certificate Name, Common Name.
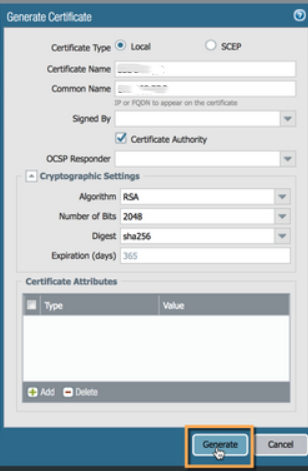
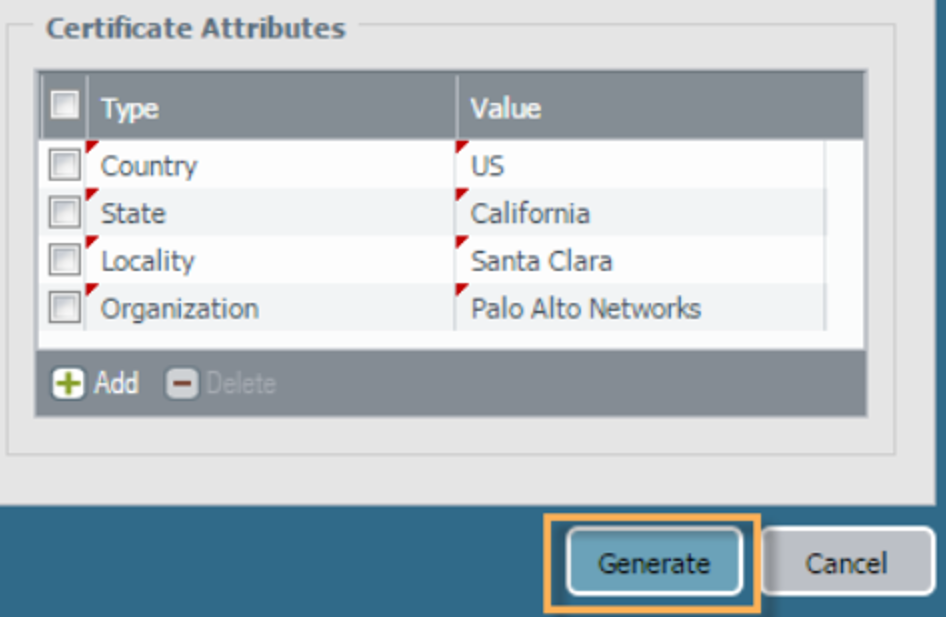
4. In Certificate Attributes, Select the check boxes that correspond to the intended use of the certificate on the firewall. Then click on Generate.
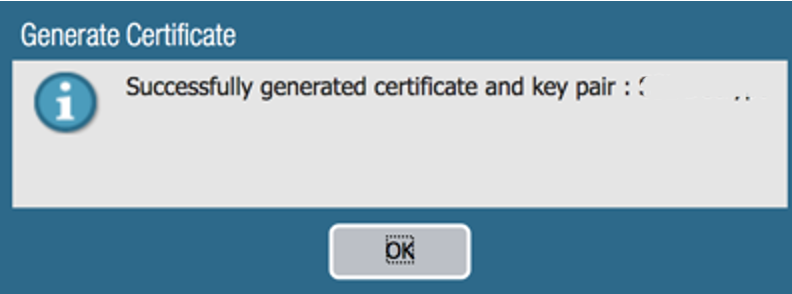
5. If it is successfully generated the certificate, click OK and then Commit.
B. Import a Certificate and Private Key
If your company has been using a certificate on other devices, you can import it from the certificate authority (CA). Assuming you already export the certificate, here is the steps for importing the certificate to PA Firewall.
- Go to Device>Certificate Management>Certificates
- Click on Import.
3. Enter the information such as Certificate Name, Certificate File, Import Private Key.
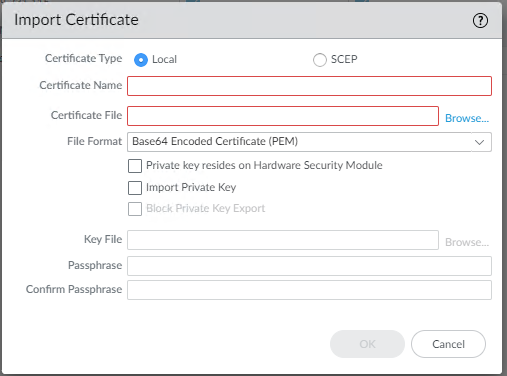
4. Click O and then commit.
