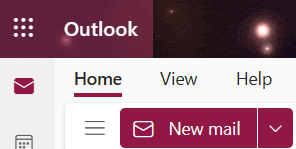
- Log in to your Office 365 account and open Outlook.
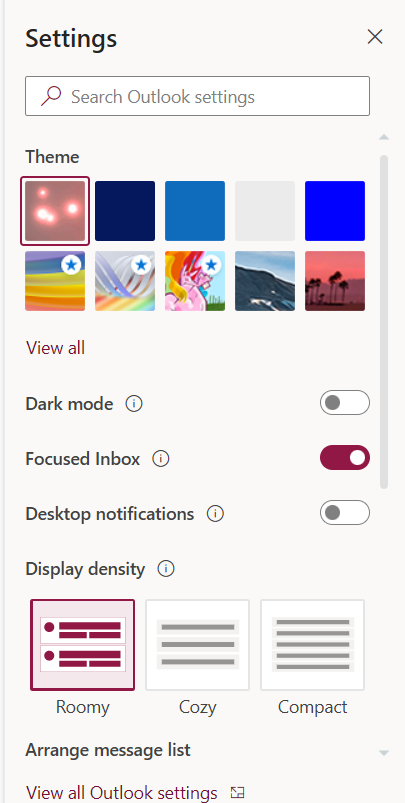
2. Click on the gear icon in the top-right corner

3. Select “View all Outlook settings” from the drop-down menu.
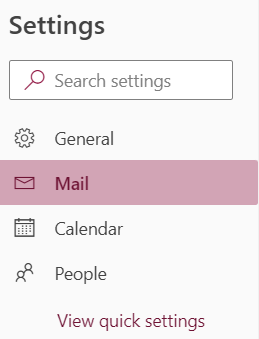
4. In the Settings window, select “Mail” from the left-hand menu.
5. Click on “Forwarding” in the Mail section.
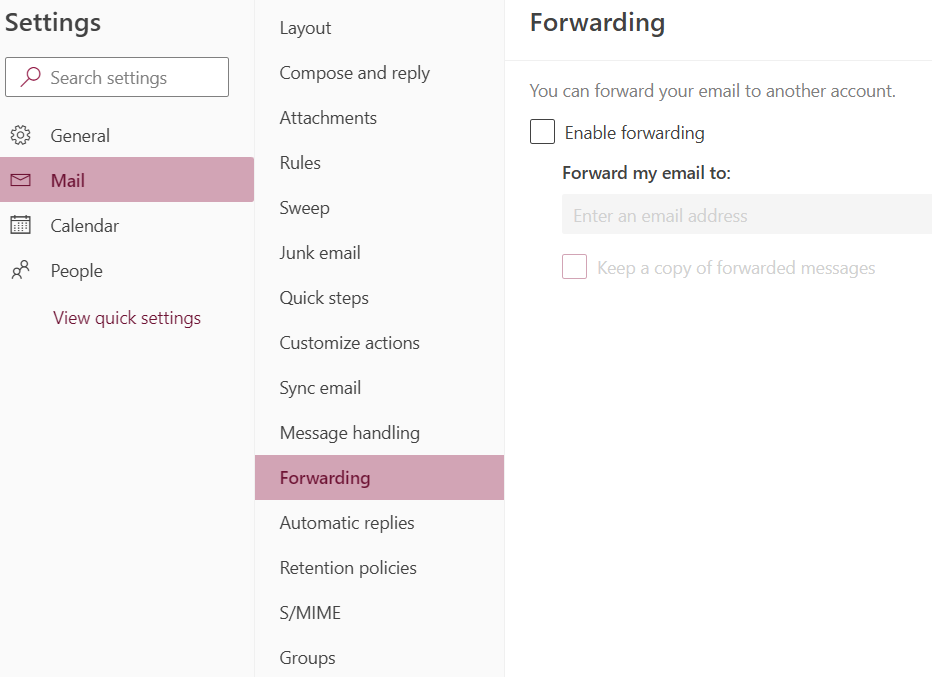
6. In the Forwarding section, enter the email address of the recipient you want to forward your emails to.
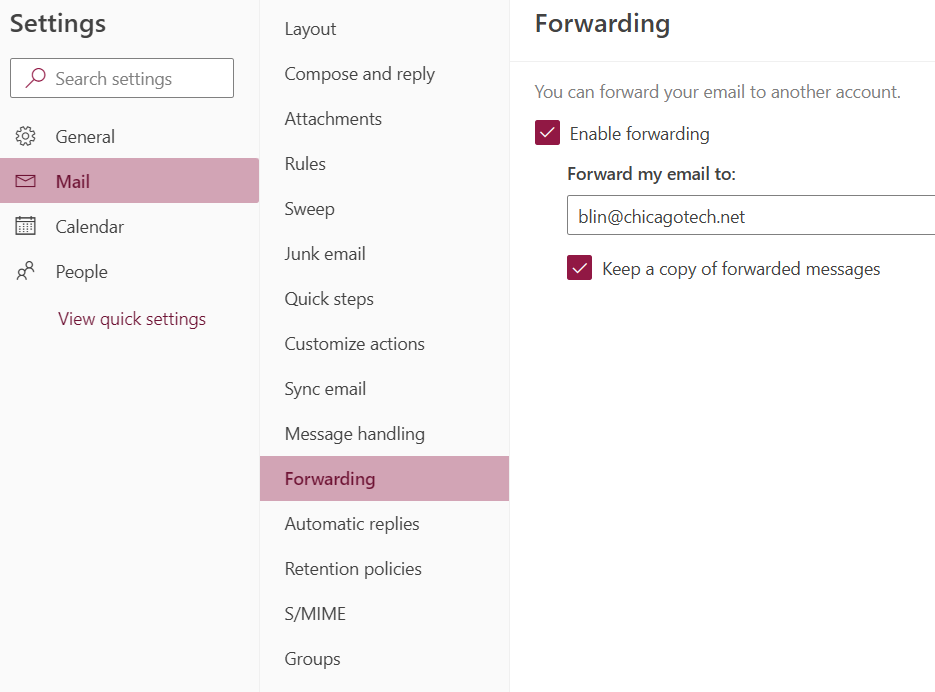
7. You can also choose to keep a copy of forwarded messages in your Office 365 mailbox by selecting the “Keep a copy of forwarded messages” checkbox.
8. Once you have finished configuring your forwarding rules, click the “Save” button.