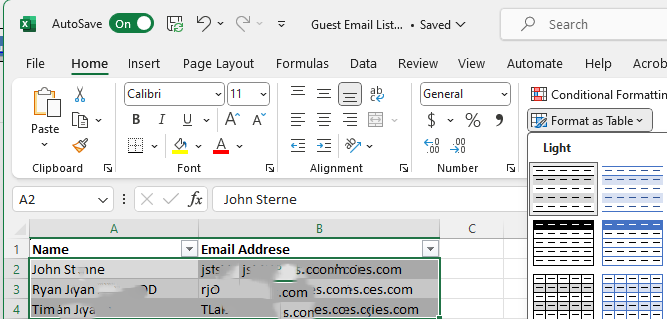
Step 1: Create a excel file with name and email address
Create an Excel table with the email addresses. Save it in OneDrive in our example.
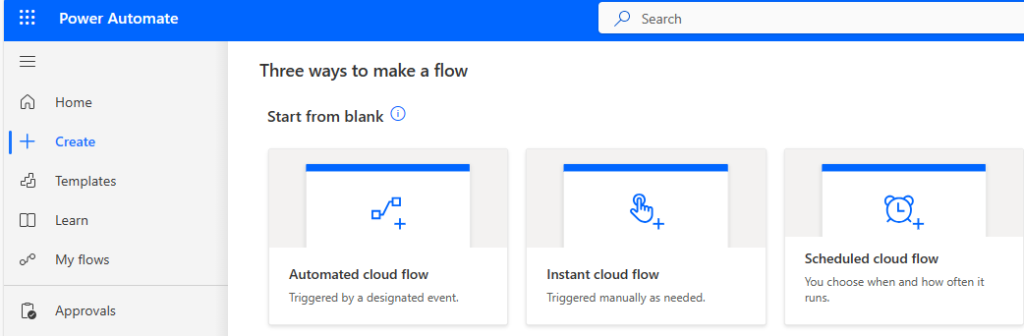
Step 2: Create an Instant Power Automate Flow
- Go to Power Automate by going to https://flow.microsoft.com or https://make.powerautomate.com/
- Click on Create in the left pane.
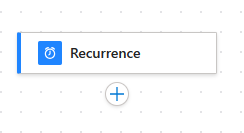
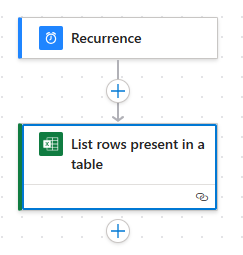
- Select the flow, for example Scheduled cloud flow.
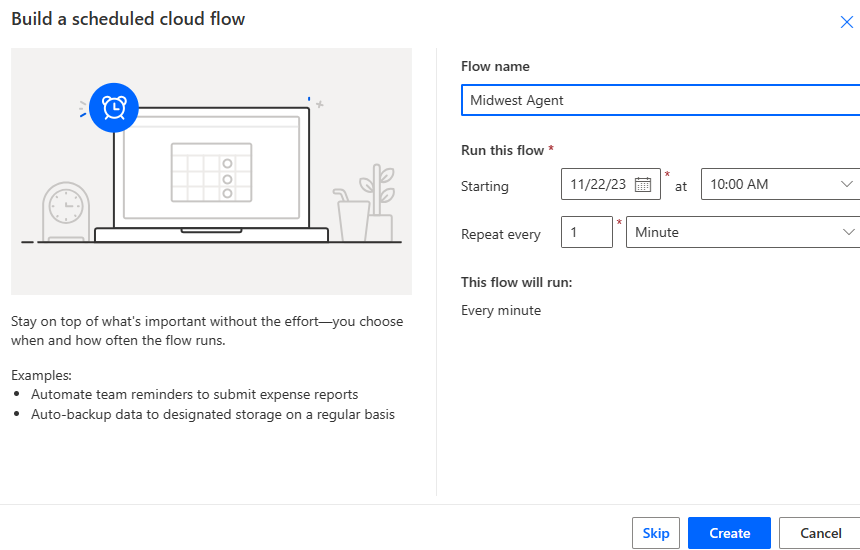
4. Enter the flow name and edit the Run this flow date and time. Then click on Create.
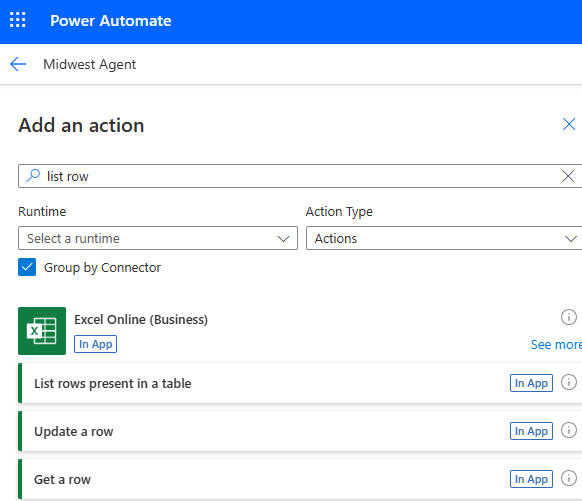
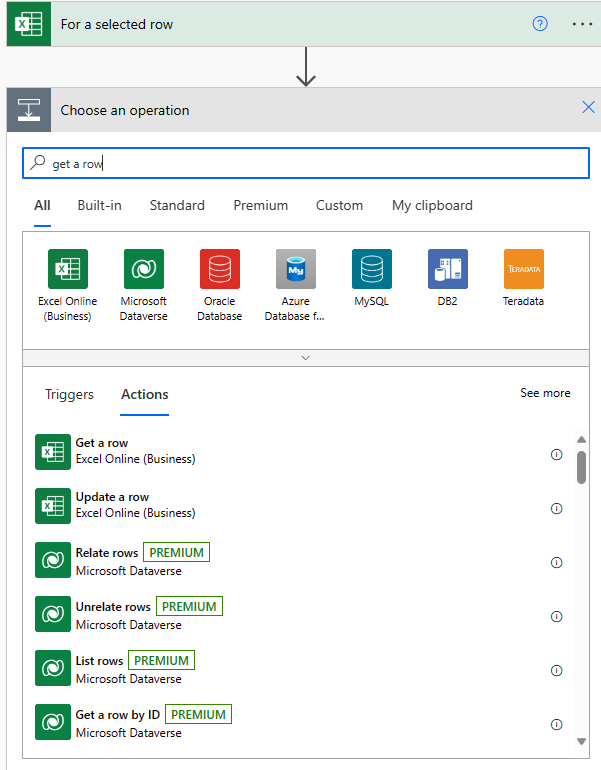
5. Click on + to an action.
6. In the search bar, type list row and select List rows present in a table under Excel Online (Business).
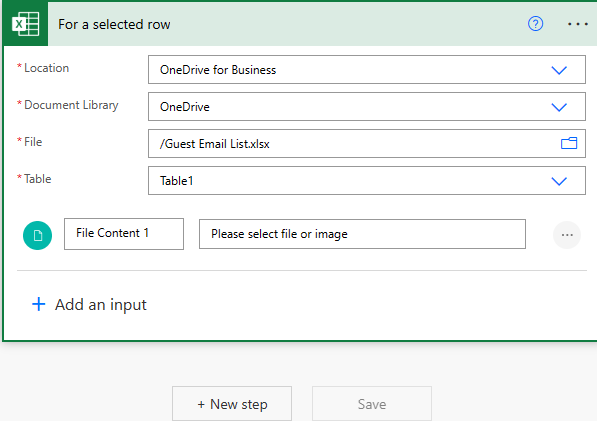
7. Select OneDrive for Business in Location.
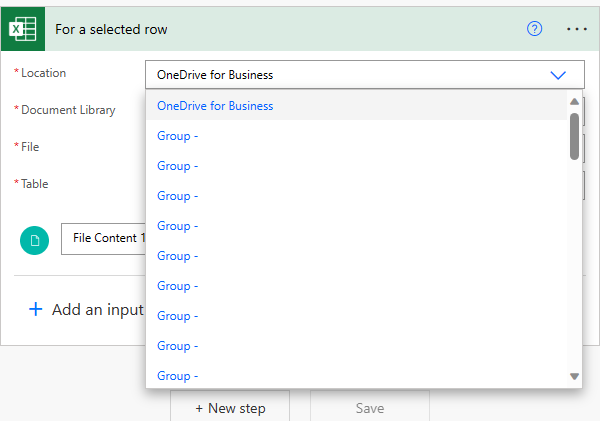
8. Select OneDrive in Documents Library.
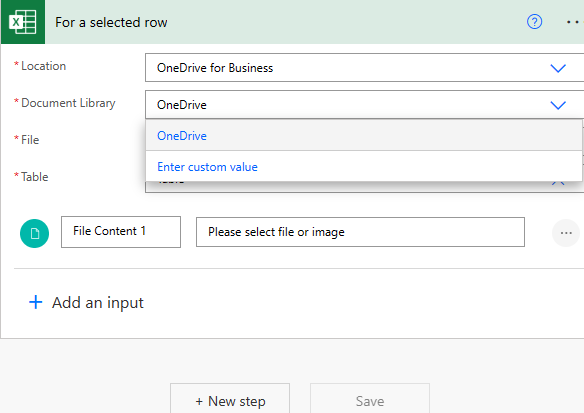
9. Select the excel file saved in step 1.
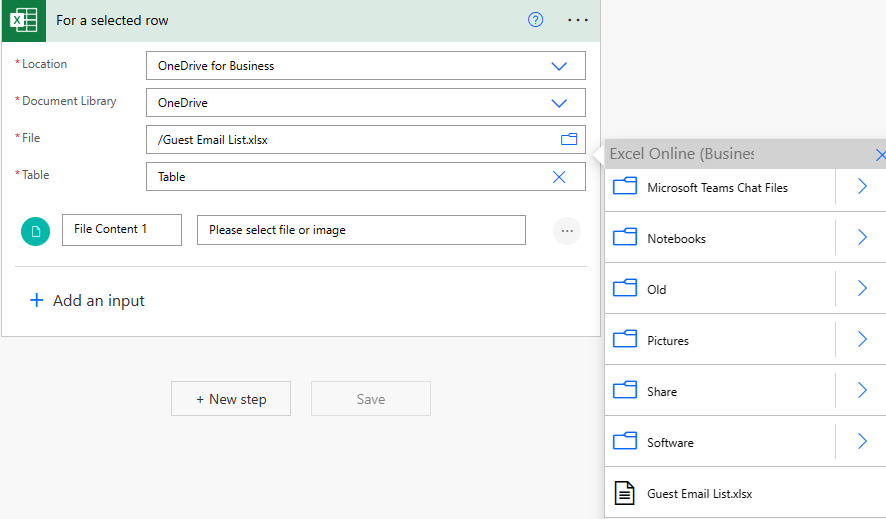
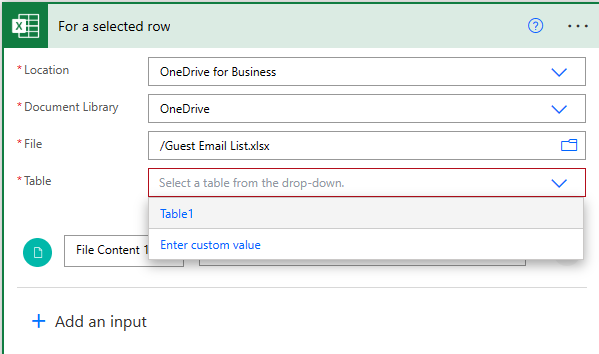
10. Select Table, for example Table1 n our example.
11. Click New step.
12. Click + to choose an operation.
13. Type get a row in the search bar. Select Get a row – Excel Online (Business).
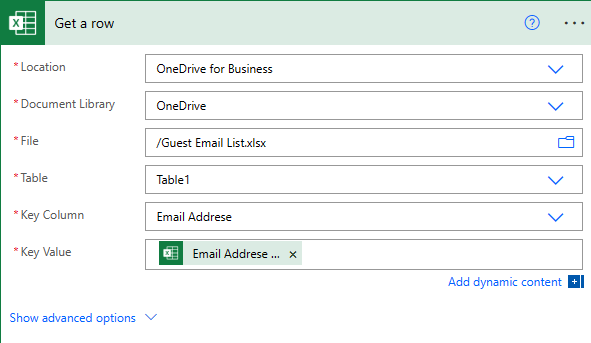
14. Select he column and value.
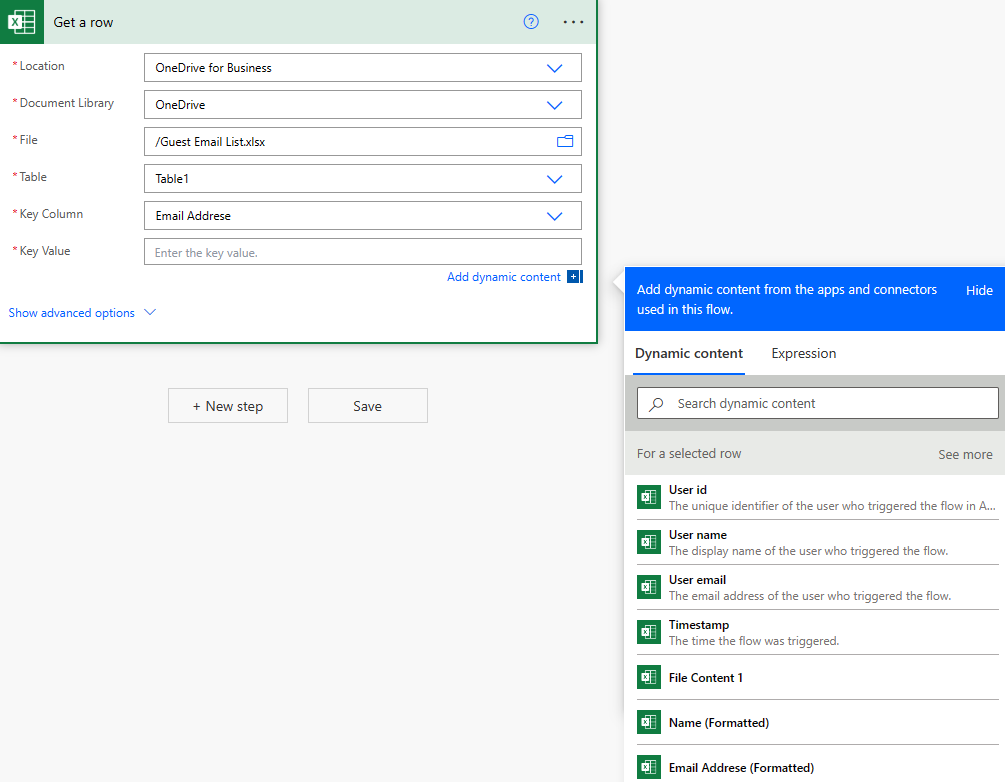
15. If you don’t see Key Value, type /.
16. Add another action for add a member.
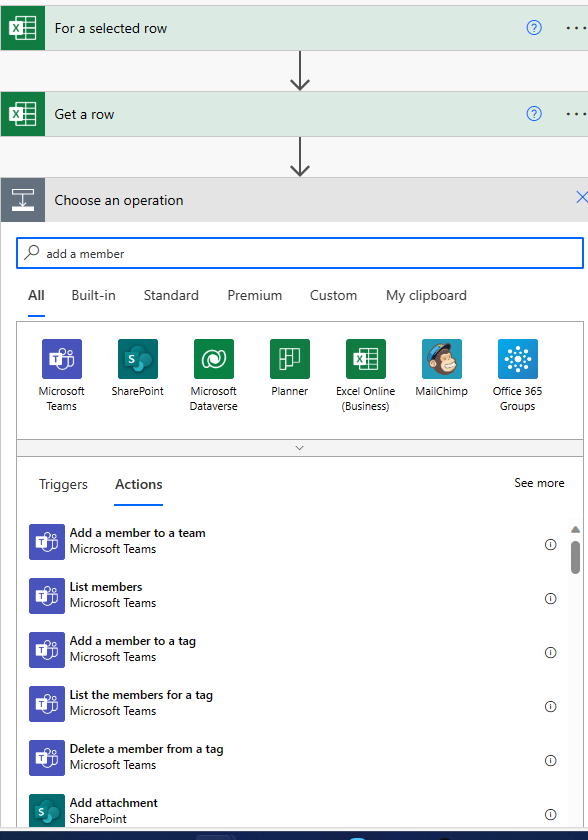
17. Select Team and A user principle name or AAD ID.
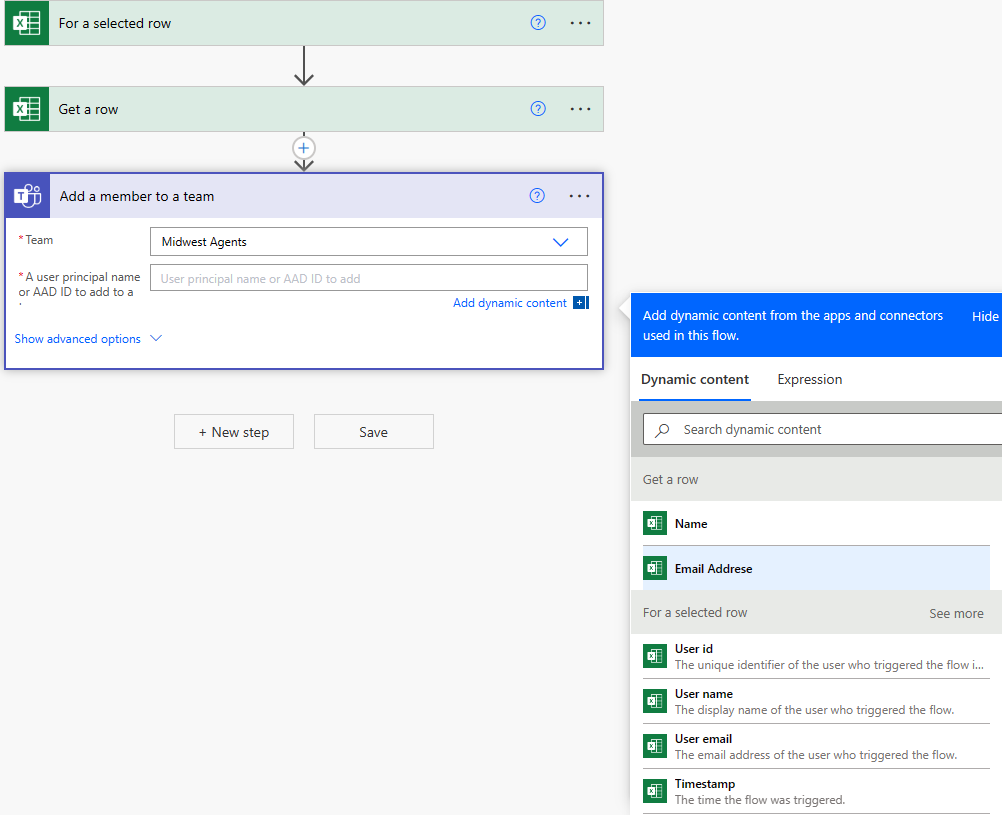
18. Principle name could be Email address.

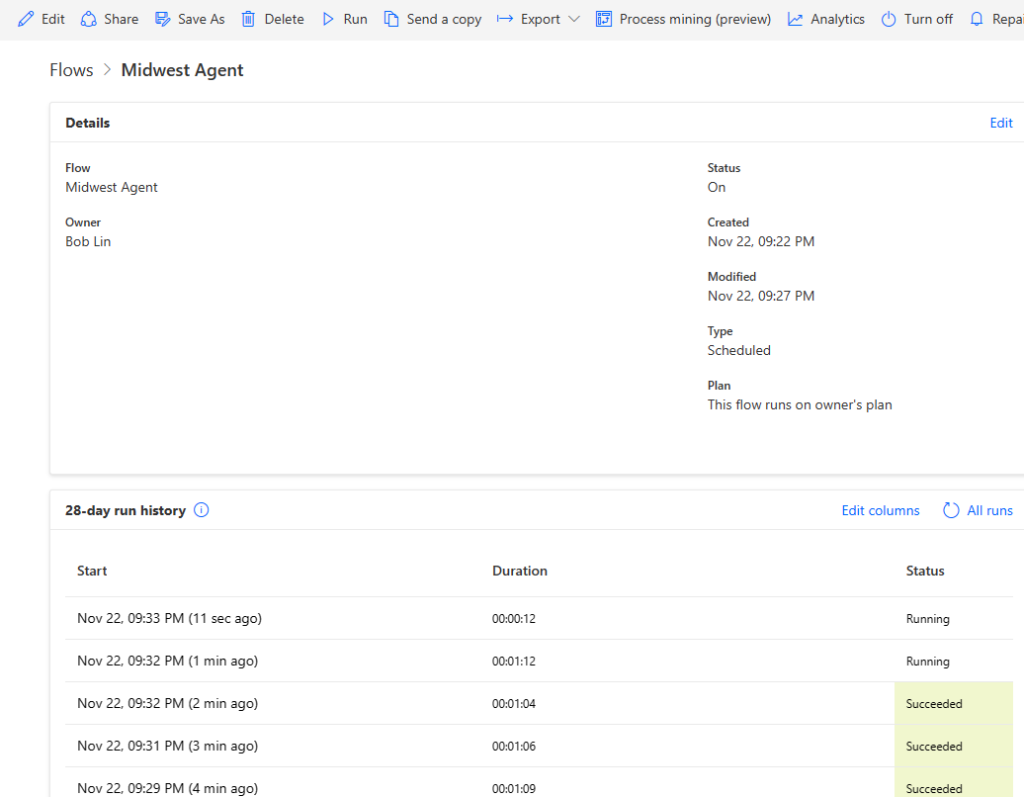
19. Now save the settings.
20. For demo, please check the Team’s member.

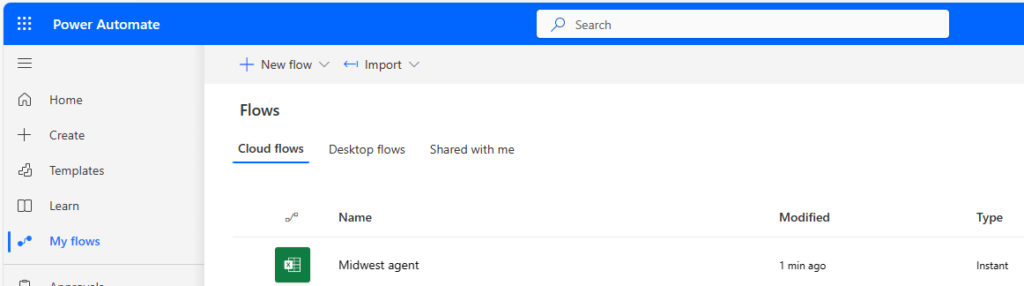
21. You should have just created flow in My flows.
22. You can test it, run it, edit it and turn it off.