- Download SonicWal Global VPN, GVCSetupXX.exe (where XX is either 32 for 32‐bit Windows platforms or 64 for 64‐bit Windows platforms), from MySonicWall.
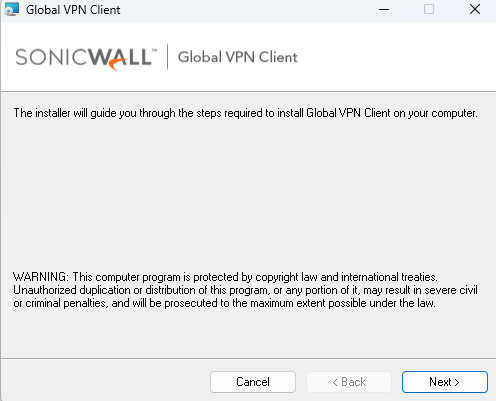
- Double‐click GVCSetupXX.exe to launch the Setup Wizard.
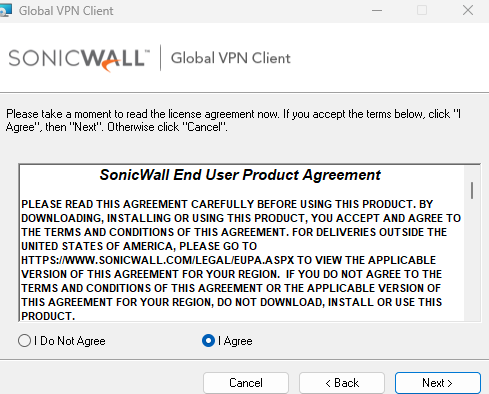
3. Click Next and check Agree in the Agreement.
4. Click Next. The Installation Folder Selection page displays.
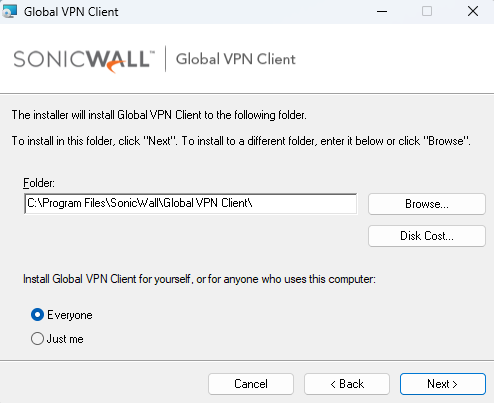
5. Keep the default settings and click on Next.
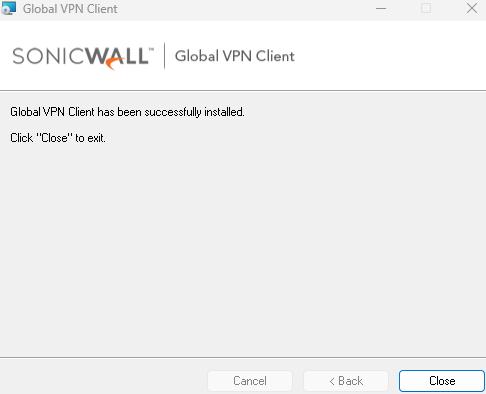
6. Follow the Wizard to complete the instalaltion.
Note: Click Allow if you receive this popup.

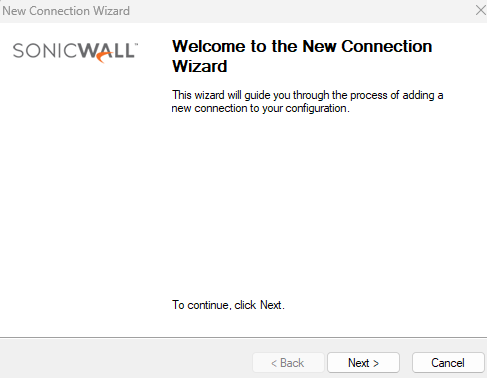
7. Setup Connection.
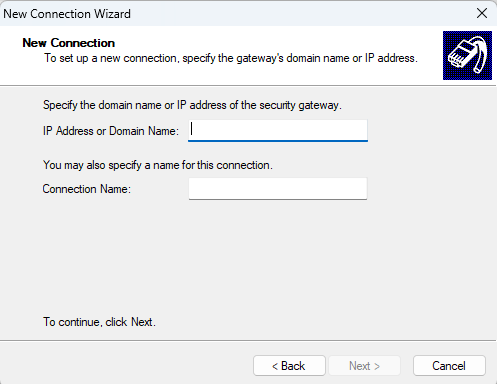
8. Enter IP address of the VPN Server and name.
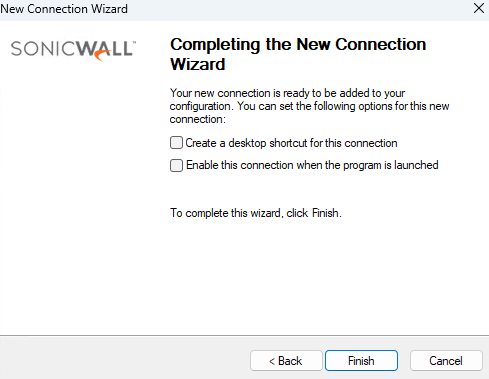
9. Click Finish to complete it.
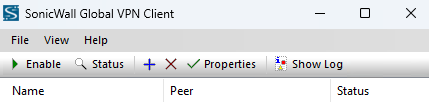
10. Now, it is ready to connect the VPN by clicking on Enable.