A. Configure DHCP in Cisco 1100 Router using GUI
- Login webui, for example https://192.168.10.1.
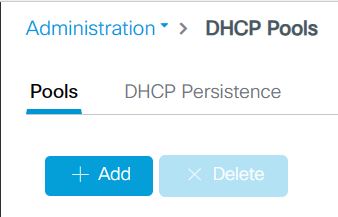
- Navigate to Administrator>DHCP Pools.

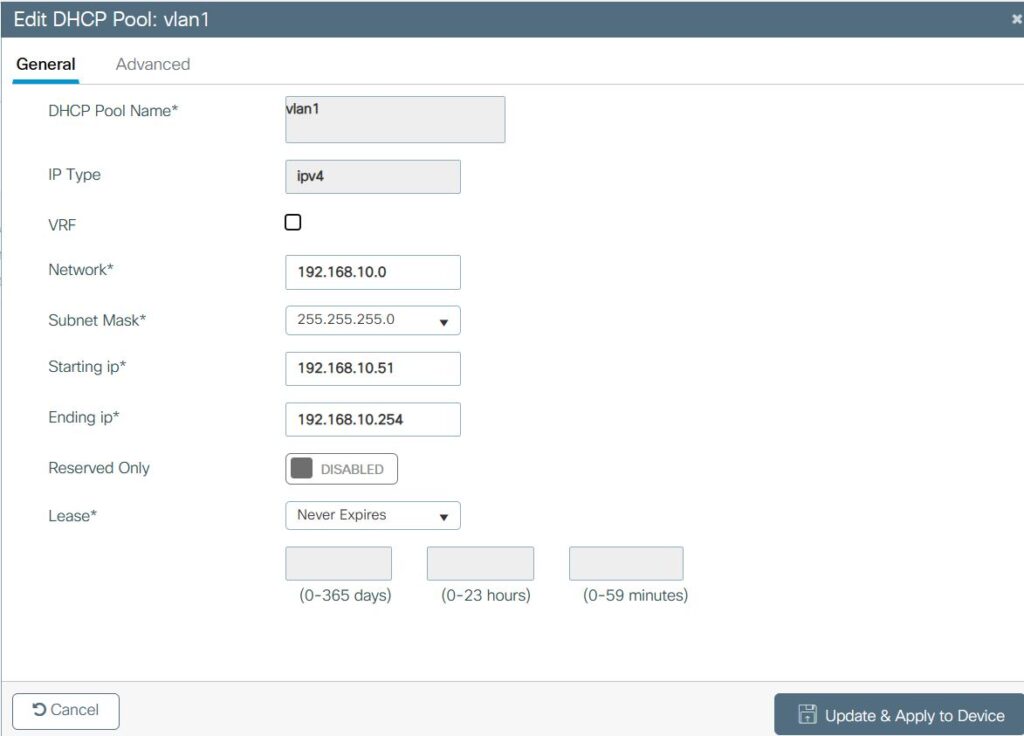
2. Click on +Add.
3. Enter DHCP information such as DHCP Pool Name, Network, Subnet Mask, Starting ip, Ending ip.
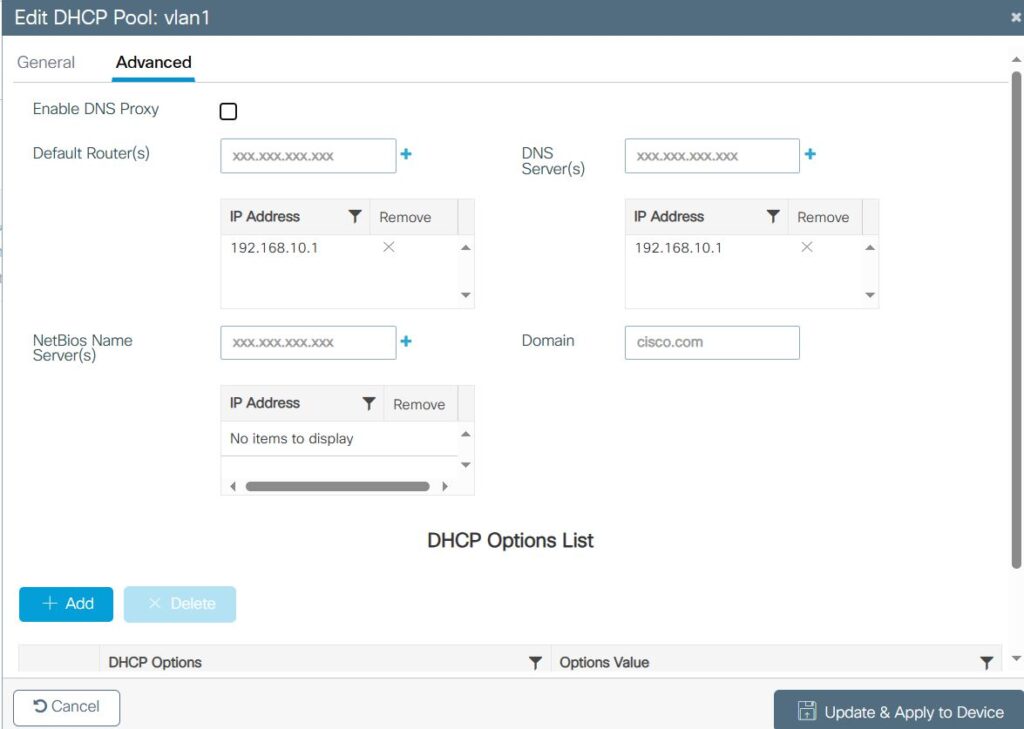
4. Click Advanced and enter information such as Default Ruter, DNS, NetBIOS and Domain.
B. Configure DHCP in Cisco 1100 Router using commands
- enable
- configure terminal
- ip dhcp pool name
- utilization mark high percentage-number [log]
- utilization mark low percentage-number [log]
- network network-number [mask | /prefix-length] [secondary]
- domain-name domain
- dns-server address [address2 … address8]
- bootfile filename
- next-server address [address2 … address8]
- netbios-name-server address [address2 … address8]
- netbios-node-type type
- default-router address [address2 … address8]
- option code [instance number] {ascii string | hex string | ip-address}
- lease {days [hours [minutes]] | infinite}
- end