- Login vmware ESX1 Web Client
![](http://www.howtonetworking.com/blog/wp-content/uploads/2021/10/image-16-1024x685.png)
2. Select Host and then click on Create/Register VM
![](http://www.howtonetworking.com/blog/wp-content/uploads/2021/10/vm35-1024x404.jpg)
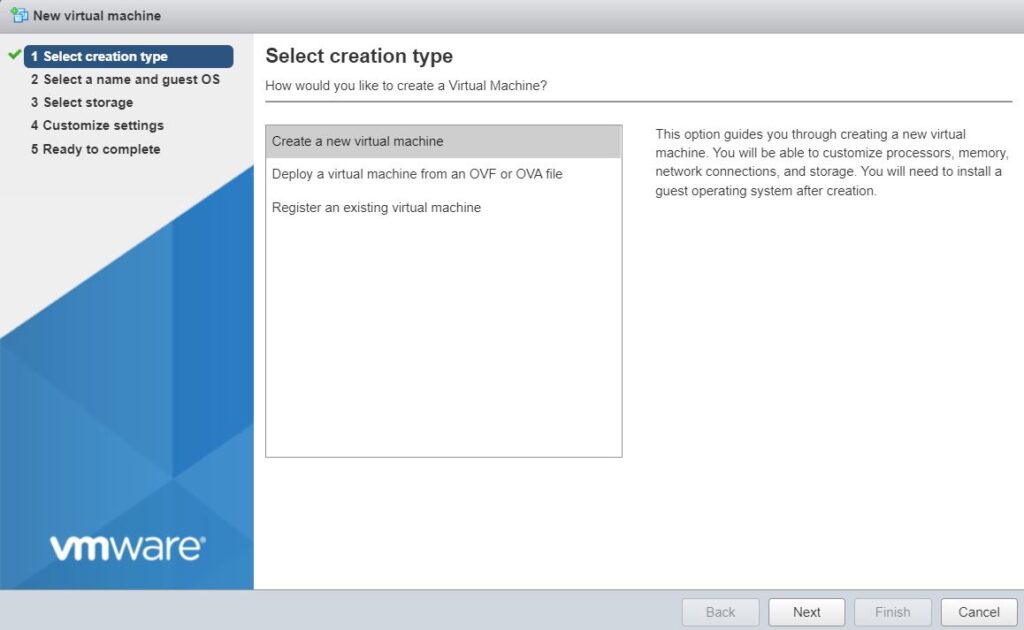
3. Select creation type, Create a new VM in our example.
![](http://www.howtonetworking.com/blog/wp-content/uploads/2021/10/vm30-1024x630.jpg)
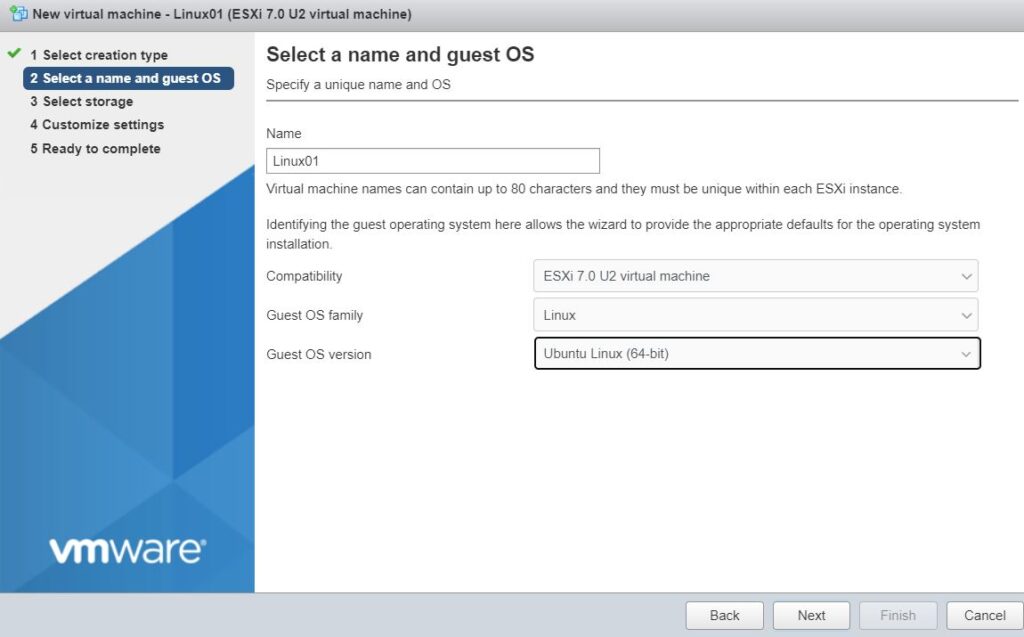
4. Select a VM name and guest OS
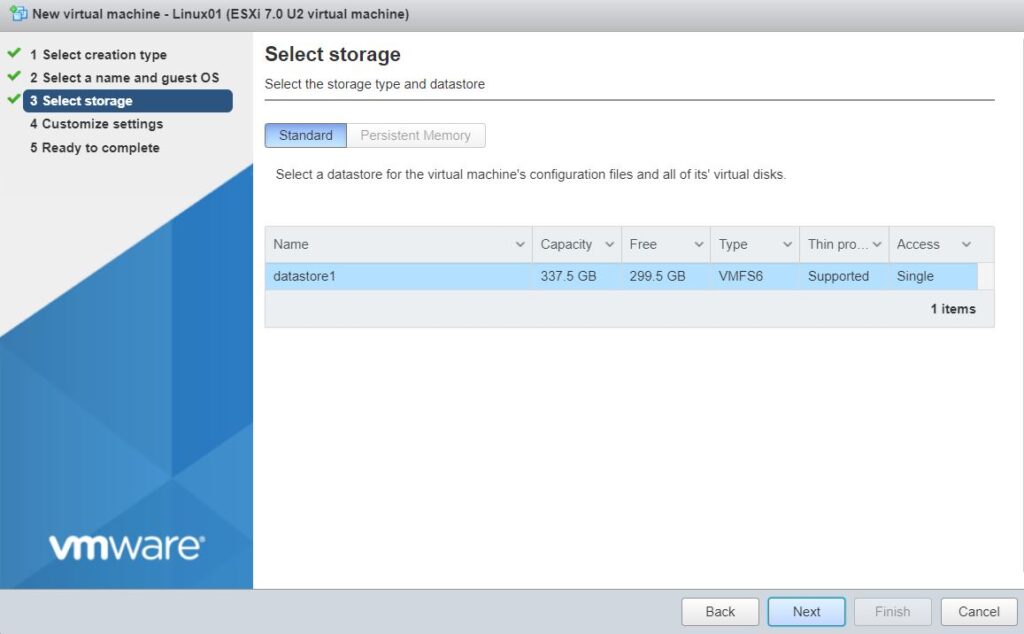
![](http://www.howtonetworking.com/blog/wp-content/uploads/2021/10/vm31-1024x637.jpg)
5. Select storage.
![](http://www.howtonetworking.com/blog/wp-content/uploads/2021/10/vm32-1024x634.jpg)
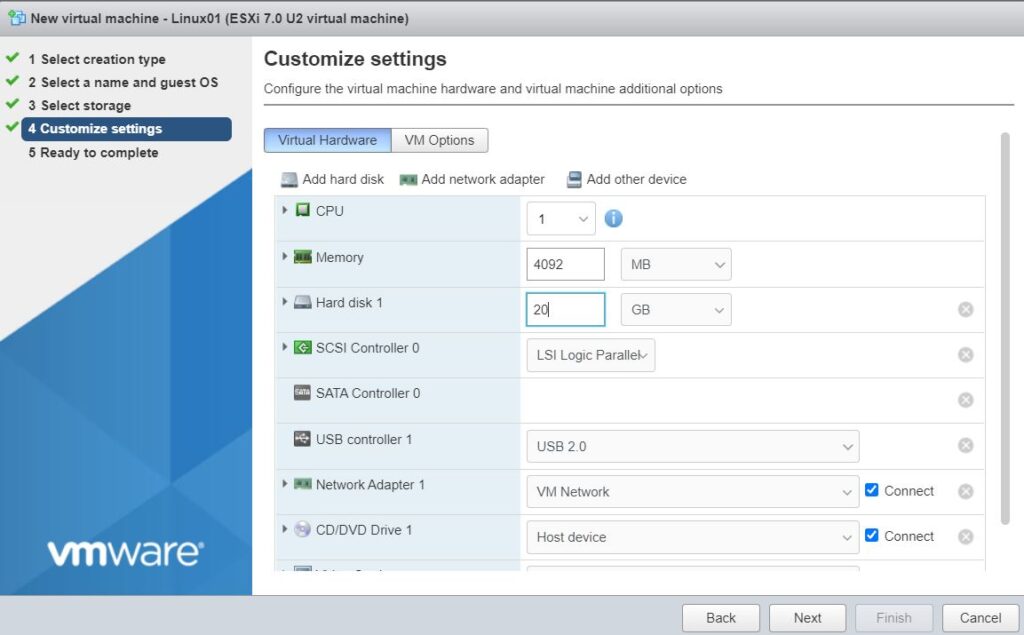
6. Customize settings such as CPU, Memory, Hard Disk, SCSI Controller, SATA Controller, USB Controller, Network Adapter, CD/DVD Drive, and more.
![](http://www.howtonetworking.com/blog/wp-content/uploads/2021/10/vm33-1024x635.jpg)
7. Click Finish to create a VM. You should have a new VM listed on the Create/Register VM.
![](http://www.howtonetworking.com/blog/wp-content/uploads/2021/10/vm36-1024x408.jpg)
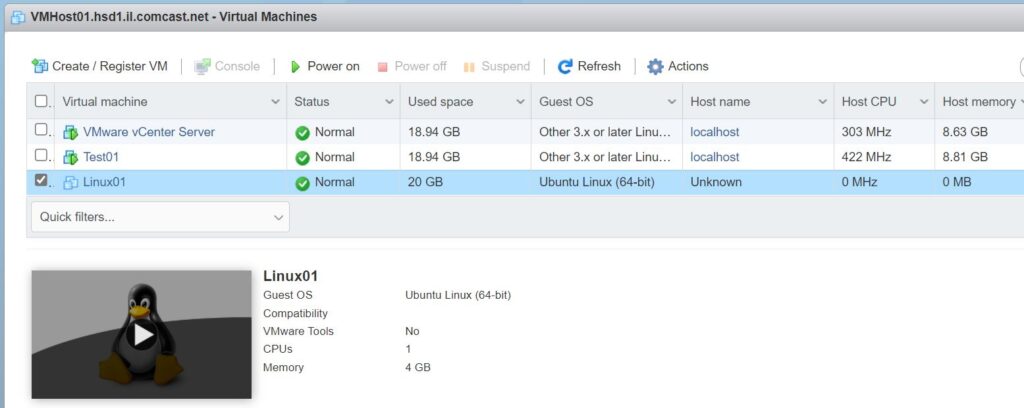
Please view this step by step video: