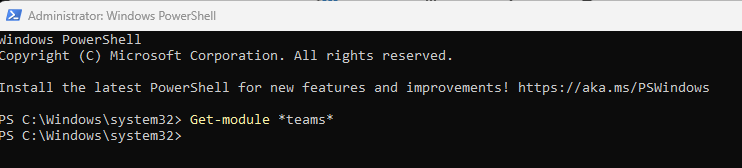
- Make sure Microsoft Teams PowerShell module is already installed on your computer. Please refer to this post:
How to Add Bulk Users to Microsoft Teams using PowerShell
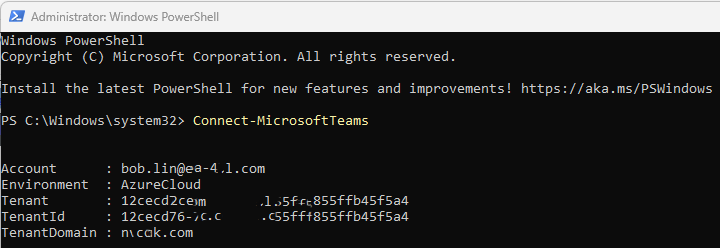
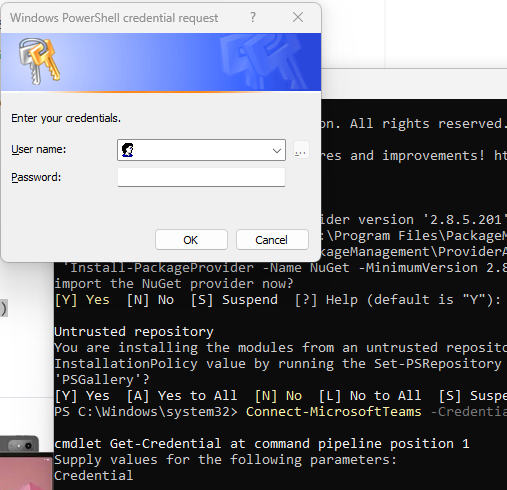
2. Connect to Microsoft Teams PowerShell module by running this command:
Connect-MicrosoftTeams

3. Find the GroupID of the Team you wish to add users.
Use this command:
Get-Team| Where {$_.DisplayName -eq"MyTeam"} | Select-ExpandPropertyGroupID
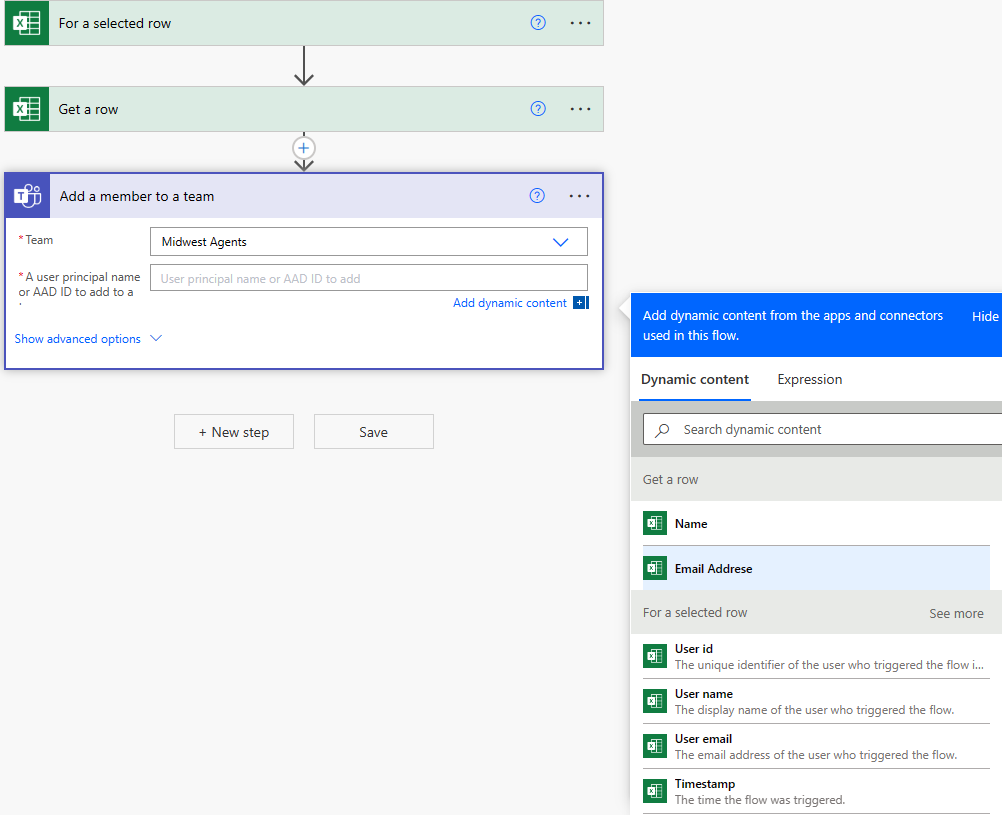
Note: replace “MyTeam” with the team group you wish to add users, for example:
Get-Team | Where {$_.DisplayName -eq “Midwest Agents”} | Select -ExpandProperty GroupID

The GrupID is 043dc0a6-….-e6f17956e986
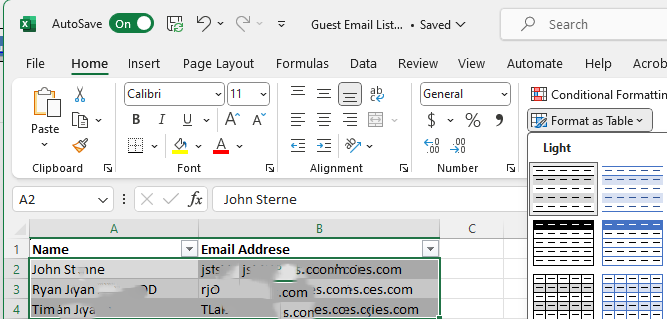
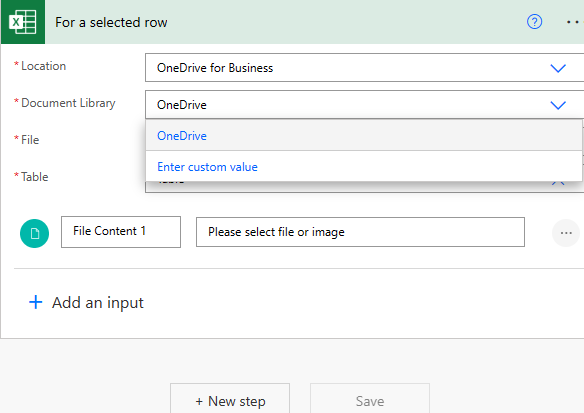
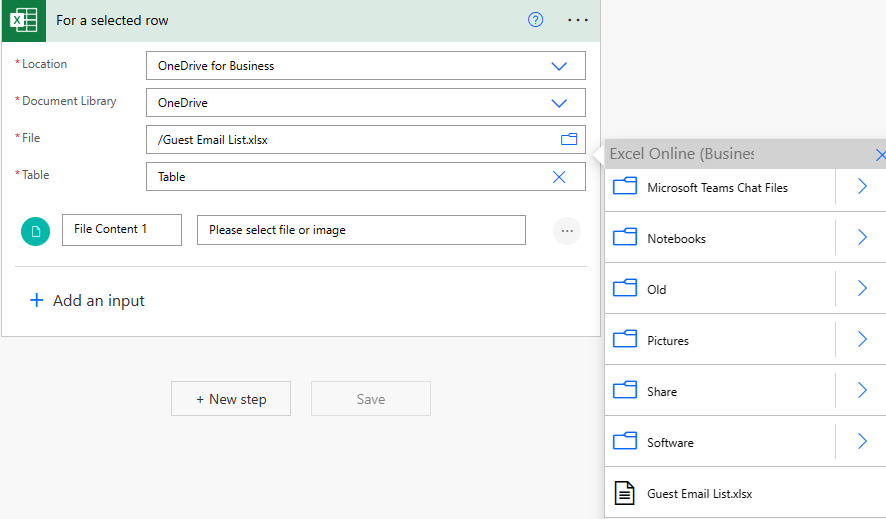
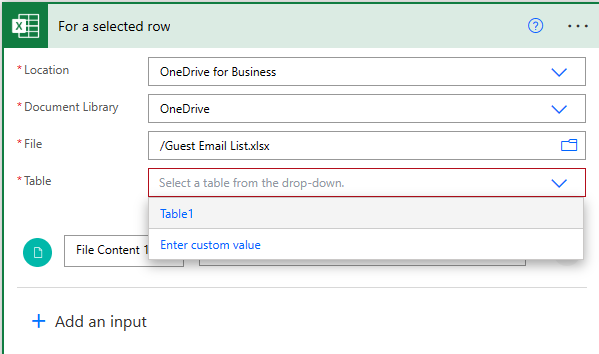
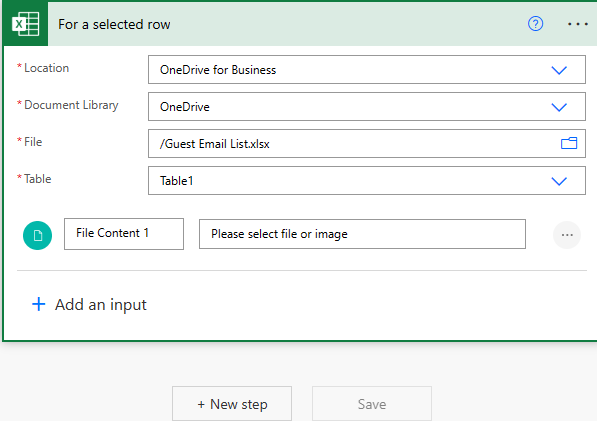
4. Creat a CSV file with Users to Add to the Team.
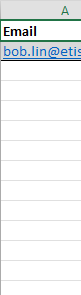
5. Import Users from CSV to Microsoft Teams using PowerShell.
Run these commands;
$TeamUsers = Import-Csv -Path “location.csv”
$TeamUsers | ForEach-Object {
Add-TeamUser -GroupId ########## -User $_.Email -Role $_.Role
Write-host “Added User:”$_.Email -f Green}
For example.
$TeamUsers = Import-Csv -Path “C:\Temp\Test2.csv”
$TeamUsers | ForEach-Object {
Add-TeamUser -GroupId 043dc0a6-…….-e6f17956e986 -User $_.Email -Role $_.Role
Write-host “Added User:”$_.Email -f Green}