Resolution 1: Change Microsoft 365 Profile by the user self.
Edit your profile page
- Sign in to office.com/signin with your Microsoft 365 for business.
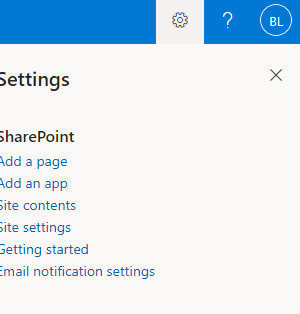
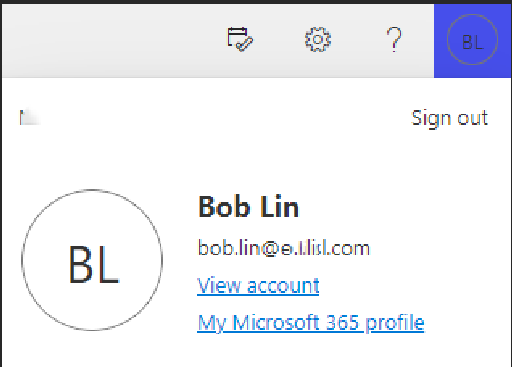
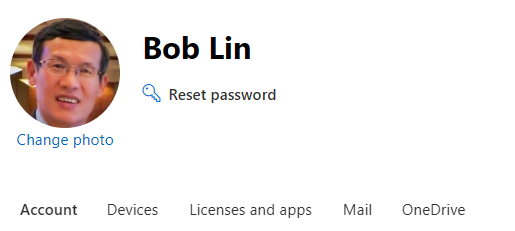
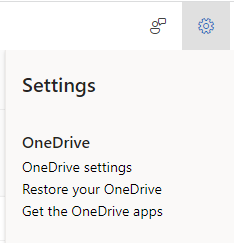
- Select your profile picture.
- Select My Microsoft 365 profile.
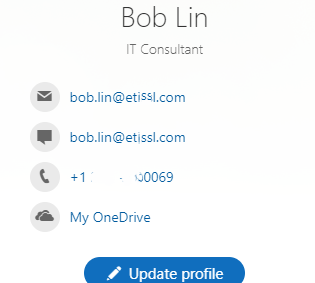
4. Select Update profile.
5. Update the information you want, such as About me, Projects, and more.
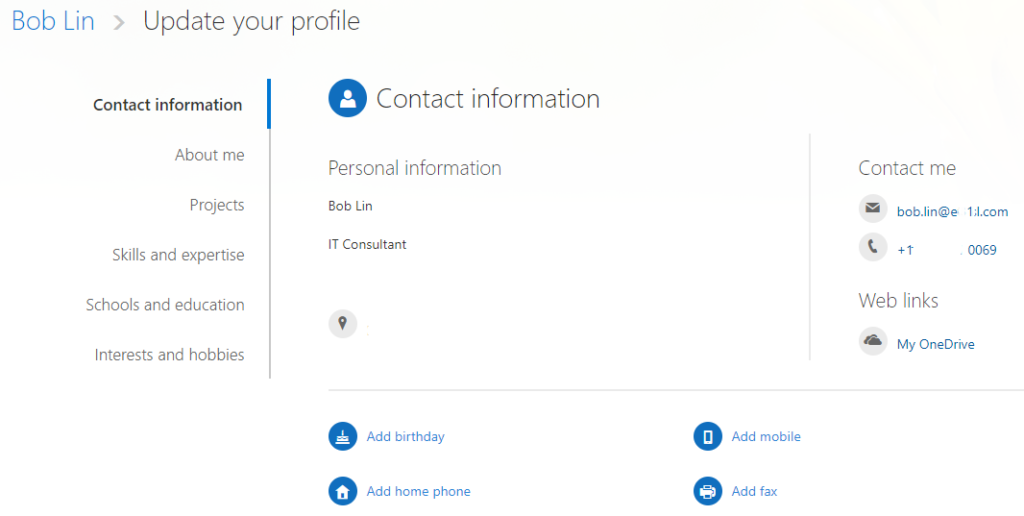
Note: Some details, like your name and job title may be provided by your IT or human resources department. If you want to update those details, contact them or your admin.
Resolution 2: Change Microsoft 365 Profile by Administrator.
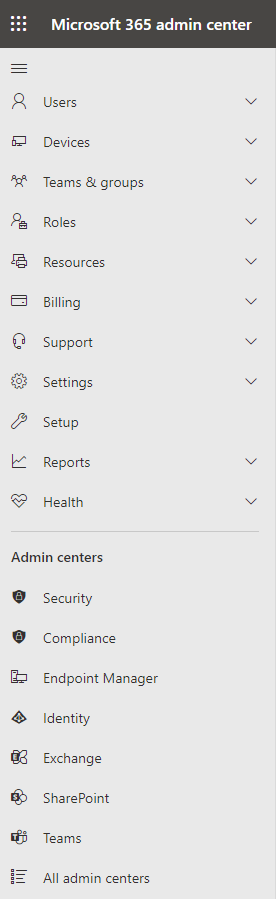
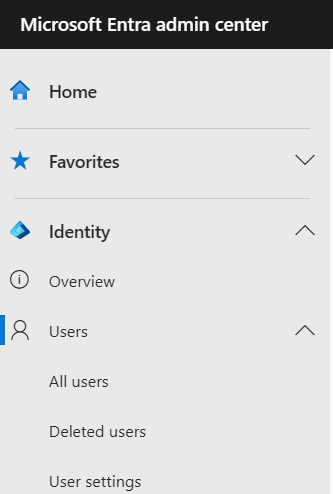
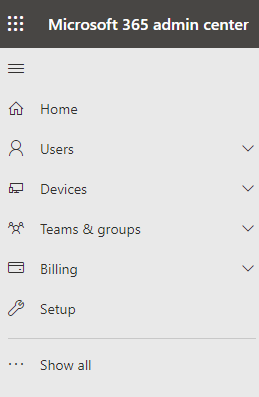
- Sign in to the Microsoft Entra admin center using Administrator.
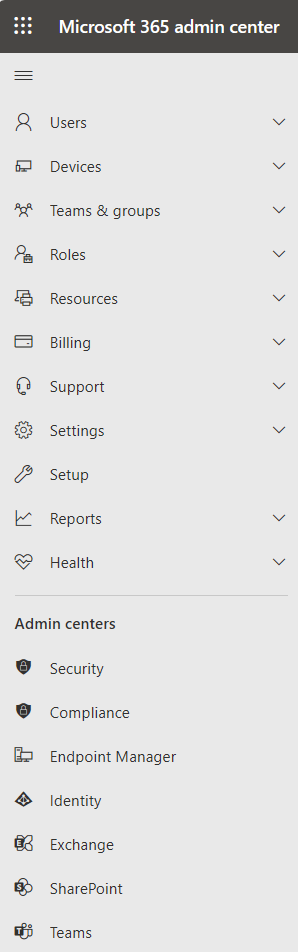
- Browse to Identity > Users > All users.
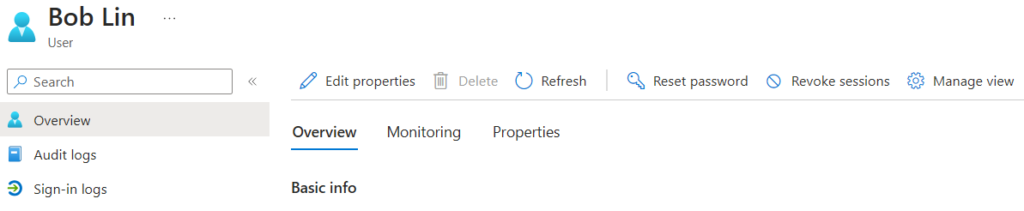
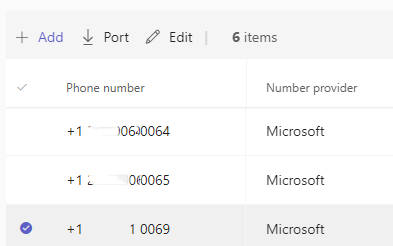
3. Select a user.
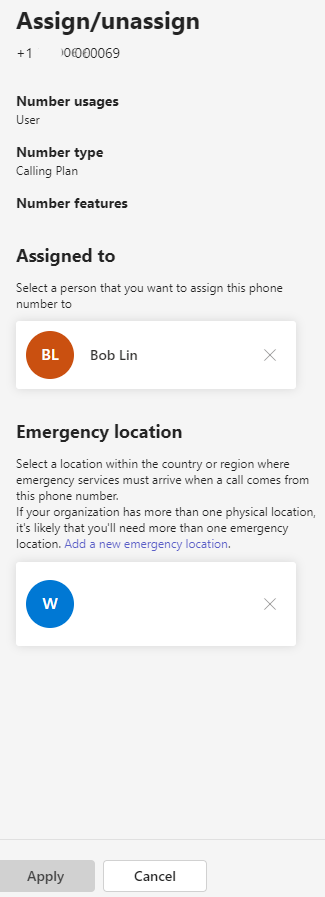
4. Select Edit properties from the top of the page or select Properties.
5. In the Properties, you have options
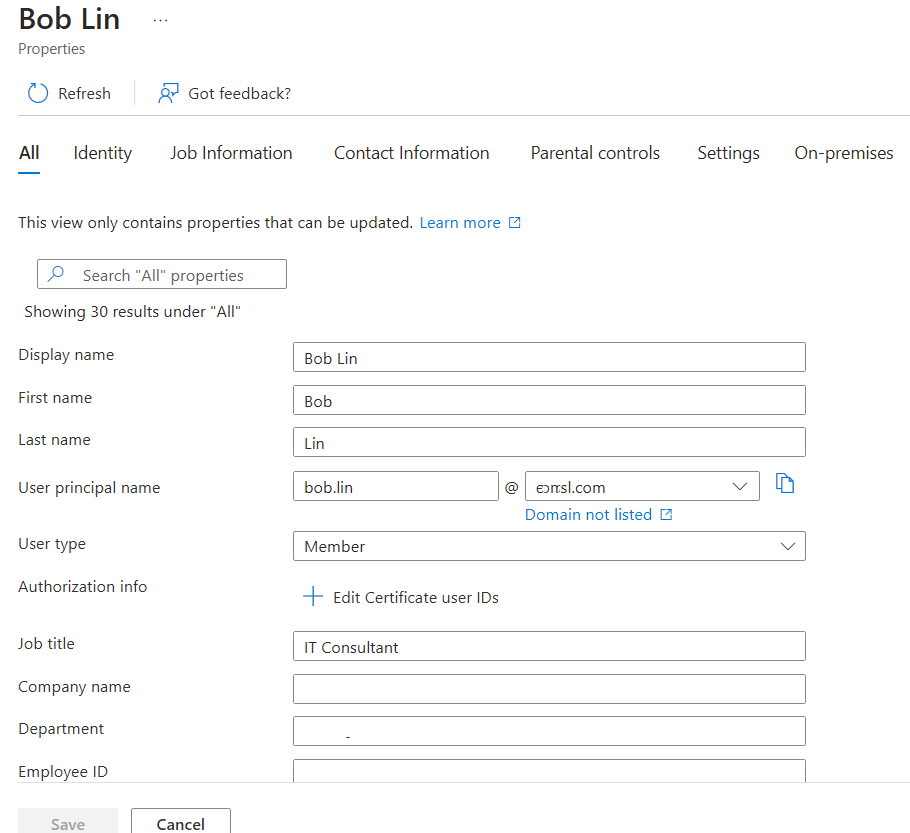


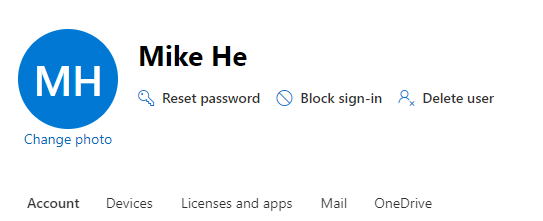


 at the top of the page.