- Launch Configuration Database Restore Wizard.
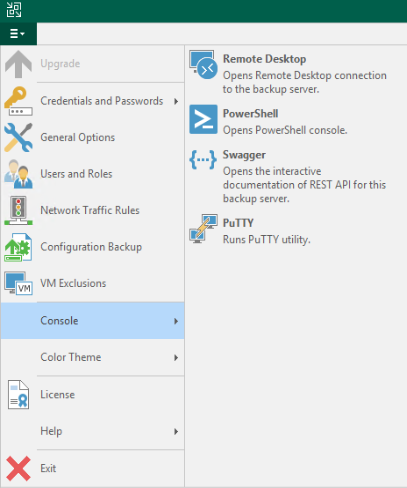
- From the main menu of the Veeam Backup & Replication console, select Configuration Backup.
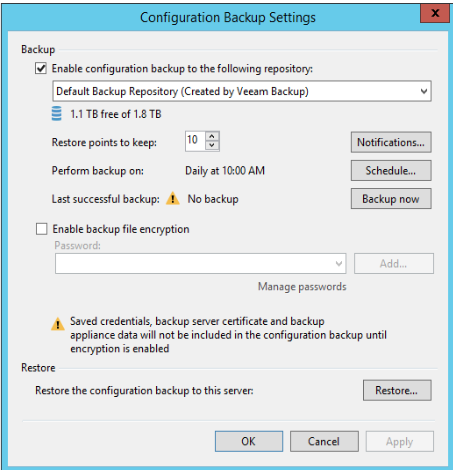
3. In Configuration Backup Settings, click Restore under Restore.
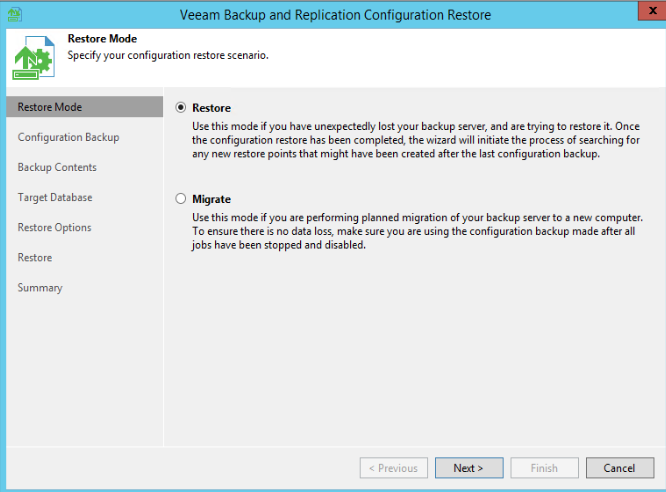
4. In Restore mode, you have two options: Restore and Migrate. Check Restore in our example.
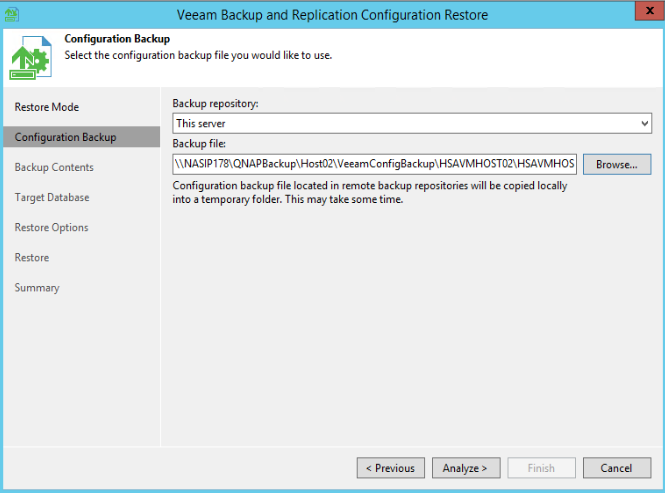
5. In Configuration Backup, browse to the configuration file .bco.
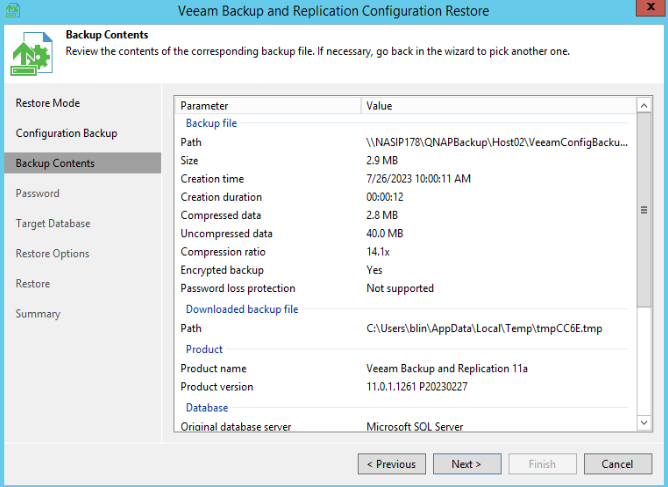
6. Click Analyze to check Backup Contents, and then Next.
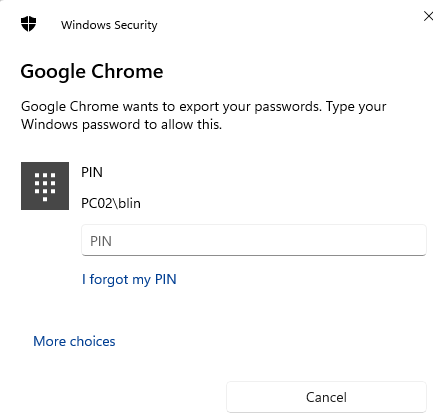
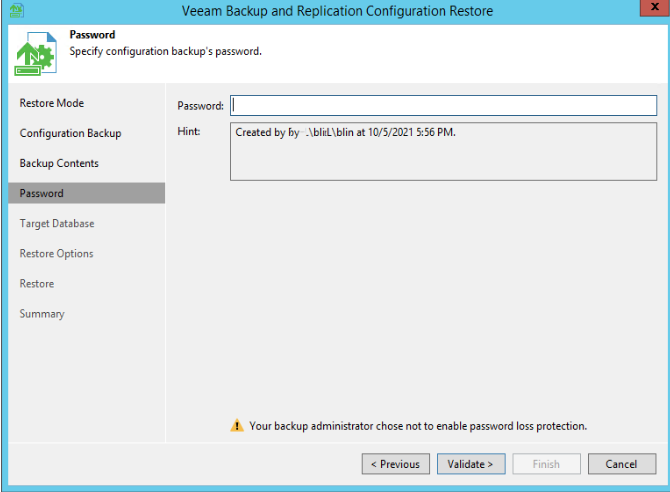
7. Enter your password and click on Validate.
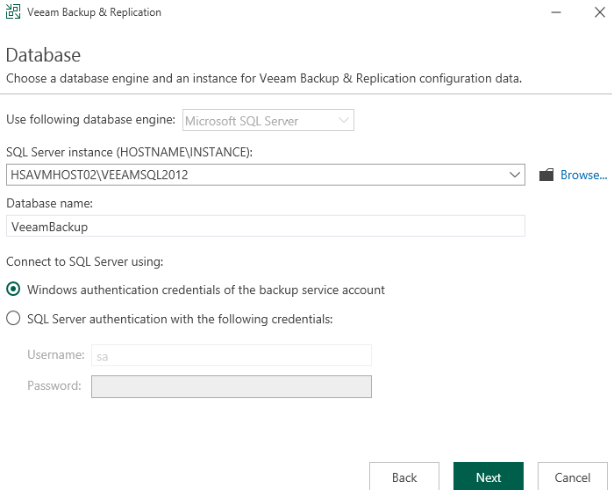
8. In Target Database, keep the default settings, and click on Connect.
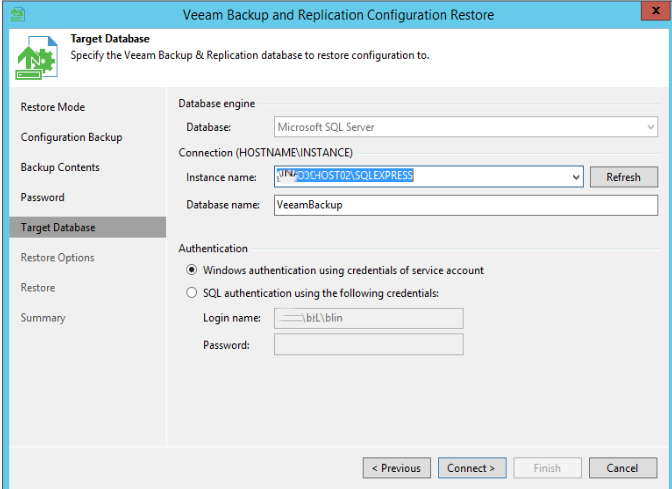
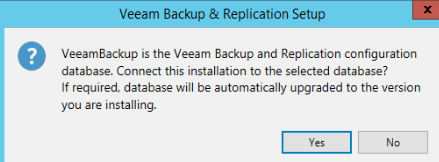
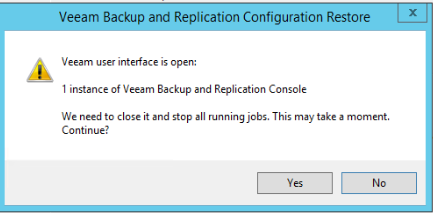
9. Click Yes in the popup.

10. In Restore Options, check all options and click on Restore.

11. Click Yes in the popup.
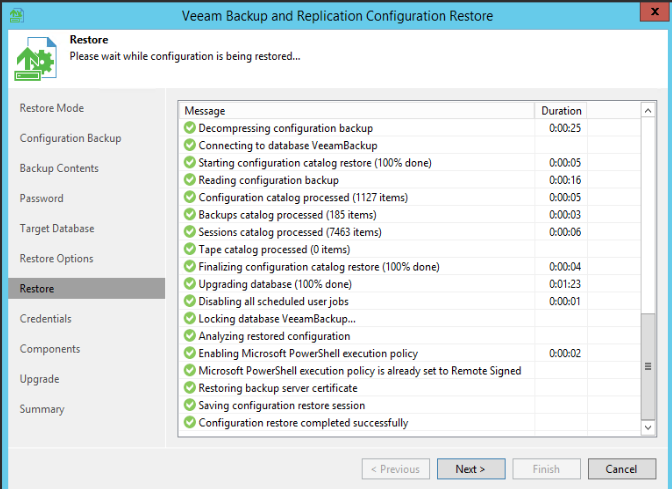
12. When finishing, click Next.
13. Click Collect in Credentials.

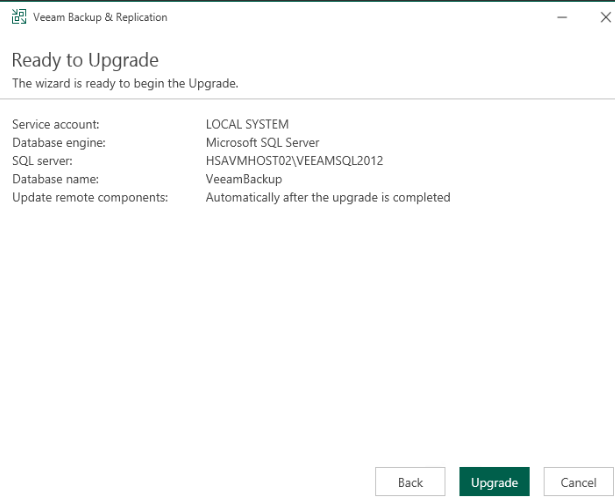
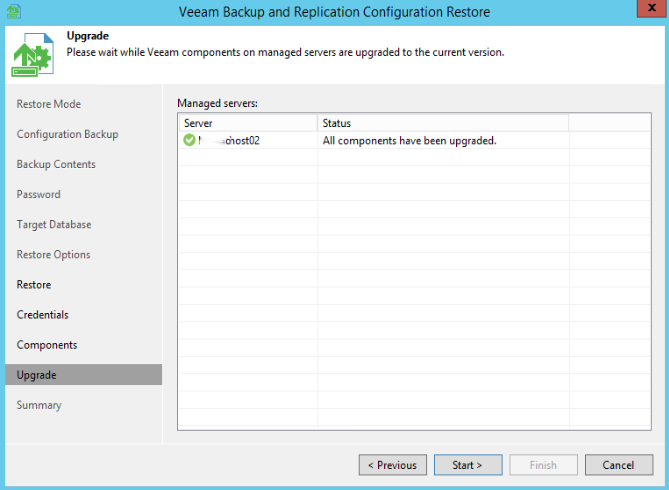
14. Click on Upgrade and then Start.
15. If Configuration restore is completed successfully, click Finish.
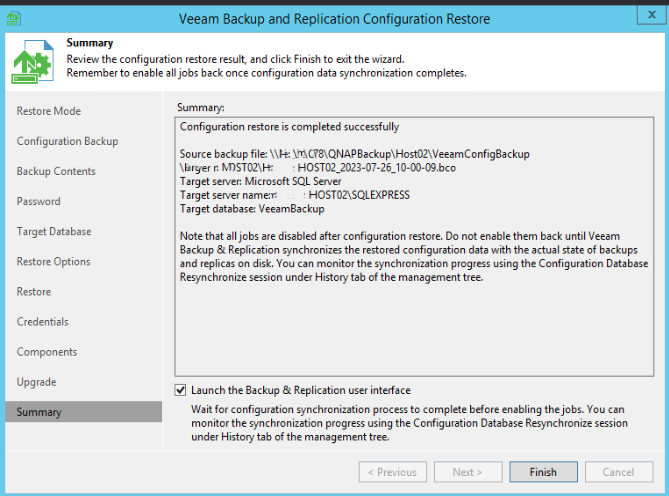
16. Now, login Veeam Backup Console to check the backup jobs or start a backup job.