How to Install and Configure Windows, VMware, Virtualization and Cisco on
Author: Bob Lin
Bob Lin, Chicagotech-MVP, MCSE & CNE
Data recovery, Windows OS Recovery, Networking, and Computer Troubleshooting on
http://www.ChicagoTech.net
How to Install and Configure Windows, VMware, Virtualization and Cisco on
http://www.HowToNetworking.com
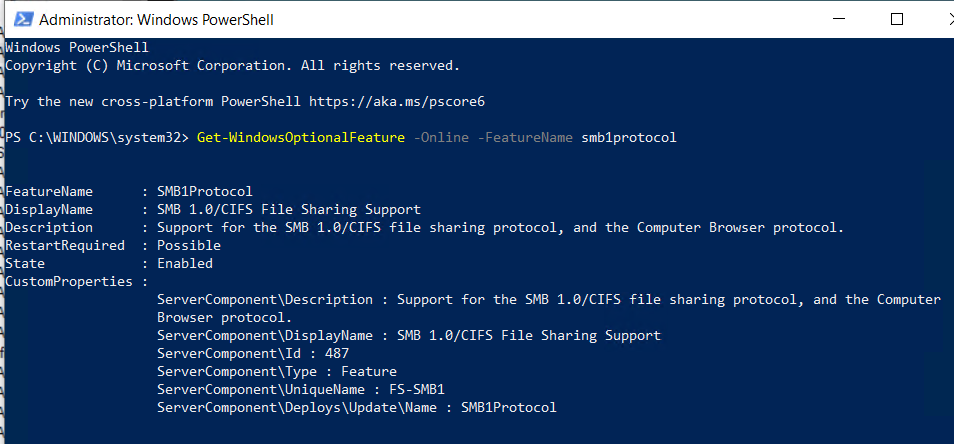
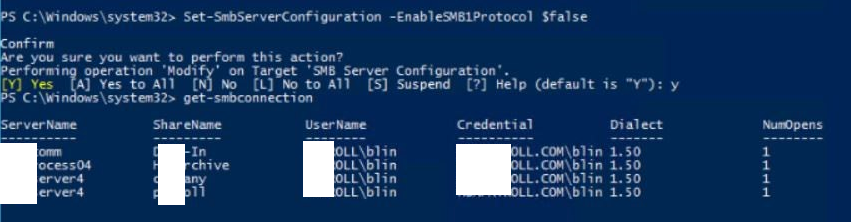
a. Use Set-SmbServerConfiguration -EnableSMB1Protocol $true or false powershell command for enanling/disabling SMBv1.
Run SeT-SmbServerConfiguration to enable/disable SMBv2/3. Note: When you enable or disable SMBv2 in Windows 8 or Windows Server 2012, SMBv3 is also enabled or disabled. This behavior occurs because these protocols share the same stack.
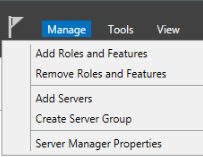
With the Server Manager open, click the Manage menu on the Dashboard, and then click on Remove Roles and Features
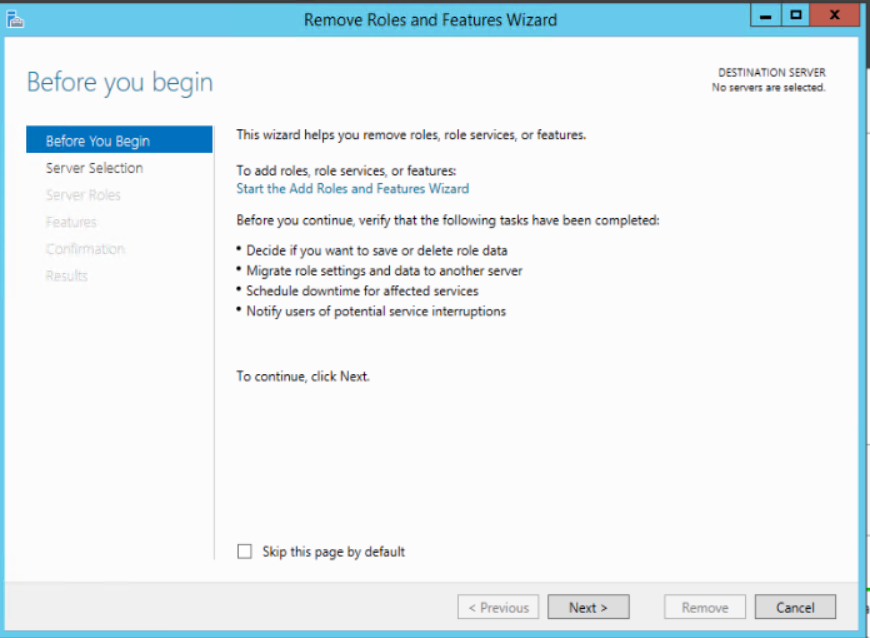
2. Click on Next in Before you begin Wizard screen.
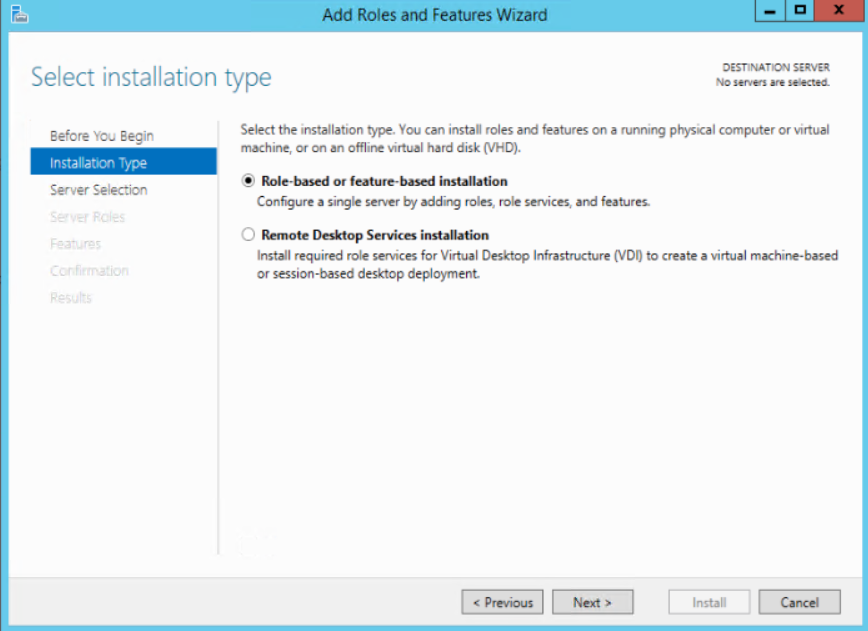
3. Keep the default selection (Role-based or feature-based installation) and click Next on Select installation type
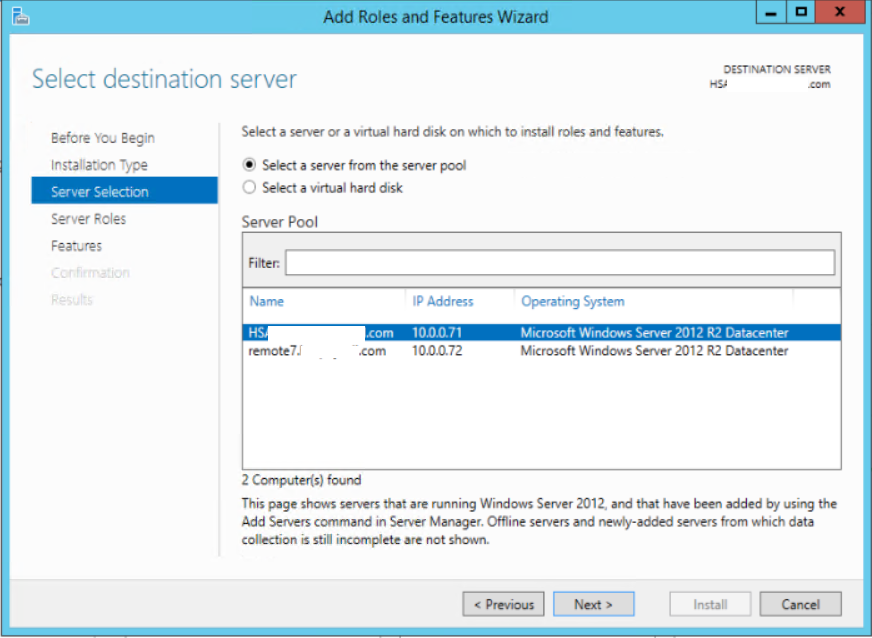
4. Highlight the DC you want to demote under Select a server from the server pool.
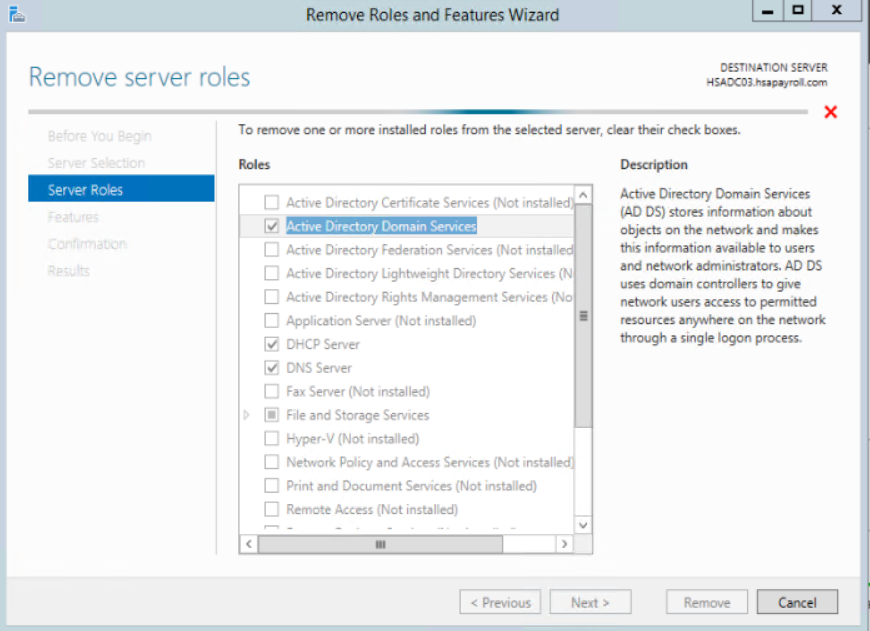
5. Clear the Active Directory Domain Services check box
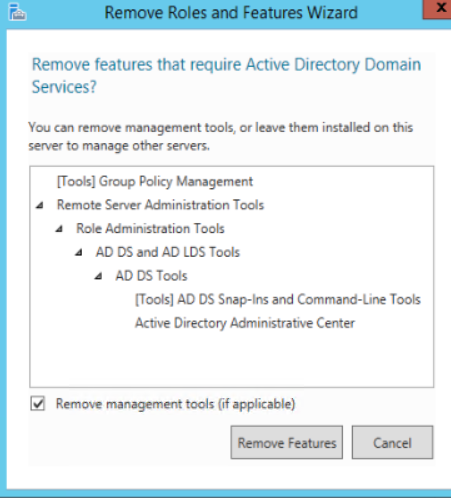
6. Click Remove Features on Remove Roles and Features Wizard popup.
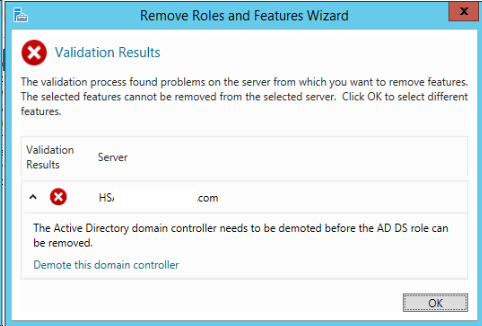
7. Click on Demote this domain controller.
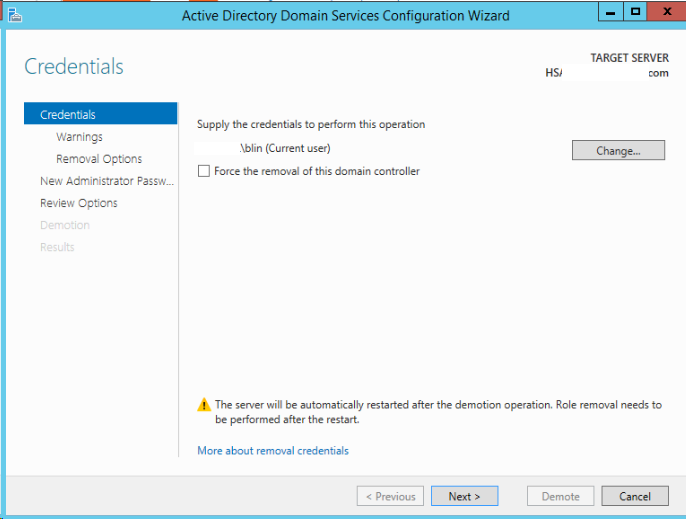
8. Click Next. Note: Do not select this option unless the domain controller cannot contact other domain controllers and there is no reasonable way to resolve that network issue.
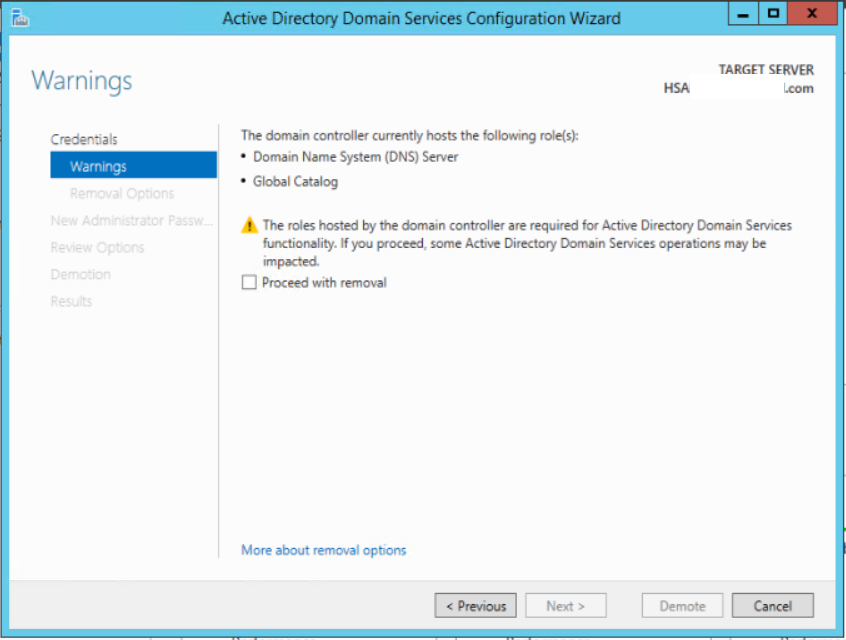
9. Check Process with removal and then Next.
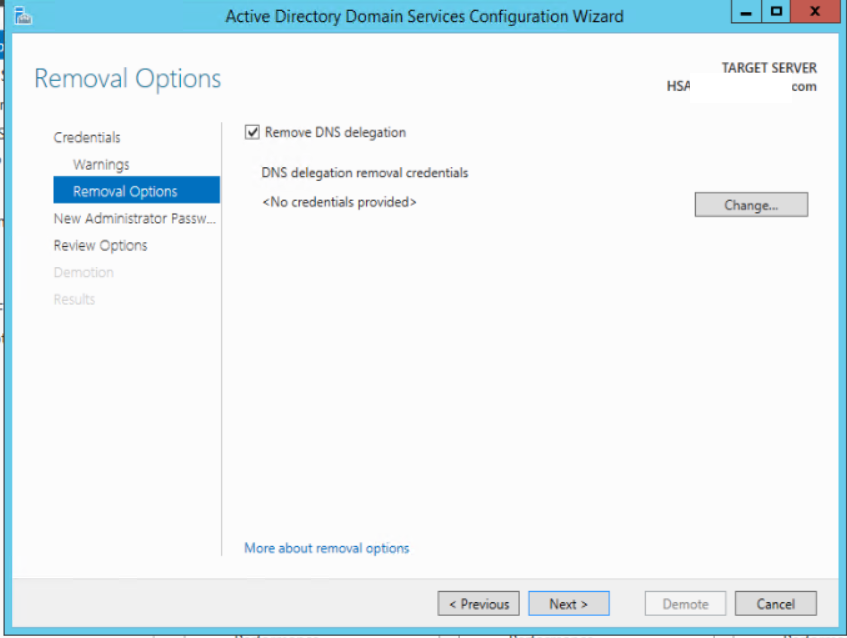
10. Click Next on Remove DNS delegation.
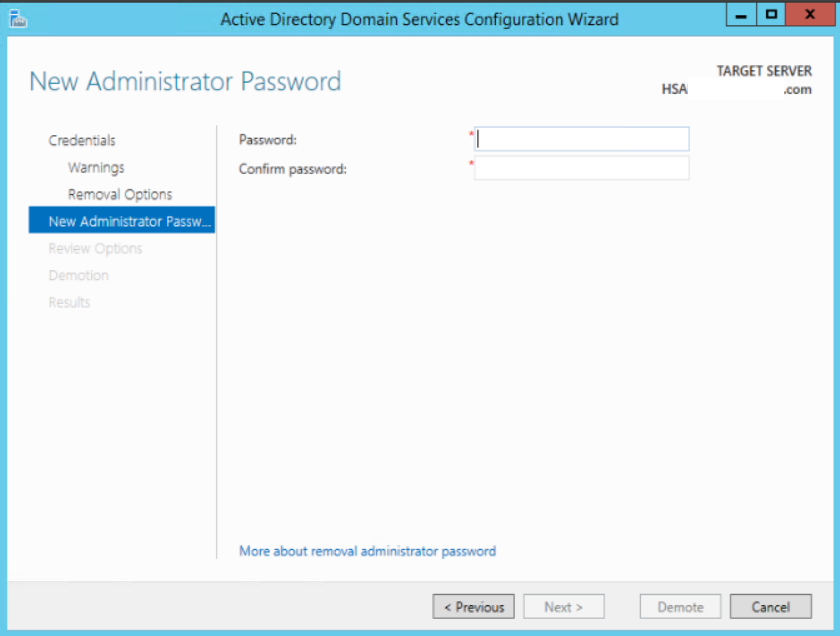
11. Enter the password for New Administrator.
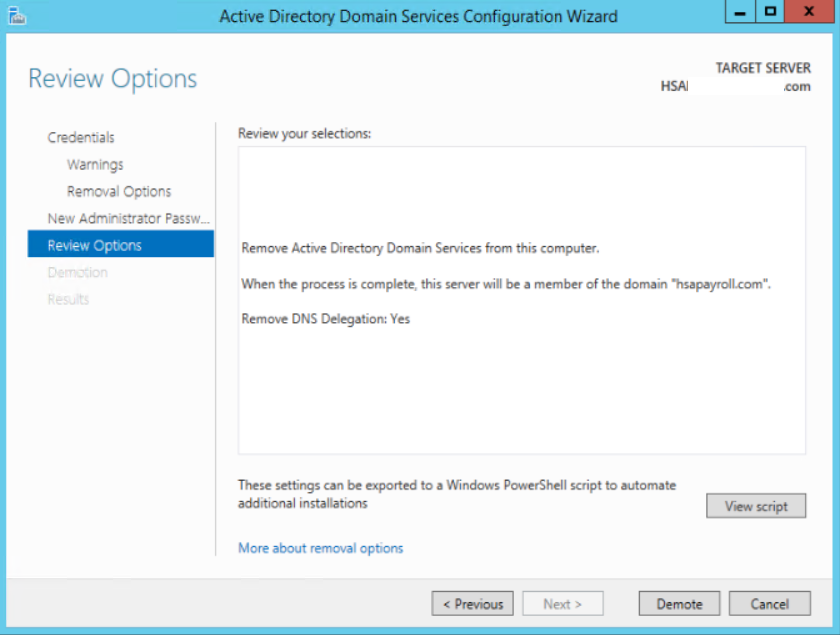
12. In Review your selections, click Demote.
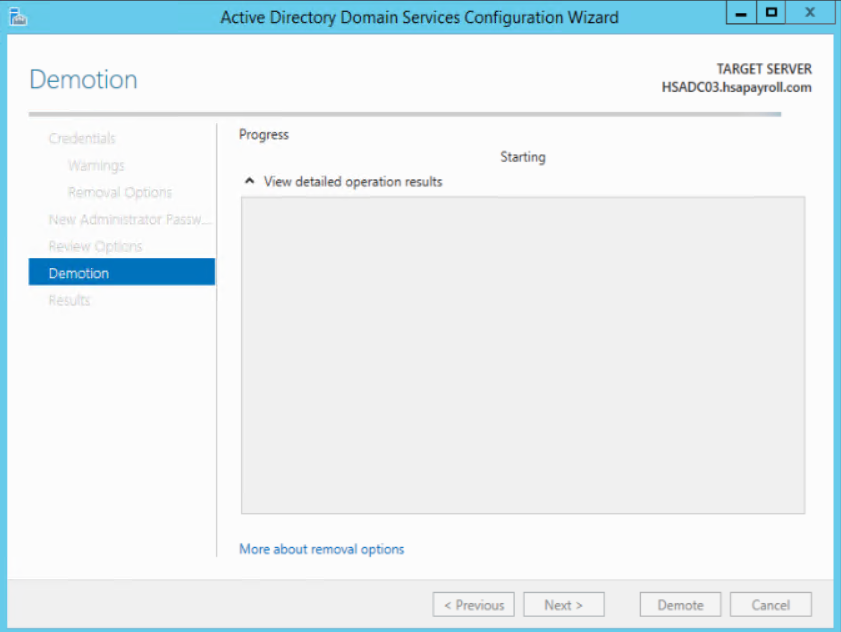
13. It is processing the removal.
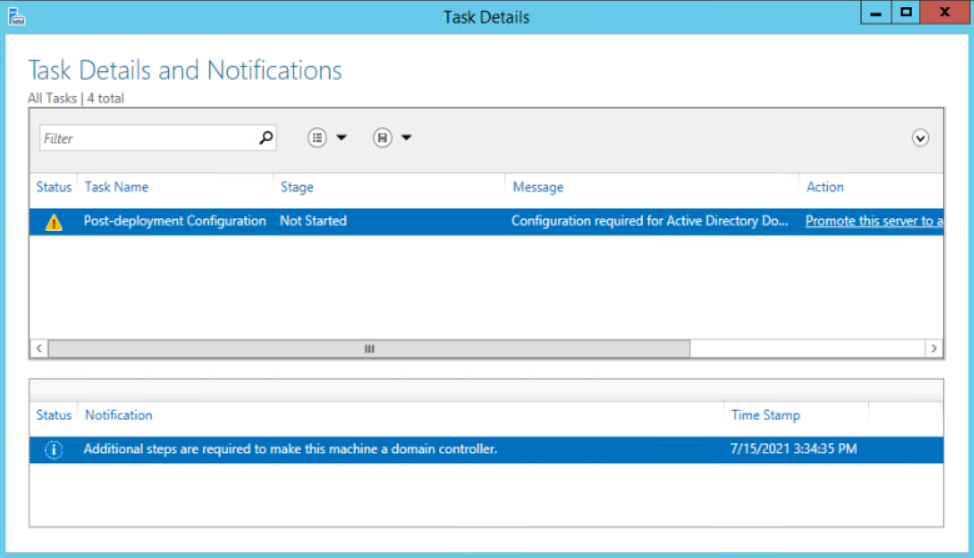
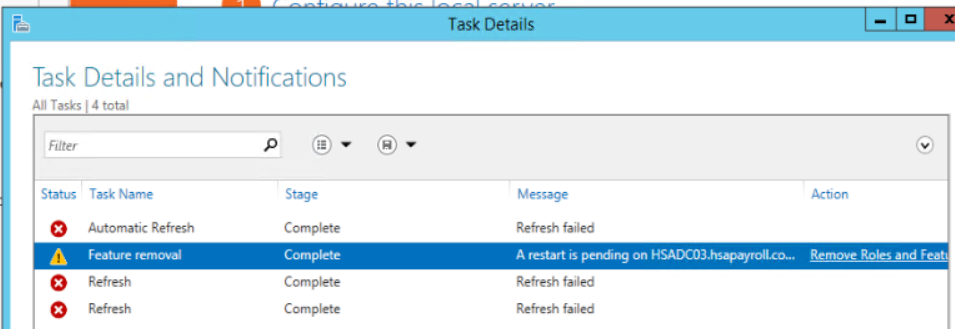
14. After restart, check the yellow explement for the status.
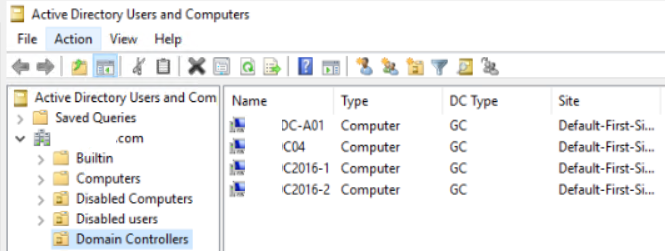
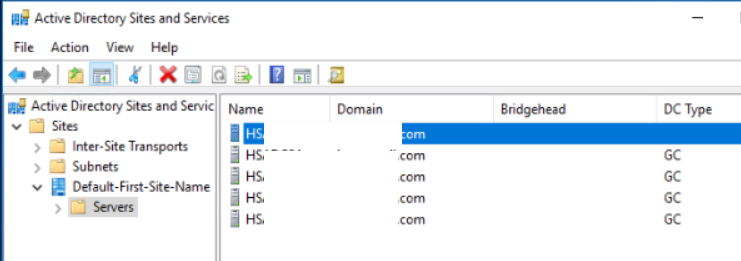
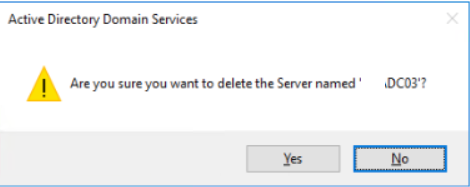
15. Open Active Directory Users and computers>Domain Controllers, make sure the DC has been removed.
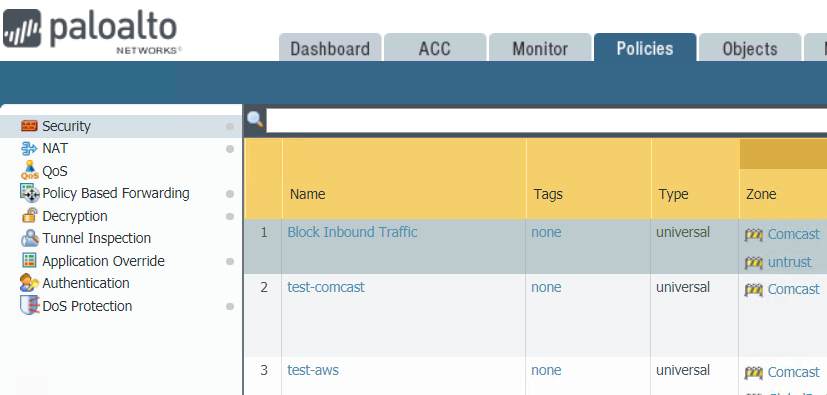
Situation: The client is migrating their DC, DNS and DHCP. The problem they are facing is they don’t have a detail inventory to show which network devices are using Statics IP address and DNS.
Resolution: Use network monitor to check destination IP addresses, age-out so that we can find out which devices are still accessing the old DNS IP addresses. In our example, we run Paloalto Firewall Monitor, add destination DNS IP address 10.0.0.85. It shows GloablProtect Zone still uses this DNS IP address.
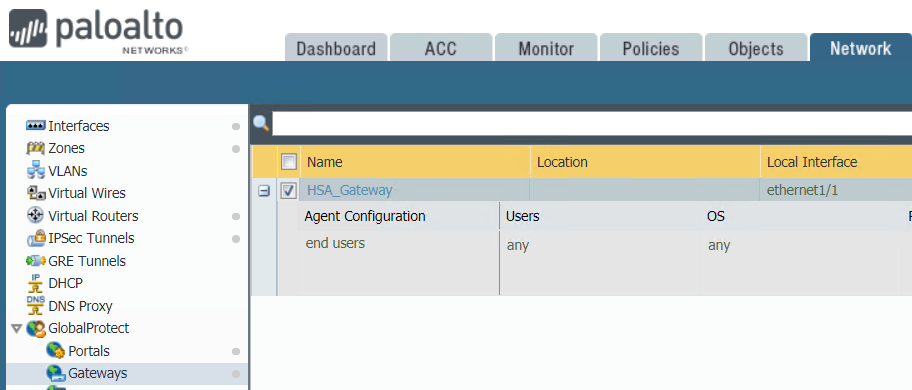
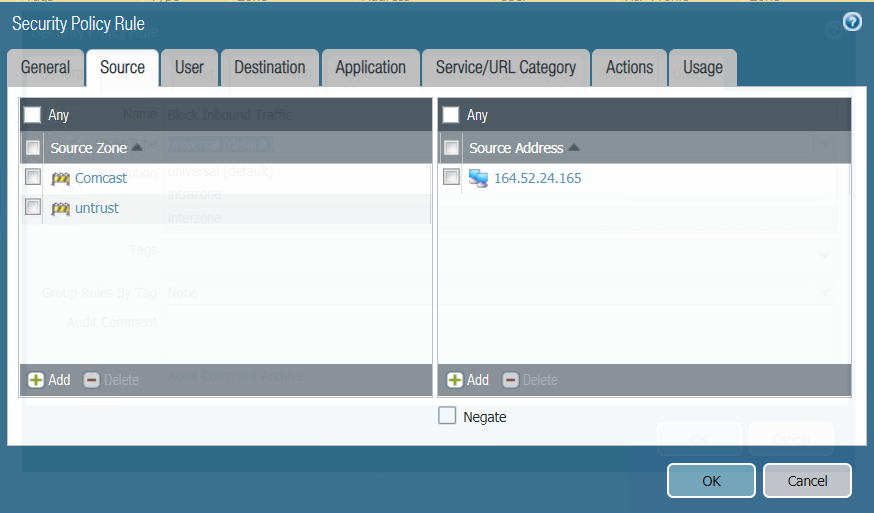
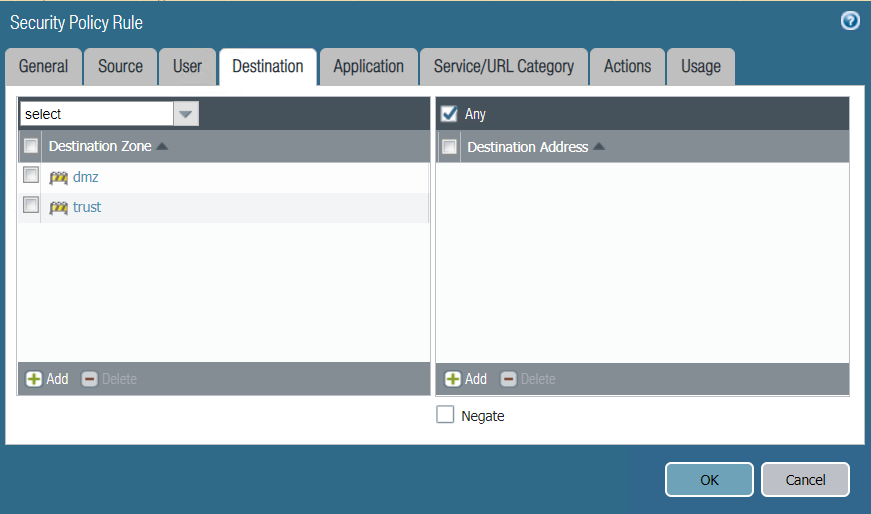
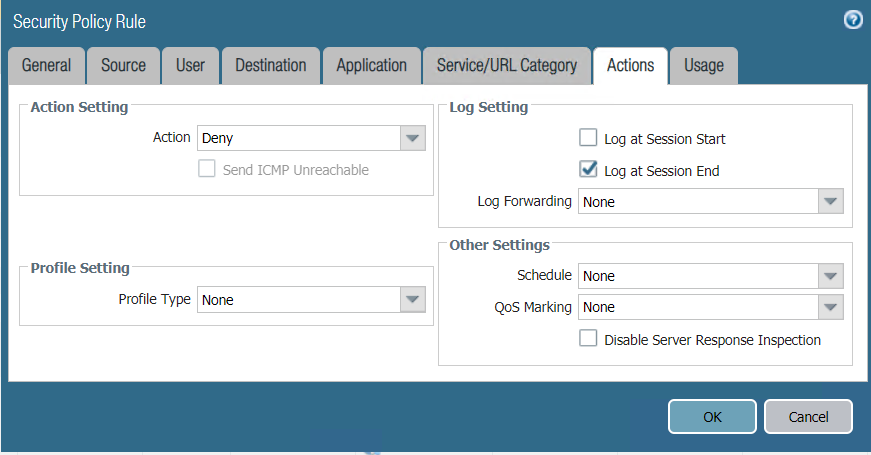
Situation: The client has a Paloalto Firewall 850 running GloableProtect. Recently, they change their internal DNS. They would like to know how to change the DNS on the GloableProtect.
Login Paloalto Firewall.
Go to Network>GloablProtect>Gateway.
3. Click on Gateway under Name.
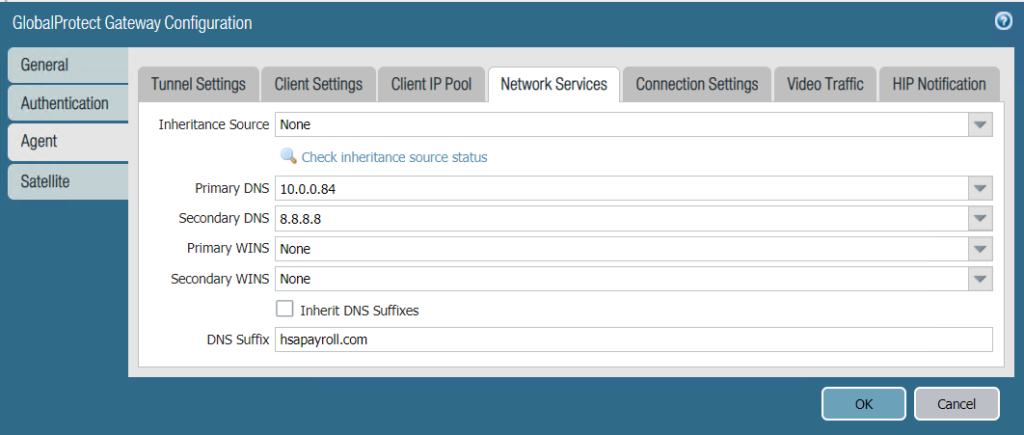
4. Go to Agent and then Network services.
5. You have options to change the DNS and WINS.
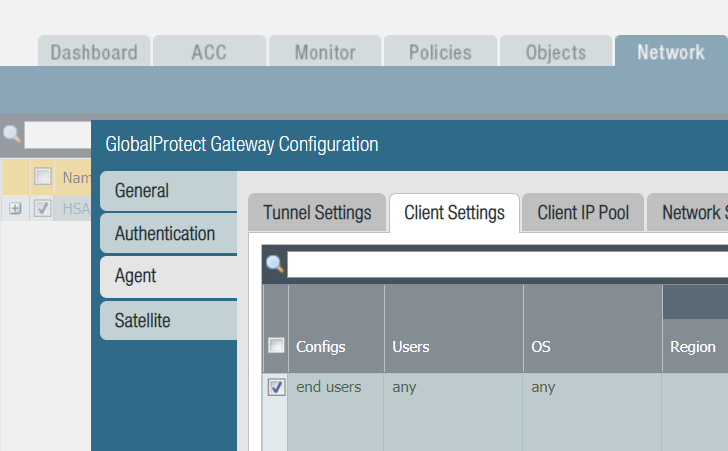
6. Still in the Agent, click Client Settings and end users.
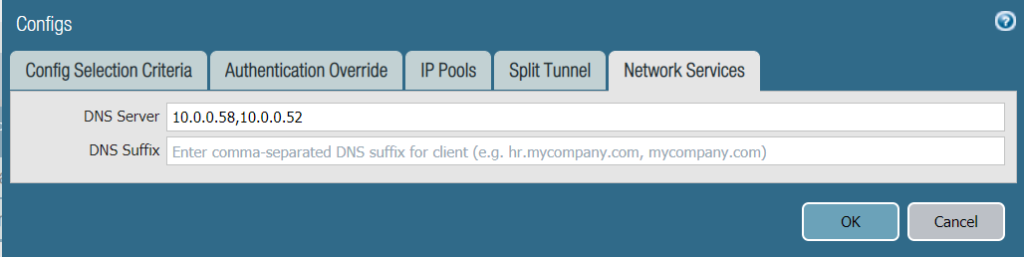
7. Select Network Services and enter the DNS Server IP address.