How to Install and Configure Windows, VMware, Virtualization and Cisco on
Author: Bob Lin
Bob Lin, Chicagotech-MVP, MCSE & CNE
Data recovery, Windows OS Recovery, Networking, and Computer Troubleshooting on
http://www.ChicagoTech.net
How to Install and Configure Windows, VMware, Virtualization and Cisco on
http://www.HowToNetworking.com
iSCSI Target storage can be attached to your server or workstation as a local hard drive. This Video shows how create iSCSI on Synology NAS.
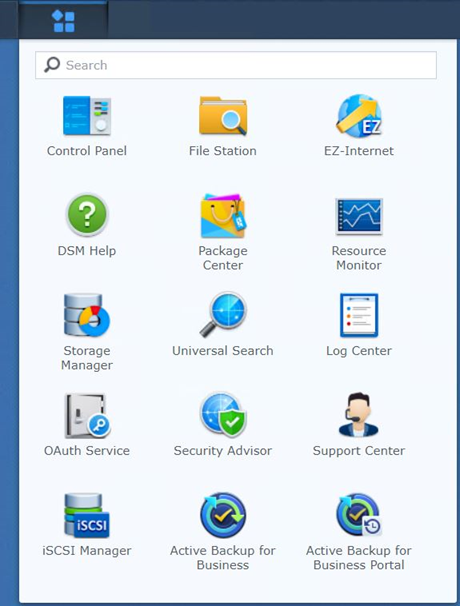
1. Open the iSCSI Manger from Mail Menu
Note: If you don’t see the iSCSI Manger in some old version, click on Storage Manager. You should see the iSCSI Manger under Storage Manager
2. In iSCSI Manager, click on Target.
3 . Click on Create.
4. In Create a new iSCSI target,
enter the info and enable Chap if you want to use it.
5. Set up iSCSI LUN mapping.
6. Set up iSCSI properties such as
Name, Location, Total capacity, and Space allocation.
7. If you click on Advanced
features you have more options: Hardware-assisted zeroing, Hardware-assisted
locking, Hardware-assisted data transfer, Snapshot, and Space reclamation.
After running Windows 10 for a while, you may feel the PC is running slow. This article will show some simple methods to improve the PC performance.
Method 1: Run System Configuration
Utility
Method 2: Repair hard drive errors
Method 3: Install latest hardware driver.
Method 4: Adjust Paging File or disable
Automatic Paging
Method 5: Run SFC/Scannow
Method 6: Run (DISM) to fix damaged image files
Method 7: Check any errors in Event Viewer
Method 8: Install latest Windows
updates.
Method 9: Run Windows Troubleshooting
Method 1: Run System Configuration
Utility –
Disable unused programs/services and troubleshoot configuration errors.
* To type msconfig in
the Search bar and then double- click on System Configuration
1.On
the General, you have options select what drivers and services are loaded at
Windows startup. Diagnostic startup and Selective startup can help you troubleshooting
Windows problems.
Note: remember to switch back to “Normal startup” after the troubleshooting, and then all the services and startup
items are going to be enabled at startup.
2. On Boot, you can select Safe boot and
other options for troubleshooting.
3. On Services, you can disable any services which cause problem for the
troubleshooting, for example Adobe Acrobat Update Service.
Or you can Hide all Microsoft
services and work on only third-party services.
4. On Startup, click Open Task Manager.
* Disable the programs you don’t
want startup.
4. On Tools, you have many
troubleshooting tools such as Windows troubleshooting, Event Viewer, and System
Restore.
Method 2: Repair hard drive errors
1.In the Search box on the taskbar, type command prompt, and then select Run as administrator from the list of options.
2.Select Yes.
3.In the window that appears, type the following command, including the space as shown: chkdsk /f C: and then press Enter.
4.Enter Y and press Enter
5.Repairs will automatically start on your hard drive, and you’ll be asked to restart your device.
6.After restart, try the update installation.
Method 3: Fix an issue by installing
latest hardware driver.
1. In the Search bar, type Device
Manager.
2. Open Device Manager.
3. Expand the suspected device that
causes the problem, Firmware in our example.
4. Right-click the device and select Update
Driver Software.
5. You may need to restart the computer,
and then try the update again.
Method 4: Adjust Paging File or disable
Automatic Paging
* Type Control in
the Search
bar
and open the Control Panel
* Click System and Security
•Click on System
* Click on Advanced system settings
* Click Settings in Performance under Advanced tap
* Click Advanced and then Changing
under Virtual memory.
* Uncheck Automatically mange paging file
size for all drivers.
•Now, you have two options, Check the System managed size or Custom size if you know what are you doing.
•Click all Oks to save the settings and restart the computer.
Method 5: Run SFC/Scannow
1. In the search box on the taskbar, type
command prompt, then select Run as administrator from the list of options.
2. In the window that appears, type this
command including spaces as shown:
sfc /scannow
3. Press Enter. Wait until the sfc scan
verification reaches 100% completion, and then close Command Prompt.
Method 6: Run Microsoft Windows
Deployment Image Servicing and Management (DISM) to fix damaged image files
1.Open
Command Prompt as administrator
2.Run this command: DISM /Online /Cleanup-Image /CheckHealth
3. If you do see any errors, try
this command:
Dism /Online /Cleanup-Image /RestoreHealth
Method 7: Check any errors in Event Viewer
1. Type event viewer in
the Search Bar and click on it.
2. Got to Custom
Views>Administrator Events to view any errors.
Method 8: Install latest Windows updates.
1. Click on Settings icon
2. Go to Update & Security.
3. Install the Windows update and
Restart the computer.
Method 9: Run Windows Troubleshooting 1.Go to Settings>Update & Security>Troubleshooting 2.Follow the instruction to troubleshoot the issue you have.
Many Windows 10 issues are related to hardware drivers. This article shows how to install and update hardware drivers in Windows 10
Option 1: Install drivers using
Device Manager
Problems: The
client has an old computer running windows 10. the machine is very slow when
accessing network shared folder or going to the Internet.
Resolution: Install drivers using Device Manager
* Type device manager in the Search bar
* Click on Device Manager
•Right click on the hardware, for example Network adapters.
• Click on Update driver.
Option 2: Installing drivers
through Windows Update
Problem: The client can use an USB ternal drive on his Laptop, but not on the Desktop.
Resolution:
Installing the latest Windows update on the Desktop fixes the problem.
* Go to Settings>Update &
Security t download and install
the latest Windows Update.
Option 3: Download and install
drivers from the manufacturer’s website
Problem:
After a Windows update, client’s Dell Laptop Latitude 5290 Bluetooth doesn’t
work anymore.
Resolution: Go to Dell Support website to search the Latitude 5290.
* Download and install the
Bluetooth Driver.
Option 4: Check Compatibility Mode
to Resolve Driver Problem: After upgrading from Windows 7 or Windows 8.1 to Windows 10, some
features of the installed drivers and software may not work correctly.
Resolution:
Uninstall all drivers and software in Windows® 7 or Windows® 8.1 before
upgrading to Windows® 10.
You can search for the Compatibility Administrator utility in Windows
When re-installing Windows 10 on a product key built-in computer or installing a VM, you may not need to enter the Product Key. This article shows how to do so.
1.Run
Windows installation from ISO or DVD.
* In the WindowsSetupscreen, select the Language, Time
and currency format, Keyboard or input method, and then click on Next.
2. Click Install now to continue.
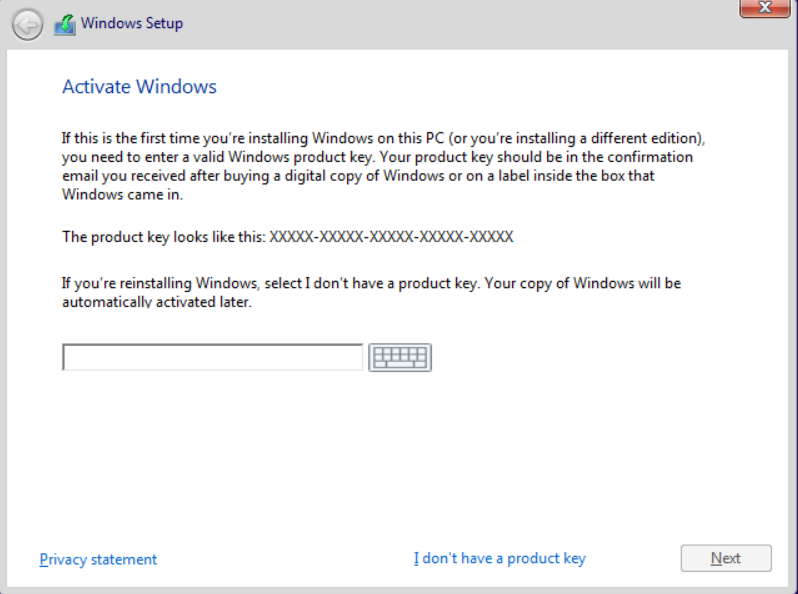
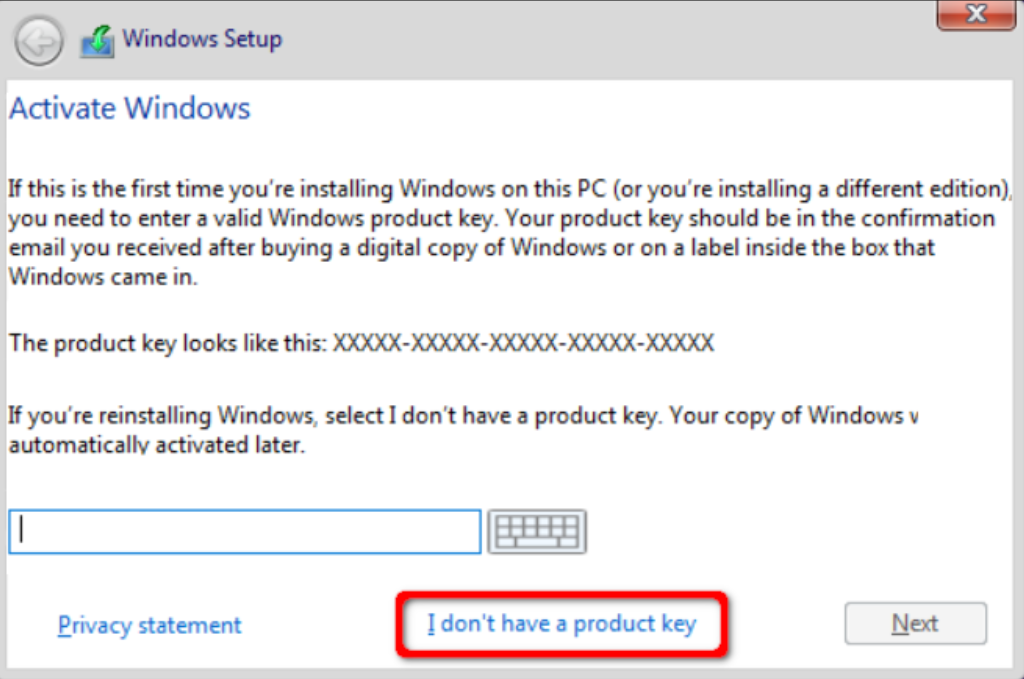
3. In Activate Windows page, click
“I don’t have a product key”
Q: I plan to install a Windows 10 VM on my current Dell also running Windows 10 Pro. Do I need product key for the VM? How do I activate it?
A: No, you don’t. Quote from Microsoft:
Inherited Activation
Inherited
Activation is a new feature available in Windows 10, version 1803 that allows
Windows 10 virtual machines to inherit activation state from their Windows 10
host.
When
a user with Windows 10 E3/E5 or A3/A5 license assigned creates a new Windows 10
virtual machine (VM) using a Windows 10 local host, the VM inherits the
activation state from a host machine independent of whether user signs on with
a local account or using an Azure Active Directory (AAD) account on a VM.
When install VM, just click on I don’t have a product key.
A user roaming profile contains personal information, and other users including administrator can’t access it. If you try to access or delete the roaming profile, you may get “Access denied” message. This article shows how to take ownership from the user and delete the roaming profile.
Step 1: Open Windows explorer
Step 2: Navigate to the roaming profile you want to delete. Right on the profile you want to delete. Select Properties
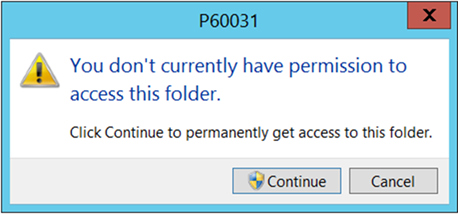
Note: You may receive this popup. Click Continue
Then you may receive another popup. Click on Close. You should be able to open the Properties.
Step 3: Click on Security tab
Step 4: Click on Advanced.
Step 5: Click on Change.
Step 6: Enter your usernameand who
will take over ownership. Then click OK
Step 7: Check Replace owner on subcontainers and objects and click all Oks to
save the settings
Note: You may receive this popup. Click Yes to continue.
Step 8: Now, try to delete the
profile. If you can’t delete the profile and receive this message, go step 9.
Step 9: Go back to Advanced Security Setting. Check Replace all child object permission entries with inheritable permission
entries from this object. Then try to delete the profile again.
Using Chromebook, you may want to access files such as phots, movies on another computer. This article shows how to configure Chromebook to access Network Share Files on Windows.
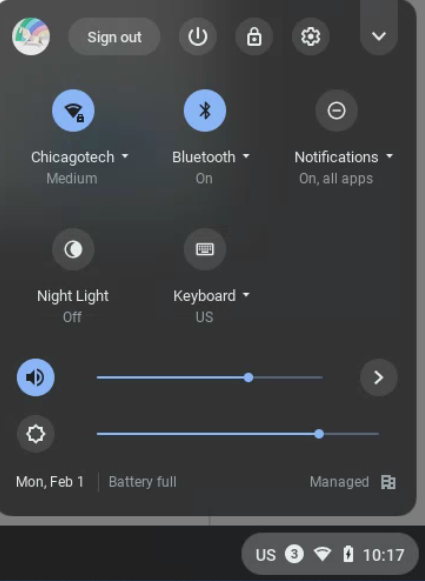
1. On the Chromebook, click on time and
then Settings
icon.
2. Click Advanced and Files.
3. Click on Network File Shares narrow key.
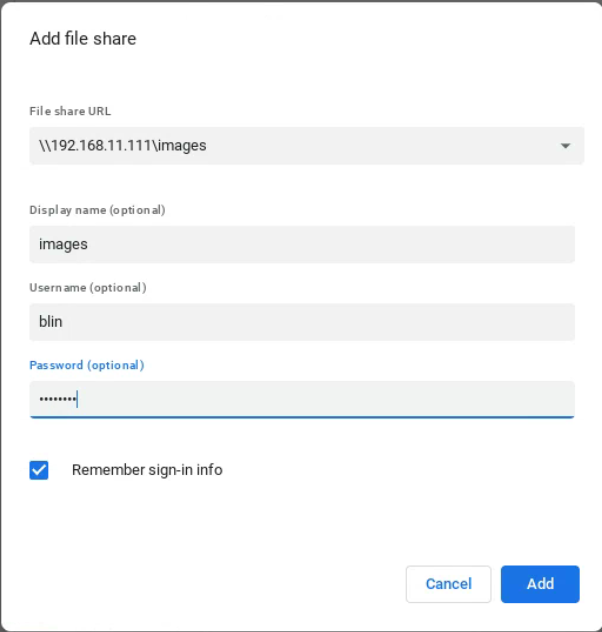
4. Click Add File Share
5. Enter File share URL, display
name, username and password. You may want to check Remember sign-in info.
Click Add.
* If you receive “Error mounting share: The specified share was not
found on the network, you may try IP address instead of the hostname
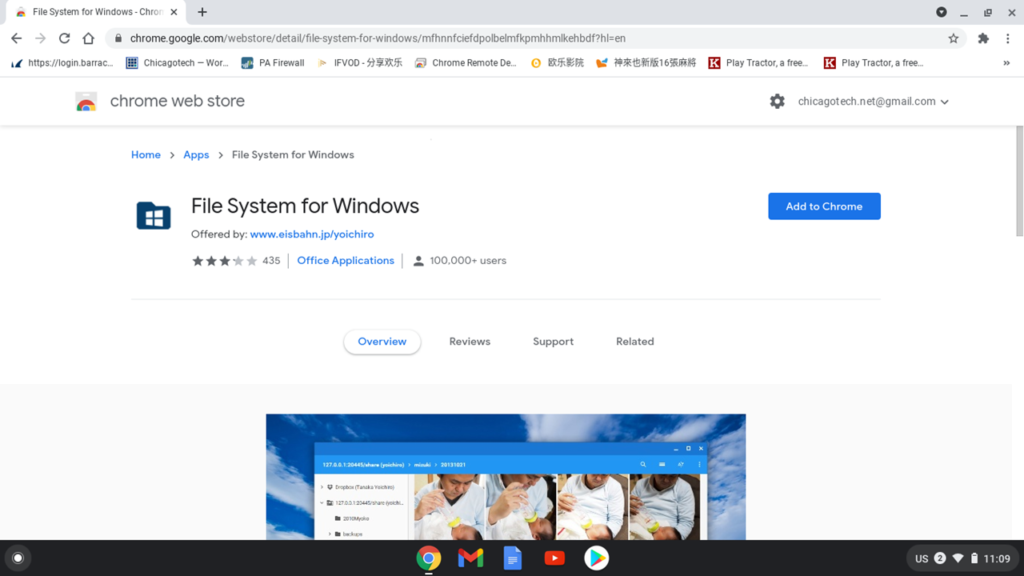
* Alternatively, you
may want to add File System for Windows.
Google it and
add to Chrome.
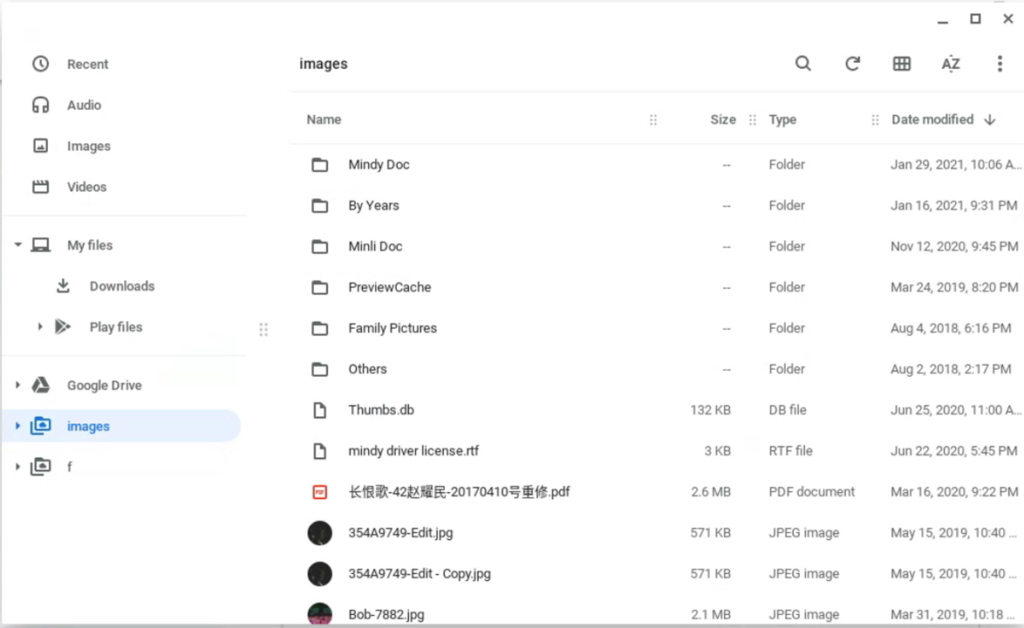
Now, you should be able to access
the network shar files or folders, Images in
our example.