run gpedit.msc
go to local security policy go to security select interactive logon crt alt del and select disable
the vpn box will appear at logon
run gpedit.msc
go to local security policy go to security select interactive logon crt alt del and select disable
the vpn box will appear at logon
Note: Some VPN like GloablProtect will be disconnected when switching a user. You may have two options. 1) Lock instead of switch. 2) Cache the domain account, for example opening an application like PanGPA.exe > shift+right clicked > Run as different user.
To check the configuration history on a Palo Alto firewall, follow these steps:
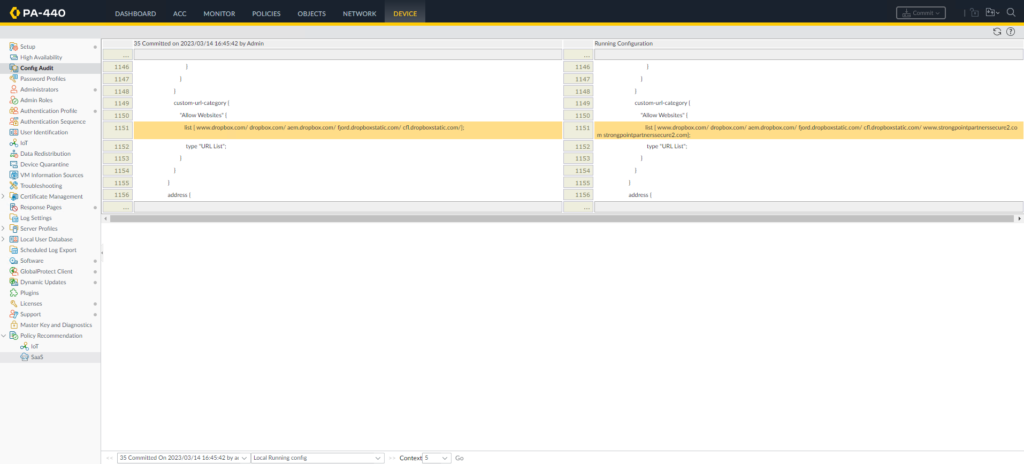
5. Configuration differences are clearly highlighted by different colors for review, letting the administrator view changes in the present and past configurations. It lists what admin made the change, along with what time it was performed.
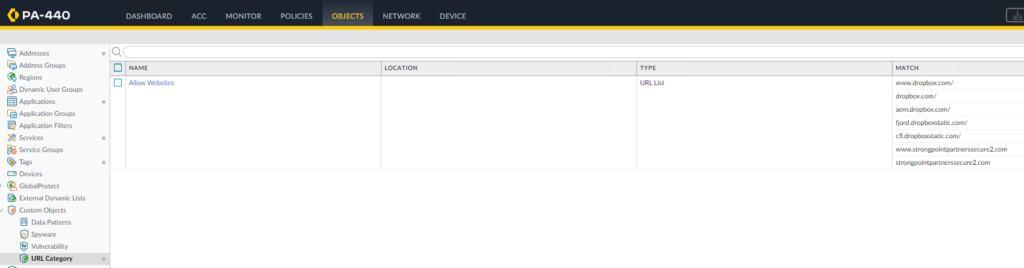
Note: in our example, we configure to allow accessing dropboc.com by going to OBJECTS>Custom Objects>URL Category. Add dropbox.com to Allow Websites.
CLI
3. From the CLI, To see the changes between the running configuration and candidate configuration, you can run the following command to see what is different from the running config to the candite config.
> show config diff
risk 1;
preview yes;
}
+ confluence-downloading {
+ category collaboration;
+ subcategory social-business;
+ technology browser-based;
+ description “This App-ID identifies confluence downloading traffic.”;
+ alg no;
+ appident yes;
+ virus-ident yes;
+ spyware-ident yes;
+ file-type-ident yes;
+ vulnerability-ident yes;
+ evasive-behavior no;
+ consume-big-bandwidth no;
+ used-by-malware no;
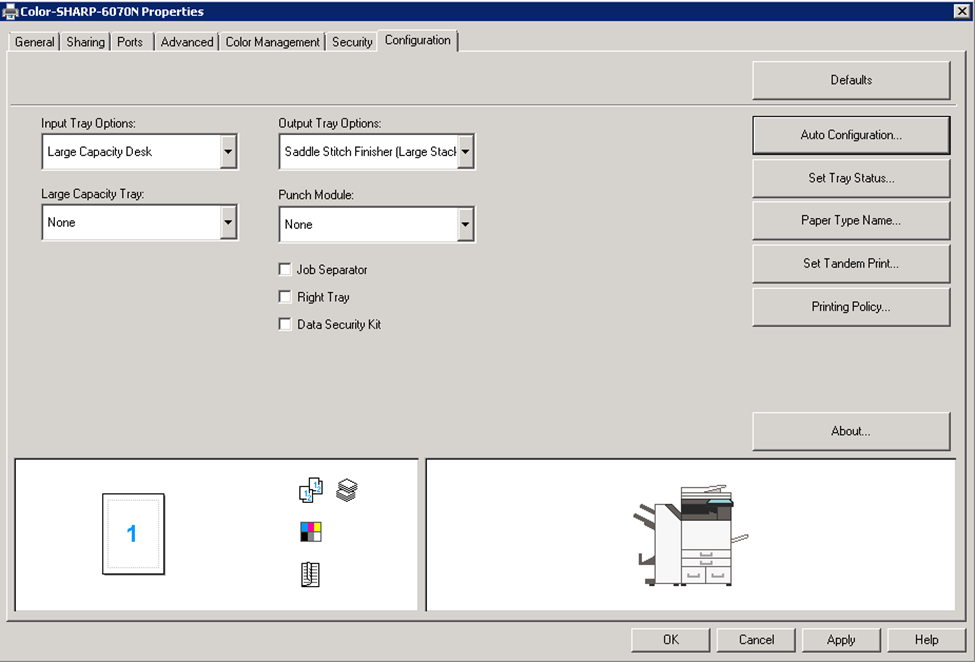
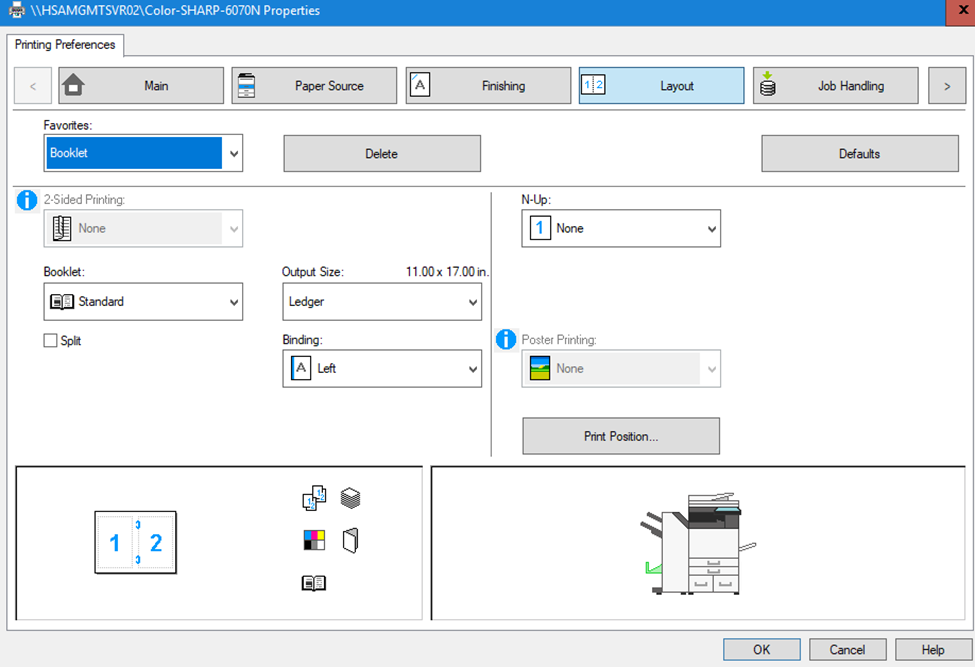
4. On the Workstation, go to the Sharp Printer Properties> Configuration to make sure the configuration is correct.
5. On Printing preferences, click Main. Select Saddle Stitch under Staple.
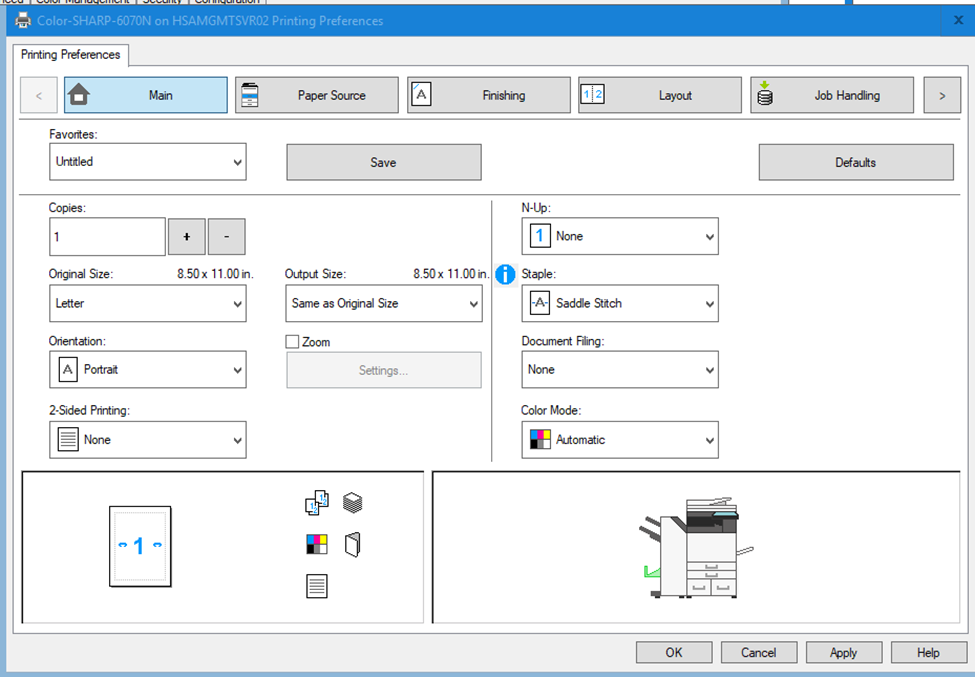
6. Go to Layout, select Standard under Booklet.
7. To save the settings, click Save and give the name, for example Booklet.
8. When you want to print using booklet, go to printing preferences. Select booklet and print.
Situation: The client has FatPipe connecting to 3 IPSs. They would like to know how to configure FatPipe to use WAN 3 as primary gateway.
To force the use of a FatPipe WAN 3, you can follow these steps:
To configure a FatPipe WAN 3 as the primary gateway, you can follow these steps:
To add a user to Azure administrators, you need to have the appropriate permissions to manage Azure resources. Here are the steps to add a user to Azure administrators:
After completing these steps, the user will be added to the Azure administrators with the assigned role, and they will have access to the Azure resources based on their role permissions.
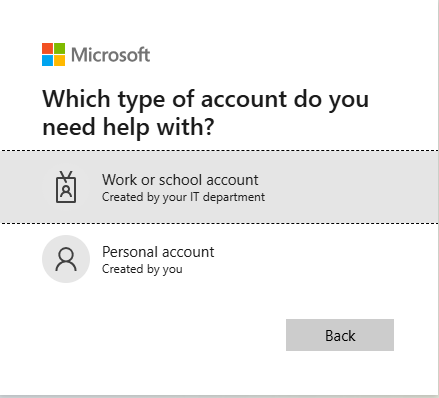
To use the Office 365 self-service reset password feature, you need to follow these steps:

2. Select the “Work or school account” option.
3. Enter your username (email address) in the appropriate field. Enter the characters you see on the screen in the verification field and click Next.
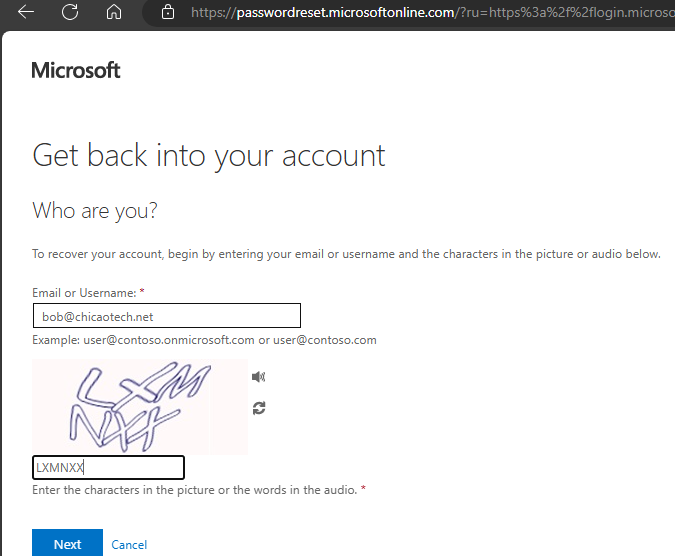
4. Choose the verification method you want to use to confirm your identity (such as email or text message) and follow the prompts to complete the verification process.

5. Once your identity is verified, you will be asked to create a new password.
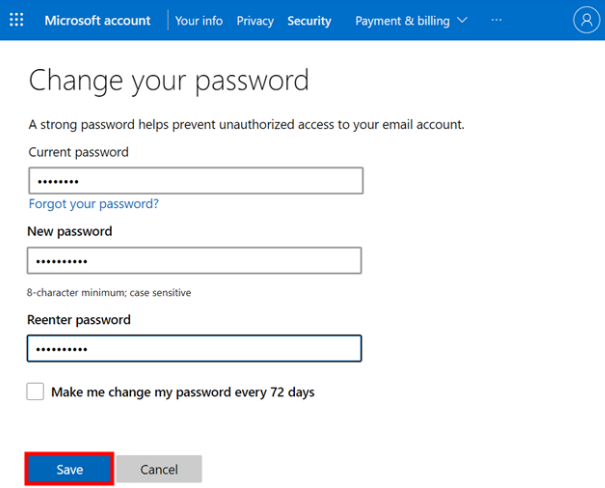
6. Follow the password guidelines to create a strong password and confirm it.
Click “Finish” to complete the password reset process.
Once you have reset your password, you can use it to log in to your Office 365 account.
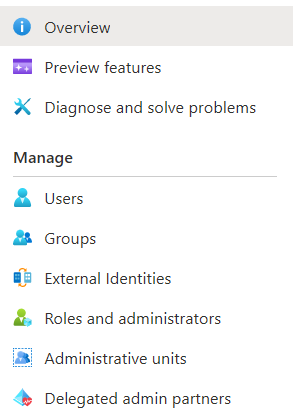
Enabling self-service in Office 365 can be done through the following steps:
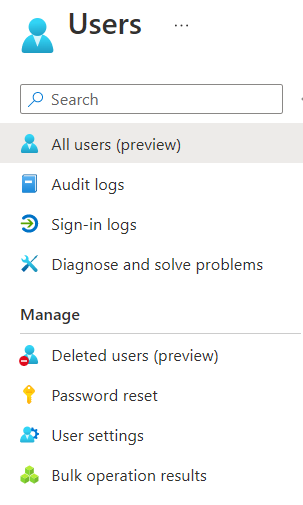
3. Click on Users.
4. Click on Password reset.
5. On the Properties page, you may choose Selected and select a specific security group or choose All option to enable SSPR for all users. Click Save to save the SSPR setup.
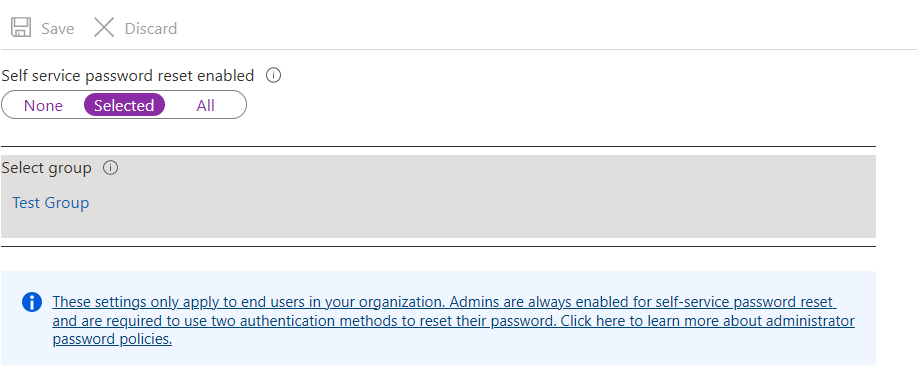
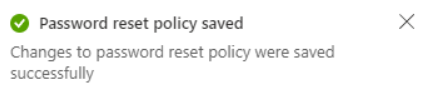
6. In the end, you’ll see the following confirmation, confirming the password reset policy is saved.
7. Configure Authentication Methods
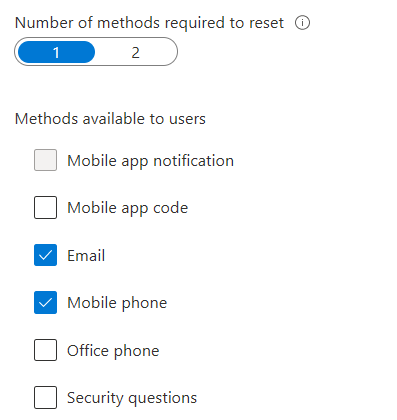
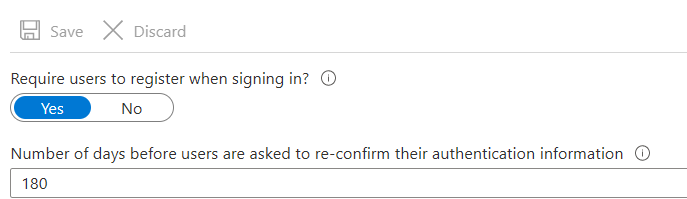
8. Configure SSPR Registration
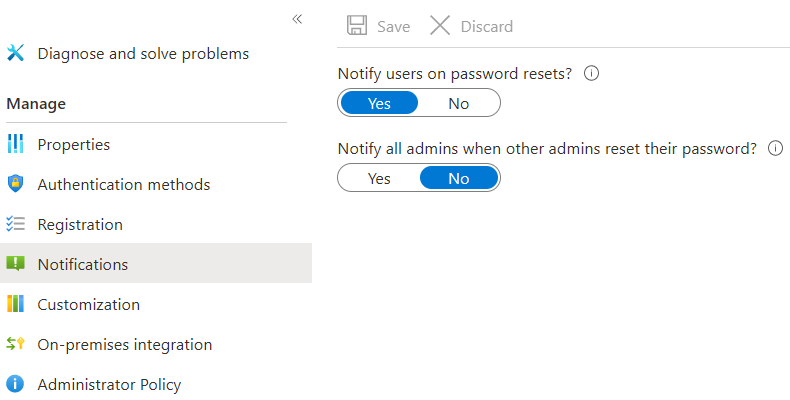
9. Enable SSPR Notifications
On the Notifications page, choose whether users get email notifications when their password is reset. The default option is Yes.
Choose whether to notify admins about other admins resetting their own passwords. The default option is No.
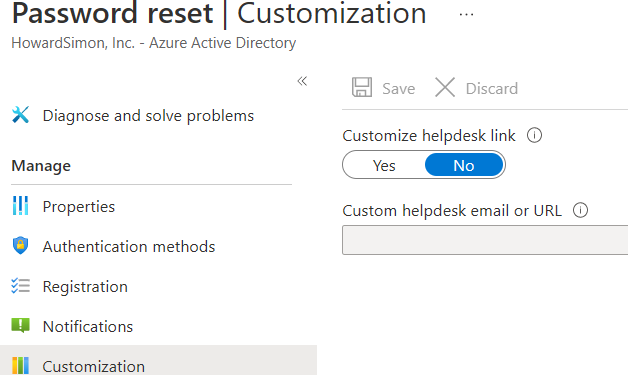
10. Customize Helpdesk Contact
On the Customization page, you can customize the Helpdesk contact information that users will see in the SSPR.
Click Yes and enter the helpdesk email or webpage URL and click Save.
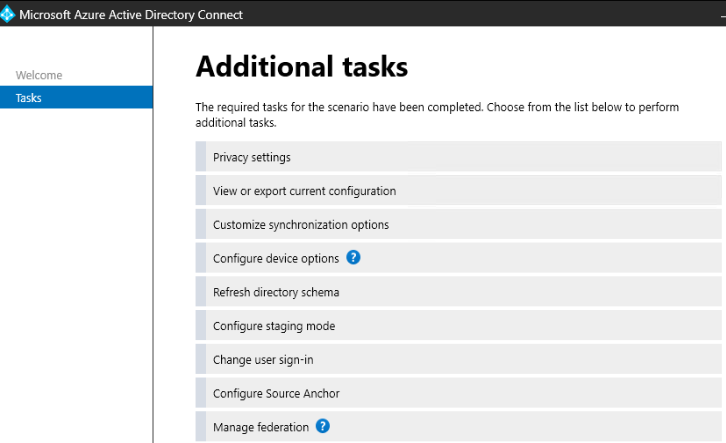
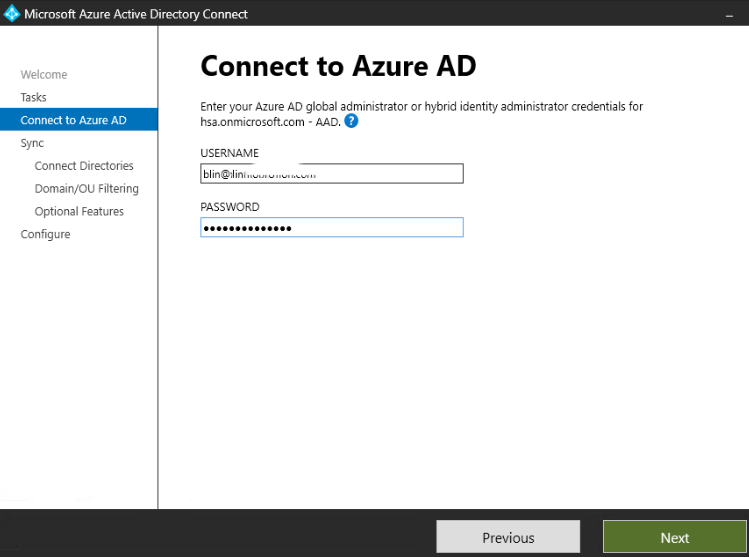
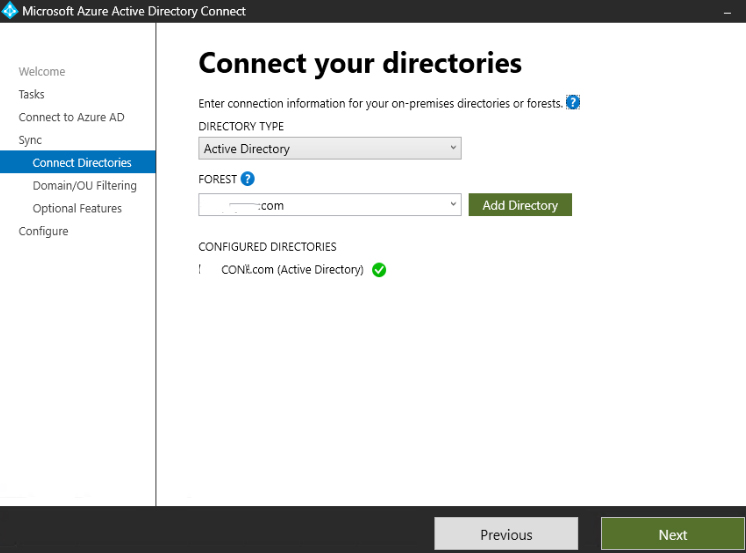
11. Configure account permissions for Azure AD Connect
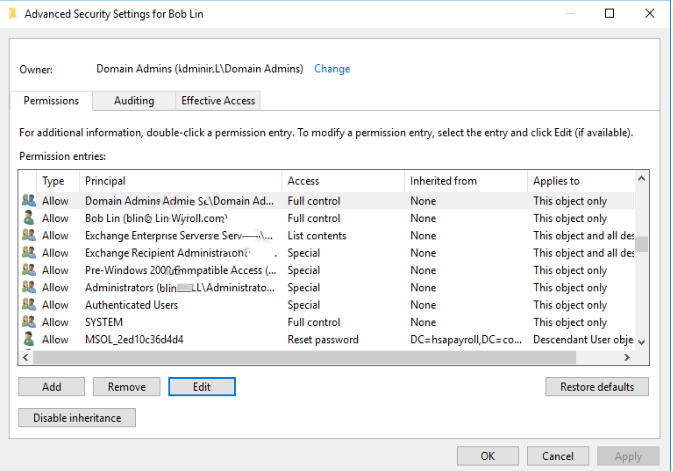
and make sure you have Reset password.
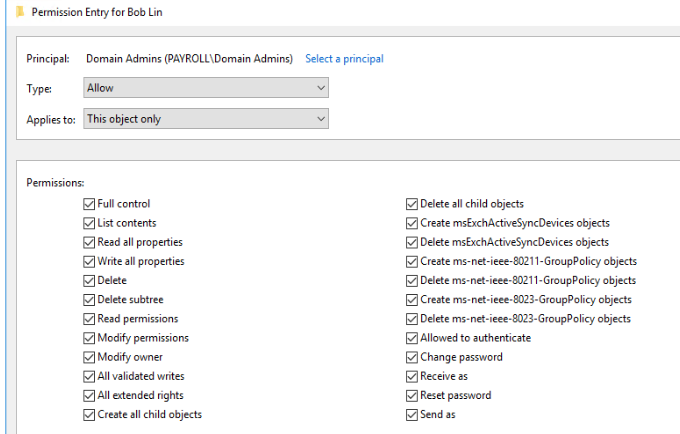
If not, please click Add to add reset password.
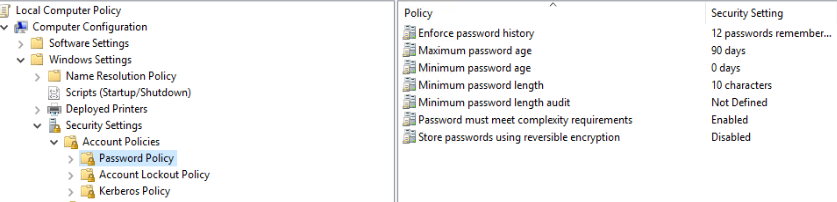
Password policies in the on-premises AD DS environment may prevent password resets from being correctly processed. For password writeback to work most efficiently, the group policy for Minimum password age must be set to 0. This setting can be found under Computer Configuration > Policies > Windows Settings > Security Settings > Account Policies within gpmc.msc.
If you update the group policy, wait for the updated policy to replicate, or use the gpupdate /force command.
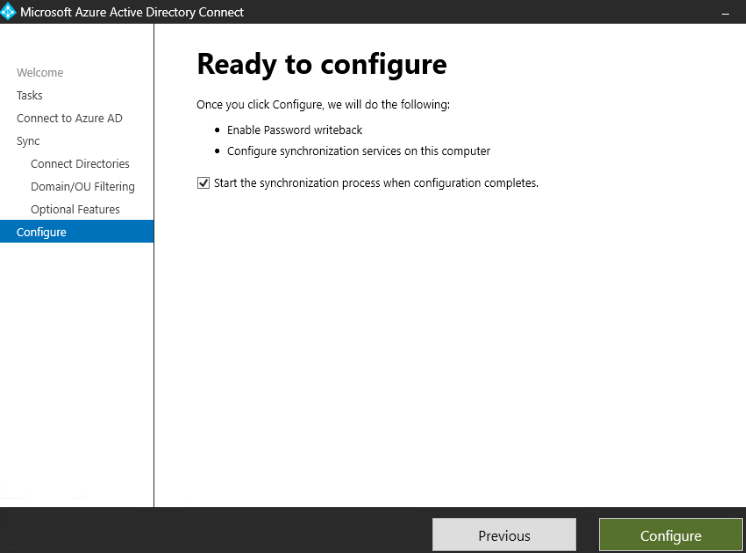
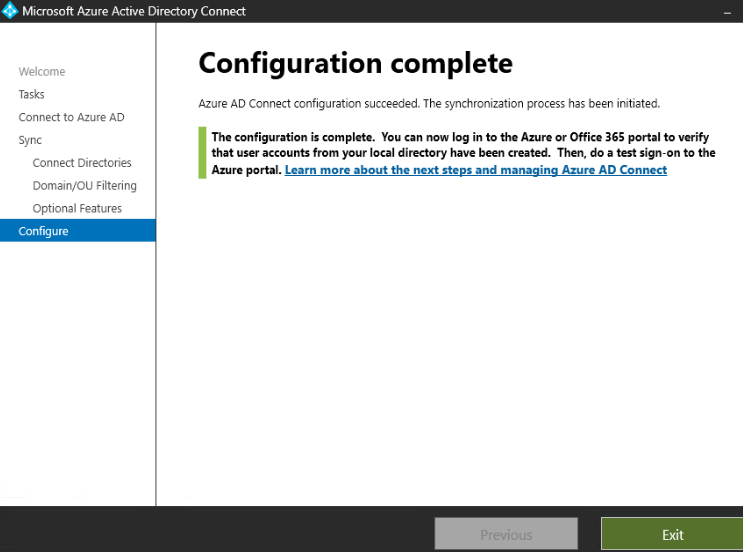
Enable Password Writeback Azure AD Connect
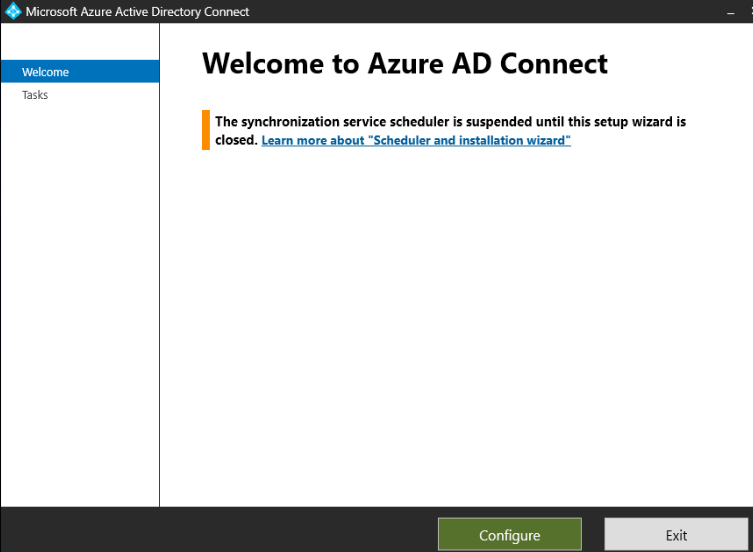
Note. This section requires that Azure AD Connect is already installed and configured in your on-premises AD and Azure AD. If you haven’t done so, visit How to Install Azure AD Connect and Configure It.


You can significantly improve the user experience when you enable self service password reset in your organization. Users can reset their own passwords as long as your organization has the license that allows this feature.
Moreover, users may not need to connect to the corporate network (direct, VPN, etc.) to reset their passwords in the Active Directory. Instead, they can perform the password reset in their Office 365 accounts, and the password will sync back to Active Directory.
To confirm whether Push notifications are working for end-users, Duo administrators can send a test push from the Duo Admin Panel User properties page.
“Fetch” a Duo Push request: If you expected to receive an authentication request and one hasn’t shown up in Duo Mobile, try leaving and returning to the app, as this can “fetch” the notification. Closing or force quitting the app and reopening it will also fetch the notification. You may also try swiping down from the top of the screen to check the notification center to see if the push was delivered silently due to skipping notification permissions when you set up the app.
Check your connection: Further, you should verify that you are connected to a reliable WiFi or cellular connection, as a weak connection can delay a push or can cause you to not receive a push. Note that personal hotspots use a cellular connection. On iOS devices, notifications are sent from the Apple Push Notification service (APNs) to the registered device over mobile data or WiFi networks and are not associated with the phone number of the device.
Also, if you are accessing an application you haven’t used in a while, try opening the Duo Mobile app and then send another push request.
If you see a push after leaving and returning to the app:
If you are able to fetch an authentication successfully but still don’t receive push notifications, or if you see a message in Duo Mobile that says “Please open Duo Mobile and check for Duo Push requests manually”, here are the likely potential reasons for the issue:
1. Notifications not enabled
If you can approve a request by manually leaving and returning to the app and tapping the Approve button in the Duo Mobile app, but no push notifications are received, it is most likely because you selected not to receive notifications when installing the application. The following process will also resolve a bug in iOS 10 that may require push notifications to be toggled off and back on for applications.
The first time a push-enabled app registers for push notifications, iOS asks if you want to receive notifications for that app. Once you select an option, the option is not presented again unless the device is restored or the app has been uninstalled for at least a day.
To check if push notifications are enabled for Duo Mobile and re-enable them if needed, follow these steps:
2. Issues with Apple Push Notification Service (APNs)
Another reason push notifications may not be working is due to an issue connecting to Apple Push Notification Service (APNs). In their support articles Use notifications on your iPhone, iPad, and iPod touch and If your Apple devices aren’t getting Apple push notifications, Apple suggests disabling cellular data and testing pushes. This would help narrow down whether the carrier is having an issue with the APNs and finding the phone.
A weak connection can result in a delayed push, or not receiving a push at all.
Your wireless network must also allow the following ports for proper communication with Apple’s servers:
3. Issues caused by Wi-Fi Assist and VPN usage
The Wi-Fi Assist feature, which is enabled by default and will automatically switch to cellular data when you have a poor Wi-Fi connection, can cause Duo Push issues if you are using a VPN on your iOS device. If you use a VPN on your device and get connection errors from Duo Mobile, you can disable Wi-Fi assist by doing the following:
Navigate to Settings > Cellular or Settings > Mobile Data. Then scroll down and tap the slider for Wi-Fi Assist.
If you don’t see a push after leaving and returning to the app:
This occurs because something has happened on the device that has caused the Duo account to be unlinked from our servers.
Other installed applications on iOS:
We’ve received reports from customers that when PIA-VPN is installed on an iOS device, the device is unable to receive push notifications over WiFi. If you have PIA-VPN installed and need to use Push for authentications over WiFi, F-Secure Freedome is an alternative that has been confirmed to work with Push notifications regardless of cellular network settings.
For help with Push issues on Apple Watch, see How do I troubleshoot Duo Push delivery issues on Apple Watch?
Additional Troubleshooting
If none of the above steps resolve your issue, and you receive an error message, please include all of the following information in an email to support@duosecurity.com:
Duo Push & Third-Party Accounts:
Please note that Duo Push is not supported for third-party accounts (e.g. Amazon, Instagram, Facebook, Slack, Dropbox, etc.). Third-party accounts require the use of Duo Mobile passcodes as a second factor when logging in. Learn more about third-party accounts in our end-user guide and in this Knowledge Base article.
If your Duo account is locked, you can try the following steps to unlock it:
If you are the Duo administrator and your own account is locked, you can follow the same steps above, but instead of contacting another administrator, you can use another account with administrative privileges to unlock your account. If you do not have another administrative account, you can contact Duo customer support for assistance.