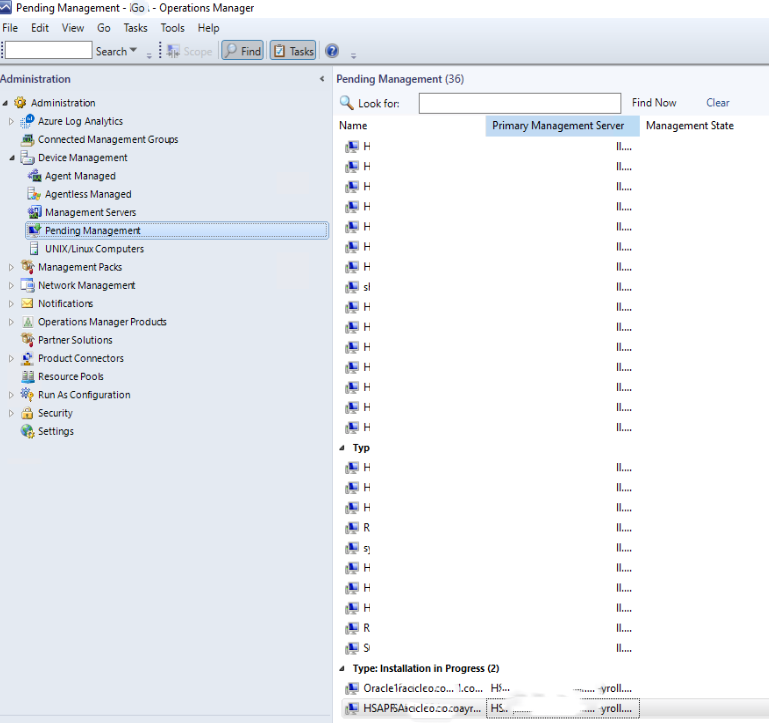
To check the status of System center Agent installation, login System Center/Operations manager. Go to Administration>Device Management>Pending Management.
Under Pending Management, you can check the status of Agent Requires Update, Failed Agent installation, and Installation in Progress.
Situation: The client just upgraded one of their VM running Windows Server 2012 R2 to Windows Server 2019. The new Windows 2019 uses the same IP address and hostname of the old Windows 2012 R2. So, they disable the old server network to prevent conflict.
Now, they need some files from the old 2012 R2 server and wonder if we can help them to copy those files without conflicting the new server.
Resolution 1: Enable enhanced session mode and use Remote Desktop Protect
Enhanced session mode is simple way to transfer files between Host and VM using Remote Desktop Protocol (RDP). This feature doesn’t require network connection between Hyper-V host and guest VM.
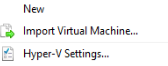
Enable Enhanced Session Mode Policy by going to Hyper-V Settings.
Check Allow enhanced session mode.
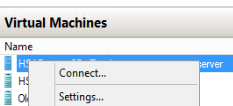
2. Right click on the VM which you want to transfer files and then Connect.
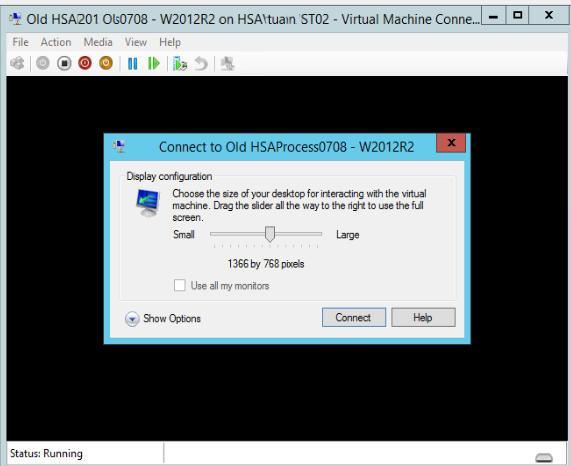
3. Click on Show Options
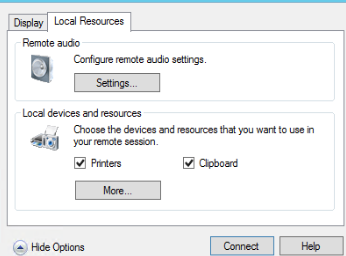
4. Click on Local Resources and More.
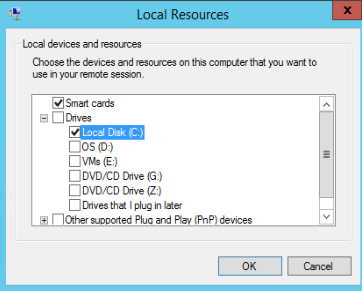
5. Select the drive that you want to access on the VM, and click Ok.
6. Click on Connect
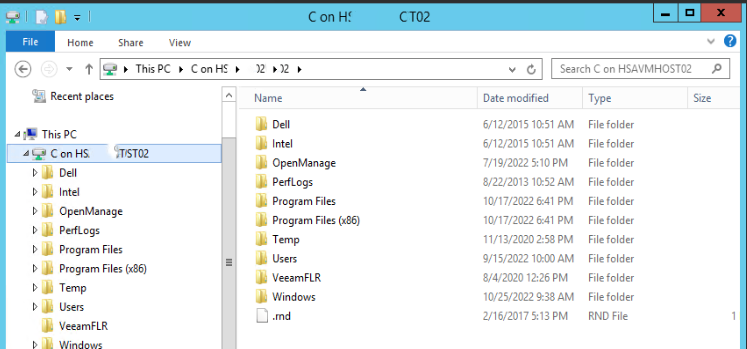
7. Now, File Explorer shows the Drive (C in our example) of the Host so that you can transfer files between host and VM.
Or you can copy and paste between the Host and VM without mapping the Drive.
Resolution 2: Mount the virtual hard disk to the host machine
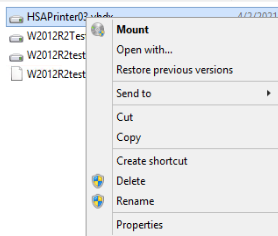
1. Shut down the virtual machine first, then go to mount the VHD to the Hyper-V host by right clicking on the *.vhdx file. Click on Mount.
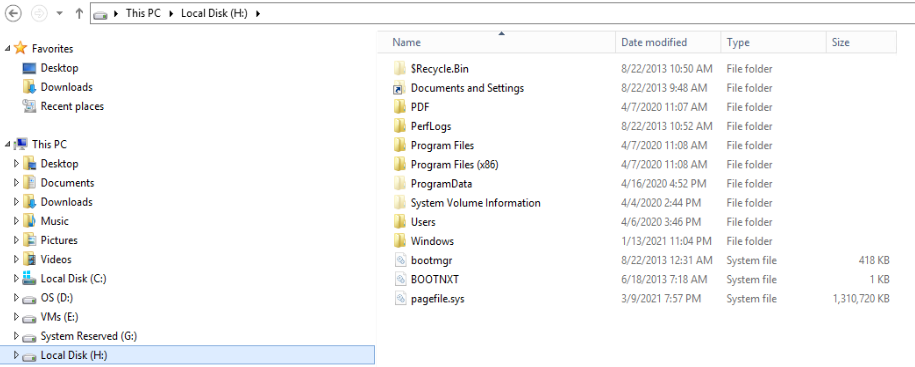
2. Virtual disk will show two folders in the Host File Explorer, for example System Reserved (G) and Local Disk (H) in our example.
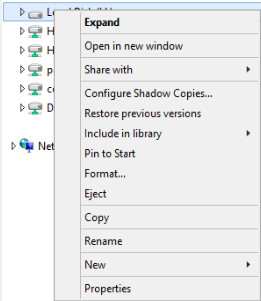
3. Copy the files to the virtual hard disk as you want. When completed, right-click the mounted disk drive (H drive in our example) and select Eject to dismount the VHD.
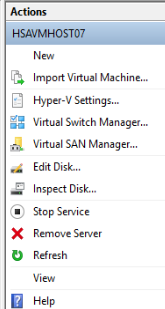
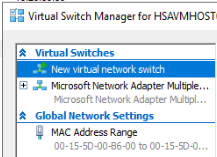
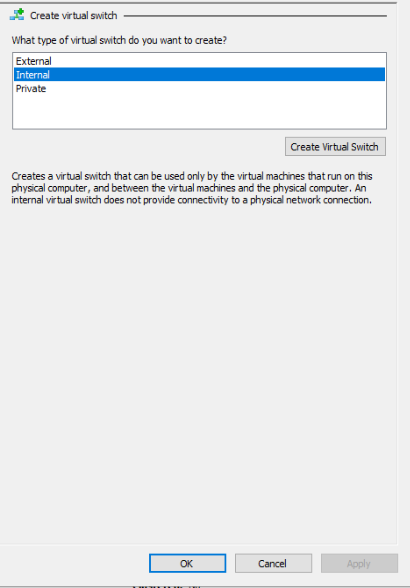
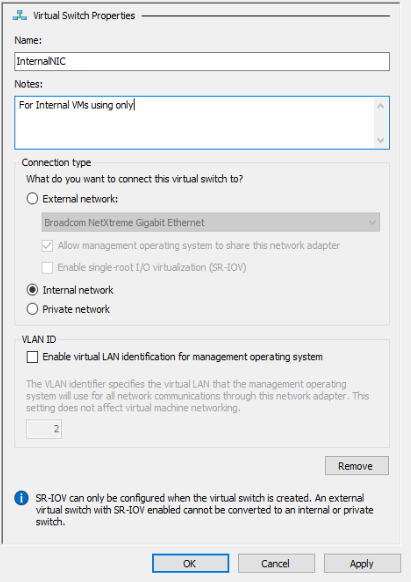
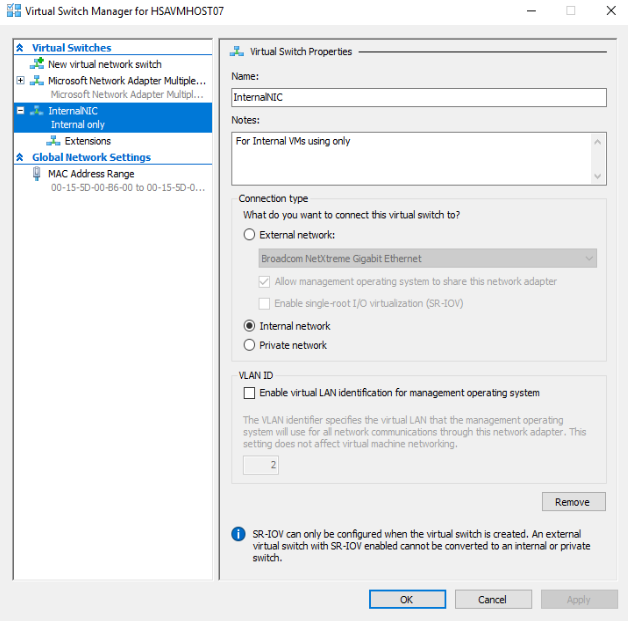
Resolution 3: Create an Internal Virtual switch so that the Host and VM can talk each other.
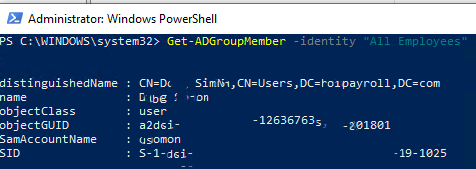
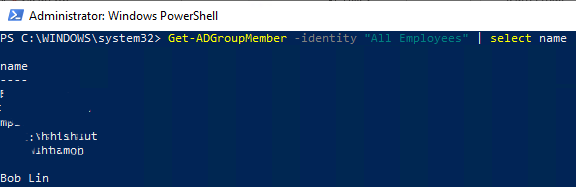
To connect and query an AD group with PowerShell, the Active Directory module needs to be loaded. You can do it by installing RSAT tools installed. Please refer to this post to check the Active Directory module status:
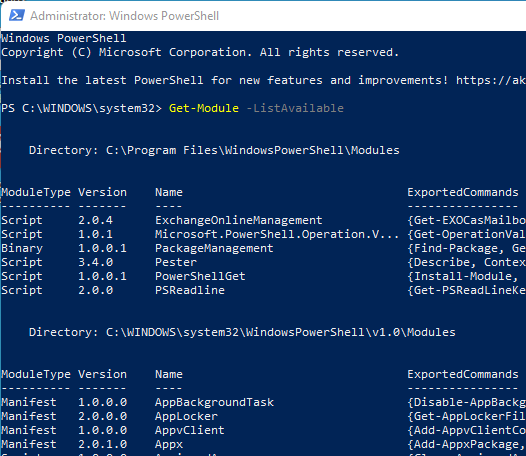
1. Run PowerShell command “Get-Module -ListAvailable” to check if you have Active Directory module installed, for example, Active Directory module installed
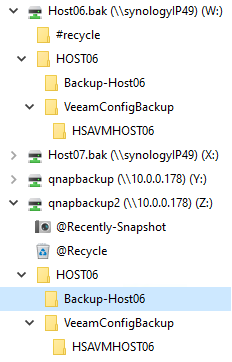
To migrate Veeam Backup Files from one storage to another, you need to switch between repositories when old and new repositories contain the same backup files for the job (VBM, VBK, VIB, VRB). This article shows how to migrate Veeam Backup Files from one storage to another.
3. Manually move the backup files to the new repository path. You must include the metadata file (.vbm), full backup files (.vbk), and any needed incremental files (.vib or .vrb). In our case, we use robocopy to copy all backup files to the new storage. You can map both drives and then copy/past.
Note:
It is recommended to move all backup files, but you may omit incremental files if needed. However, if you decide not to move/copy all backup files to the new storage, you will need to use the “Forget Missing Restore Points” function to clear any references to backup files that were not moved/copied after the final step.
There will be folders created inside the directory/path for job names. If your repository path is set as E:\Backups, Job A will go to E:\Backups\Job A.
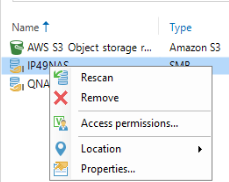
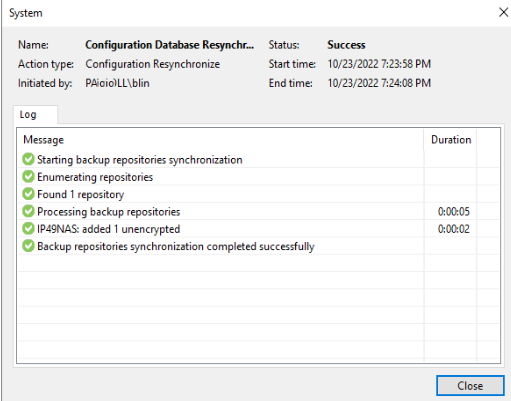
4. Rescan the new repository.
If the backup files are not encrypted, skip this step. If the backup files are encrypted, the encrypted backup will appear under the Backups > Disk (encrypted) node in the inventory pane. In the working area, select the imported backup and click Specify Password on the ribbon or right-click the backup and select Specify password. More InformationThis is also relevant for encrypted Veeam Agent backups.
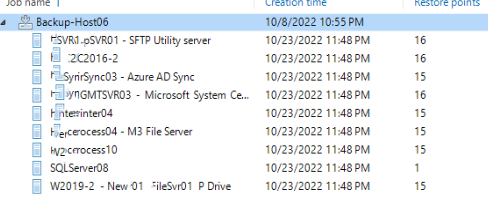
Observe that after the Rescan has been completed, there will be duplicate entries for the backup files. One is associated with the old Repository under Backups > Disk, and the other is associated with the new repository under Backups > Disk (Imported).
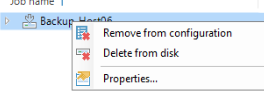
7. Remove old repository from the configuration by going to Backup>Disk. Right click on the old repository and click on Remove from configuration.
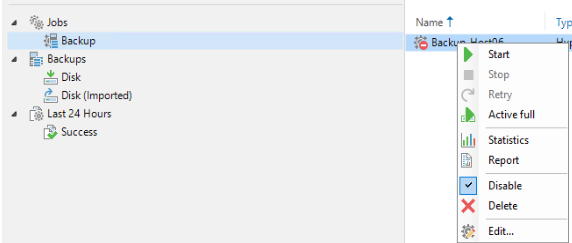
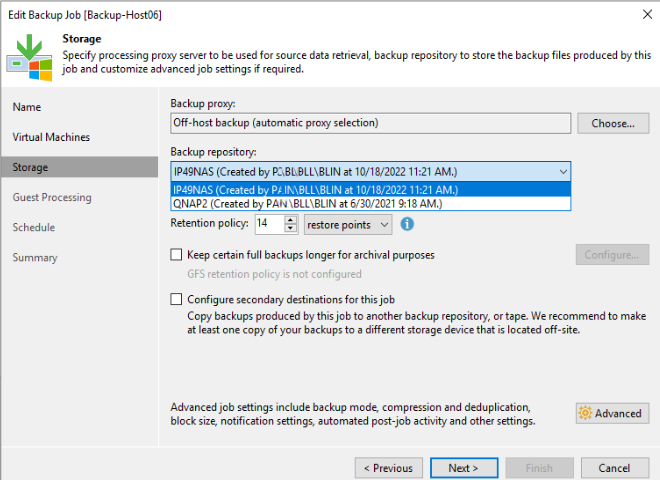
8. Edit the Backup or Backup Copy Job, and go to the Storage or Target tab, and from the drop-down menu, select the new repository.
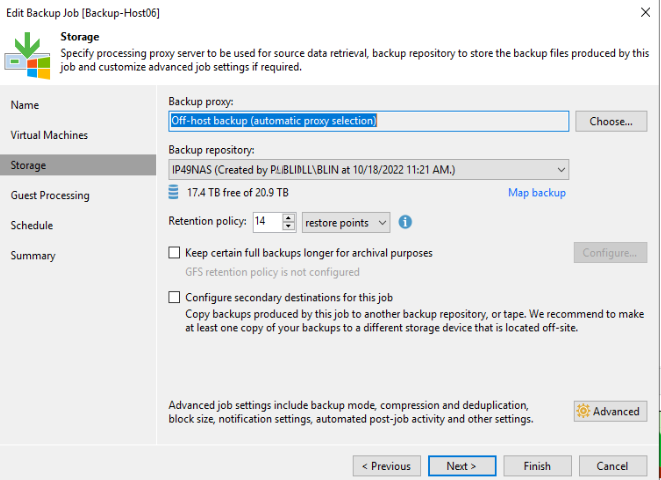
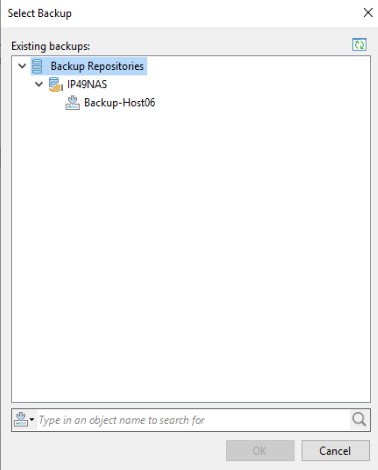
9. Map to the new repository
10. Press Next through the rest of the pages of the wizard to finalize the setting. If no error occurs, and the job now lists the new repository in its Repository column, the mapping has been completed.
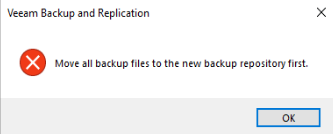
Note: If you encounter the following error: “Move all backup files to the new backup repository first”, some restore points the software was expecting to find were not found in the new repository. Cancel out of the job configuration and check both the old repository location and the new location to verify that all restore points have been moved. Then return to step 3 again.
9. Verify migration by checking under Backups > Disk to see that the Job’s backup files listed there are now associated with the new repository.