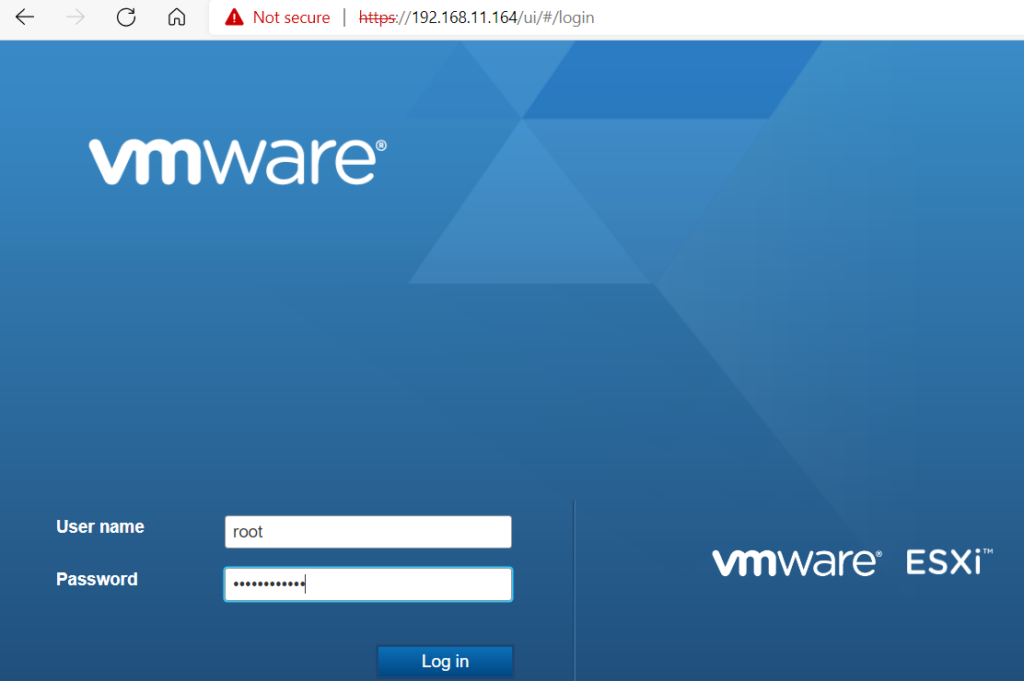
Login VMware ESXi v7
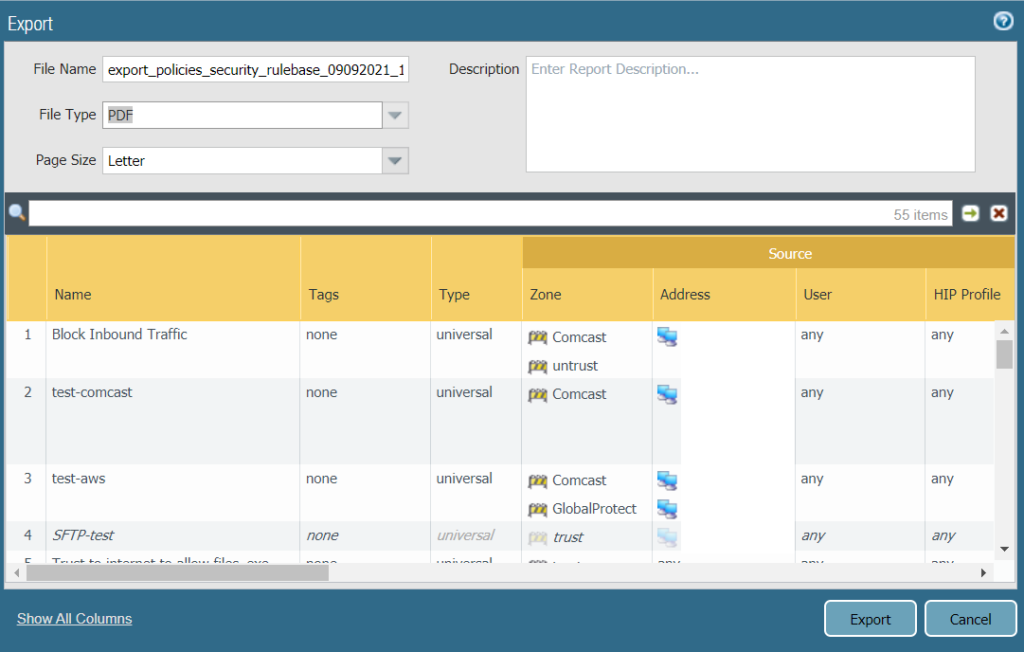
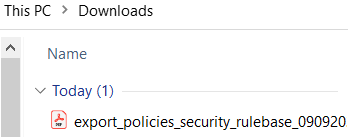
3. You will find the report in the Downloads folder.
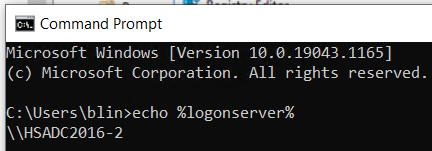
Open Command Prompt
Enter Command echo %logonserver%
This post describes how to configure the Time service on a Windows server as DC. Note: Fir VM please refer to this post: How to configure Time Services for a Domain Controller running on a VM
2. Set AnnounceFlags to 0x5 or 9xA in subkey: HKEY_LOCAL_MACHINE\SYSTEM\CurrentControlSet\Services\W32Time\Config

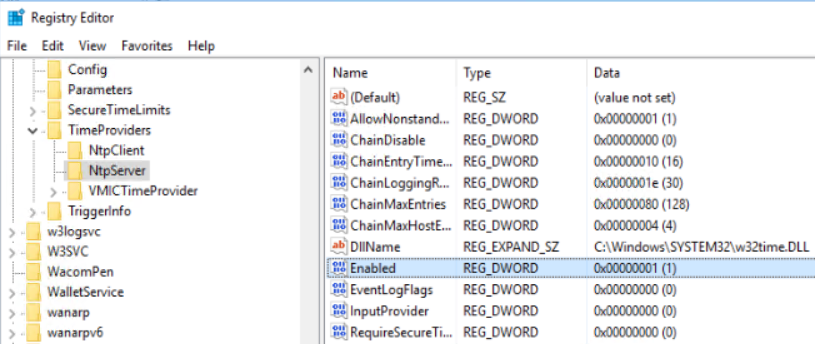
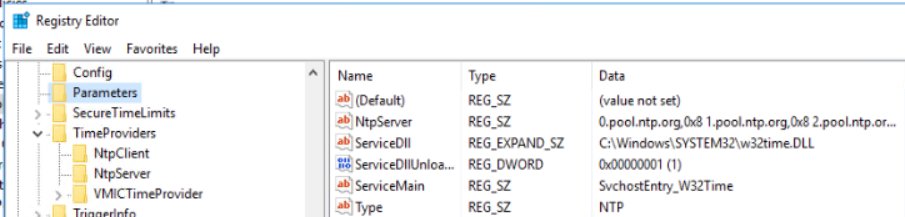
3. Enable NTPServer: Enabled value data is 1
HKEY_LOCAL_MACHINE\SYSTEM\CurrentControlSet\Services\W32Time\TimeProviders\NtpServer
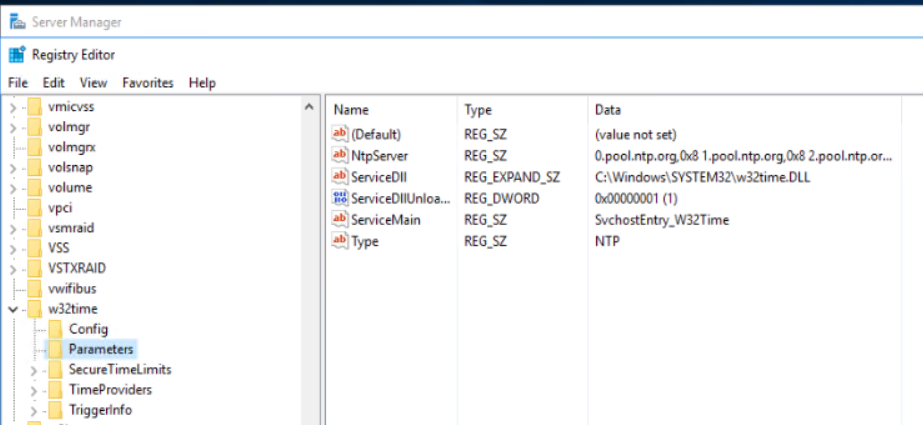
4. Specify the time sources: add pears in NtpServer
HKEY_LOCAL_MACHINE\SYSTEM\CurrentControlSet\Services\W32Time\Parameters
5. Configure the time correction settings: The default value of MaxPosPhaseCorrection and MaxNegPhaseCorrection is 48 hours
HKEY_LOCAL_MACHINE\SYSTEM\CurrentControlSet\Services\W32Time\Config

6. Close Registry Editor and run these commands:
net stop w32time && net start w32time
Configure time services for a DC running on a VM is different from physical server. Assuming the VM/DC time sync from the host machine is turned on in the Integration Services, please follow these steps.
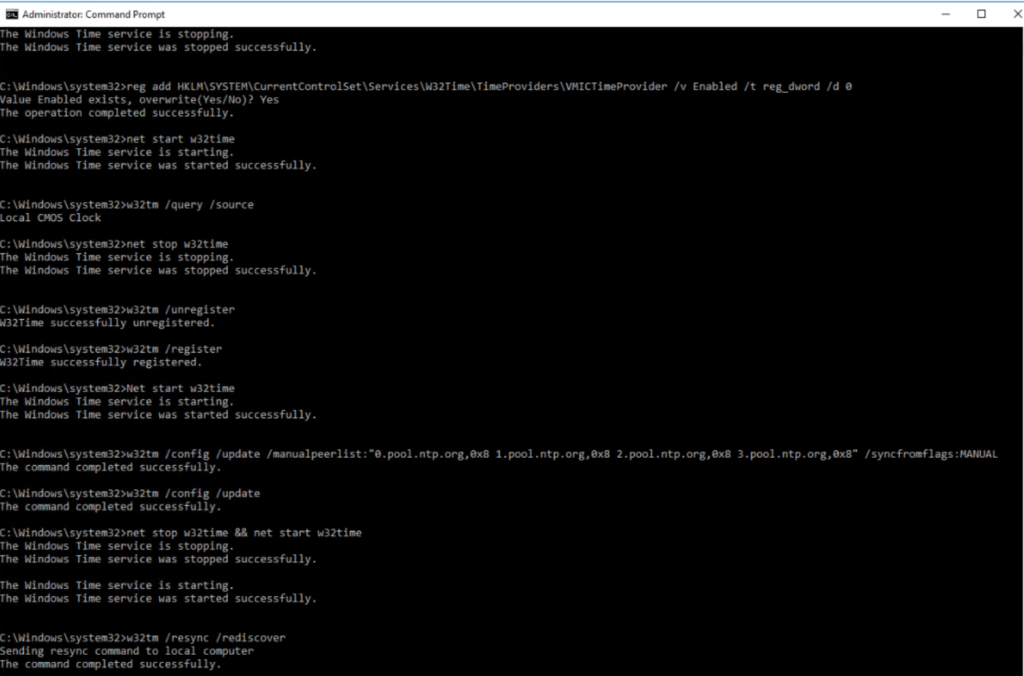
reg add HKLM\SYSTEM\CurrentControlSet\Services\W32Time\TimeProviders\VMICTimeProvider /v Enabled /t reg_dword /d 0
This ensures that the DC only syncs its time from the host OS when being restored from a saved state.
2. run these commands:
net stop w32time
w32tm /unregister
w32tm /register
Net start w32time
w32tm /config /update /manualpeerlist:”0.pool.ntp.org,0x8 1.pool.ntp.org,0x8 2.pool.ntp.org,0x8 3.pool.ntp.org,0x8″ /syncfromflags:MANUAL
w32tm /config /update
net stop w32time && net start w32time
w32tm /resync /rediscover
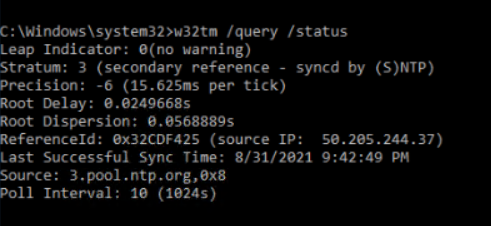
3. Run these commands to check and test the configuration:
w32tm /query /status
w32tm /query /source

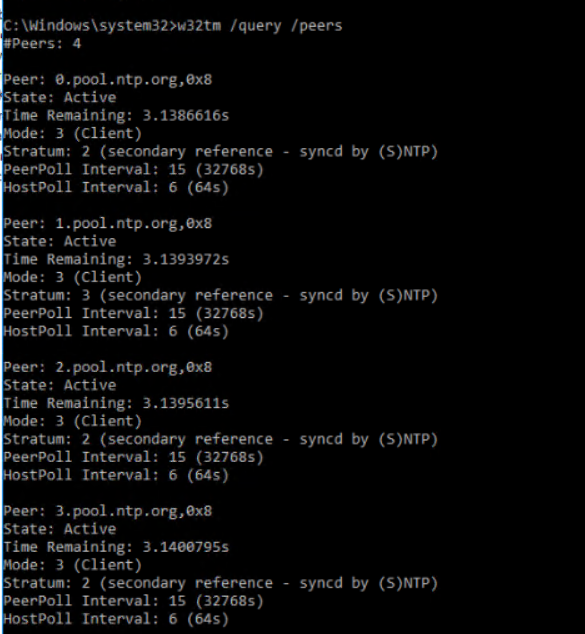
w32tm /query /peers
w32tm /query /configuration
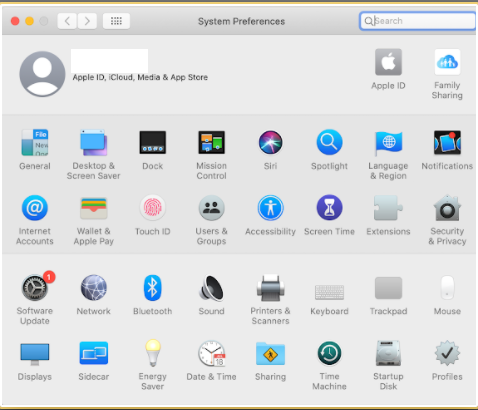
2. Click open Users & Groups.
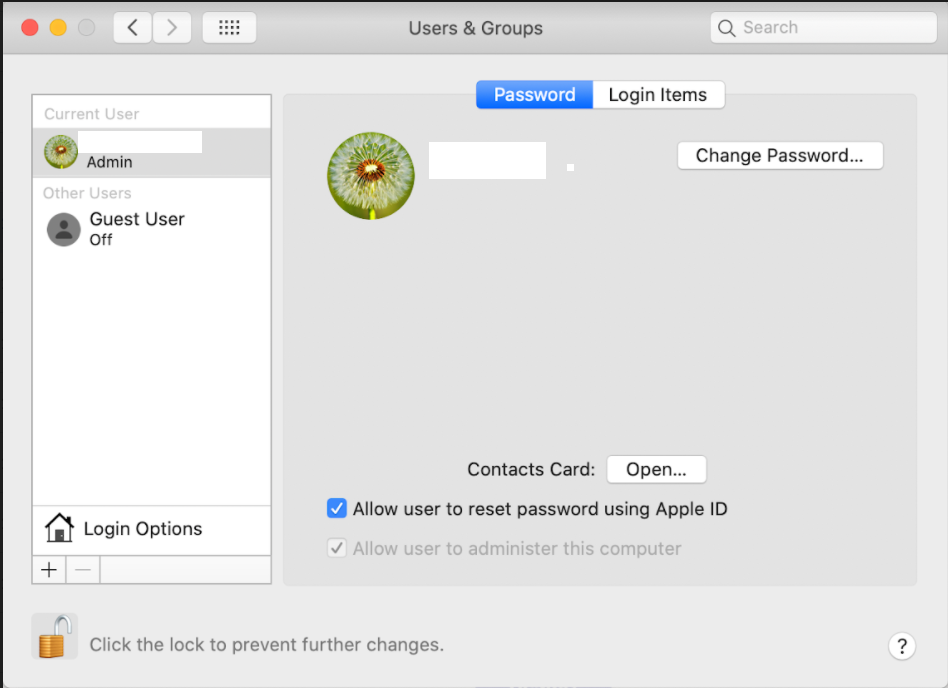
3. Click the lock to make change.
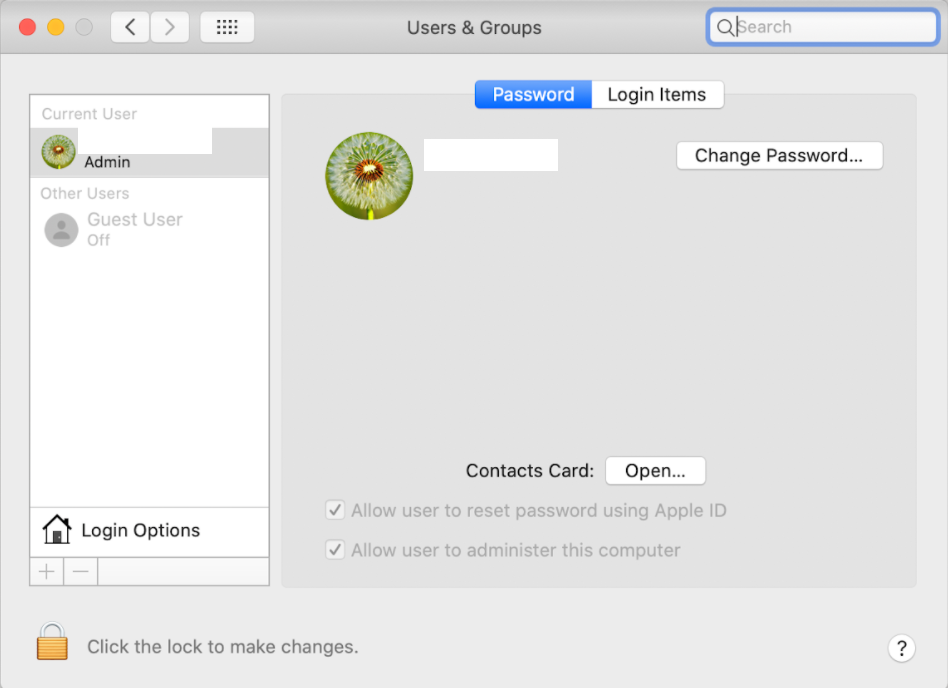
4. Click + to add a user.
5. Select new account type and enter the user info. Then click on Create User.
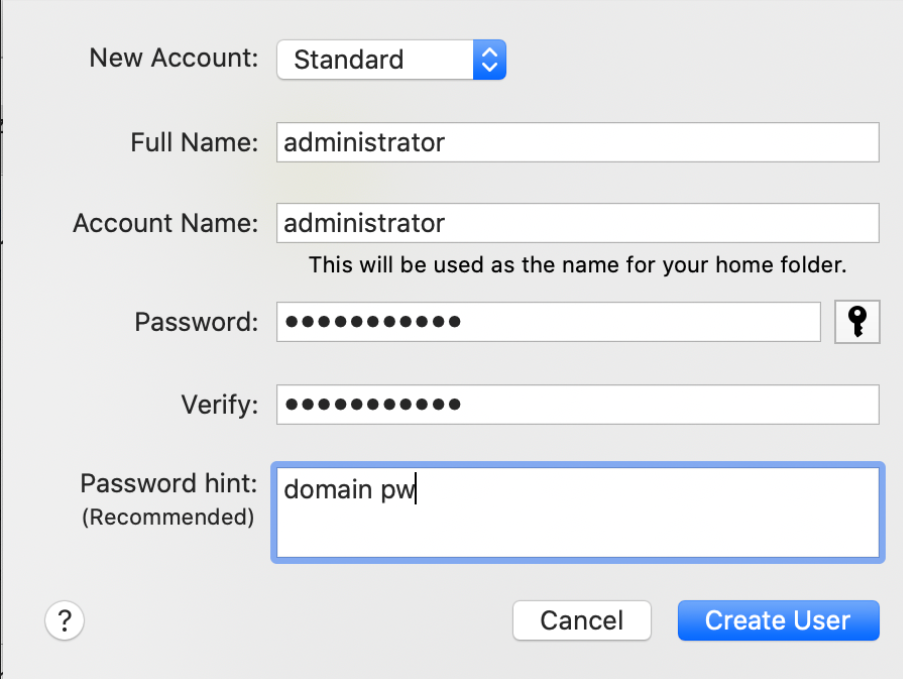
6. If you want to enable or disable Administrator check or uncheck Allow user to administer this computer.

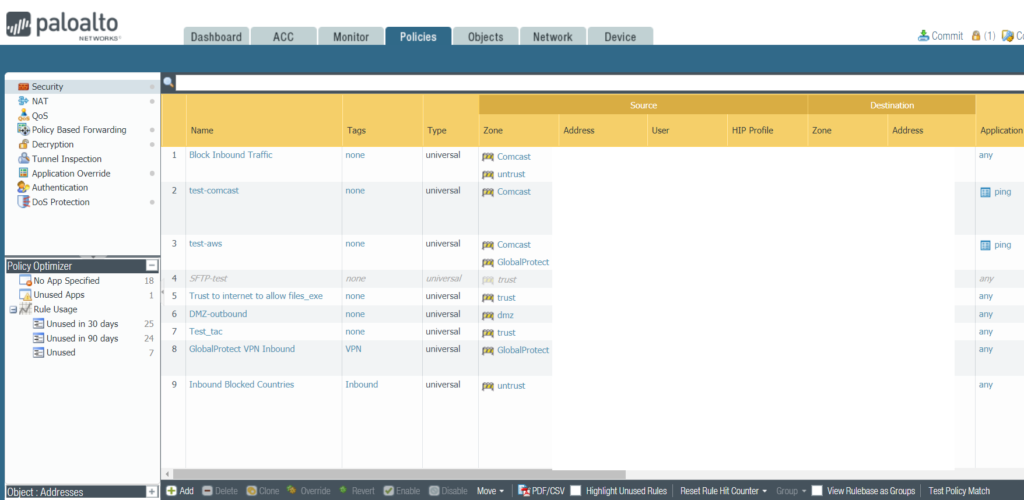
Situation: The client has P850 firewall. In reviewing the daily report, they find one computer were denied for some sessions. They want to know why.

Resolution: 1. Find the source IP address, for example 10.0.200.35 in our example.
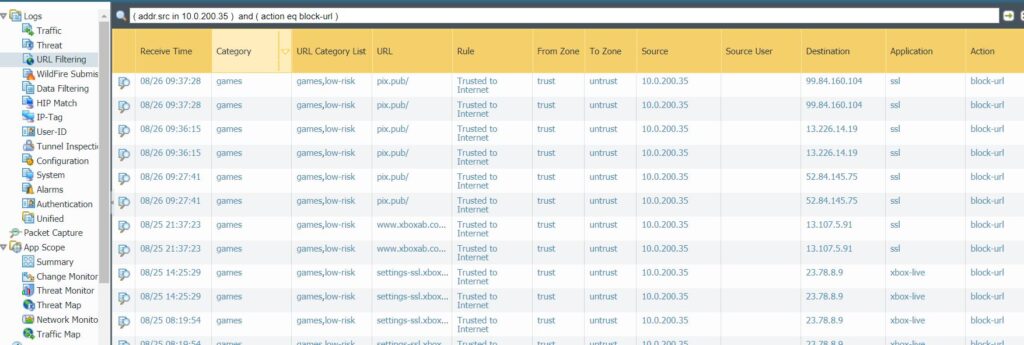
2. Go to Monitor>Logs>URL Filtering.
3. Search: ( addr.src in 10.0.200.35 ) and ( action eq block-url )
4. it shows: category is games, Application is xbox-live, Action is block-url. It was blocked by Rule Trusted to Internet.
There are many options to install VMware ESXi 7.
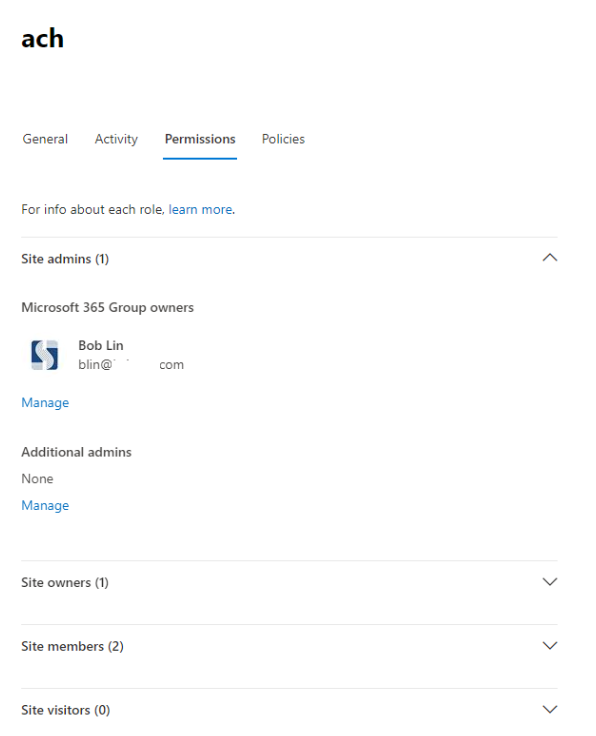
3. Click on Site>Active sites.
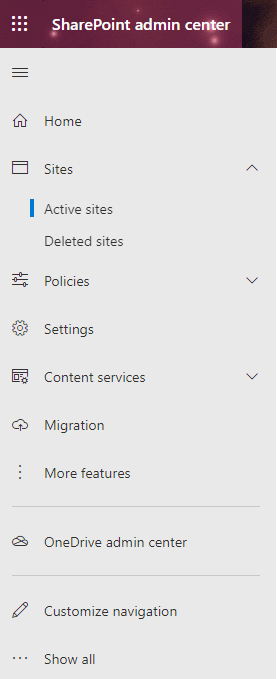
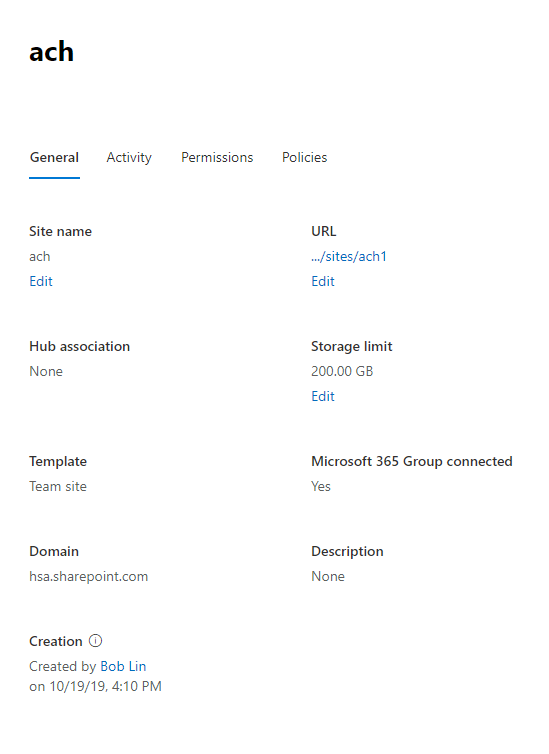
4. Highlight the site you want to manage the permissions.
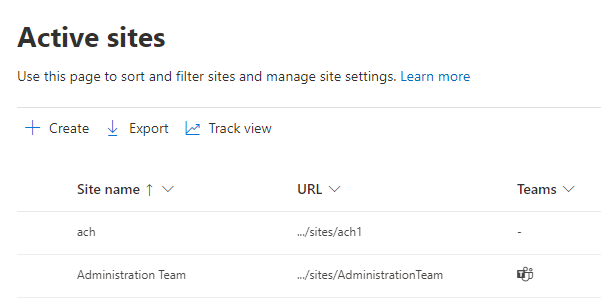
5. Click on Permissions
6. You will have options to assign Group owner, Additional admin, Site members and Site visitors.